LINK: viewtopic.php?f=3&t=1690
Building the Exactoscale C10 LH Turnout Kit, first attempt at a P4 turnout, or any turnout for that matter
Modified from the other thread:
I didn't have a smaller point kit at the Warley exhabition so I was given a C10 instead, no biggy (..big-gy? Meh) so I have started it, however, I have come to a serious problem so if anyone knows the best way of contact I'd be appreciative. An email with these pictures probably.
-
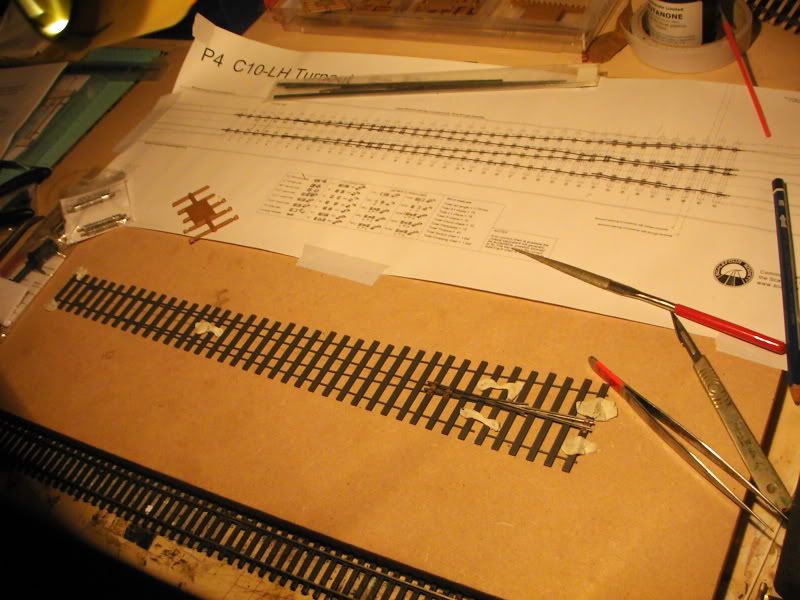
Exactoscale P4 C10-LH Turnout Kit
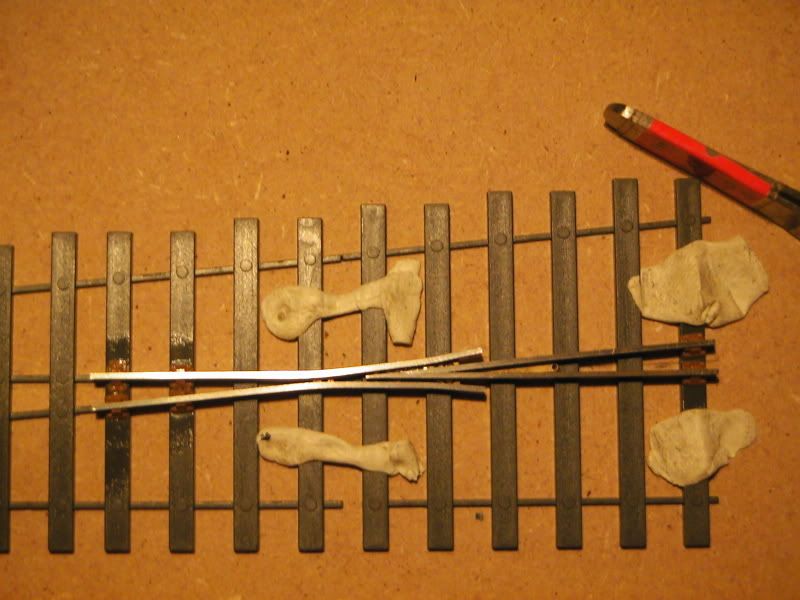
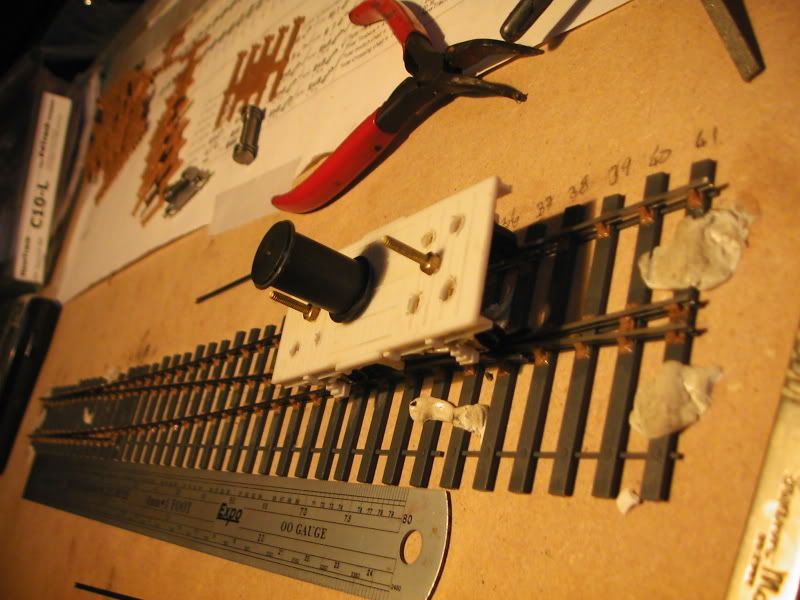
Started by taping the template above the work area so I can refer to it. No need to build the track on this as there are pips to locate chairs.
Instructions reccomened blue-tack to hold the 3 sections of timbering down, so once I de-flashed them I did so with White Teck. Same thing really.
The crossing V or frog comes in one section so that was a relief, however, at one angle it looks slightly bent and I am unsure if this is the case or not. Being a n00b I'm just going for it anyway, if I come to a problem I'll have to deal with it then. (Something else happened instead, see below)
I decided to do this as best as the instructions say. I know with experience you find better ways but as it's a first I'm doing my best to copy them sheep style.
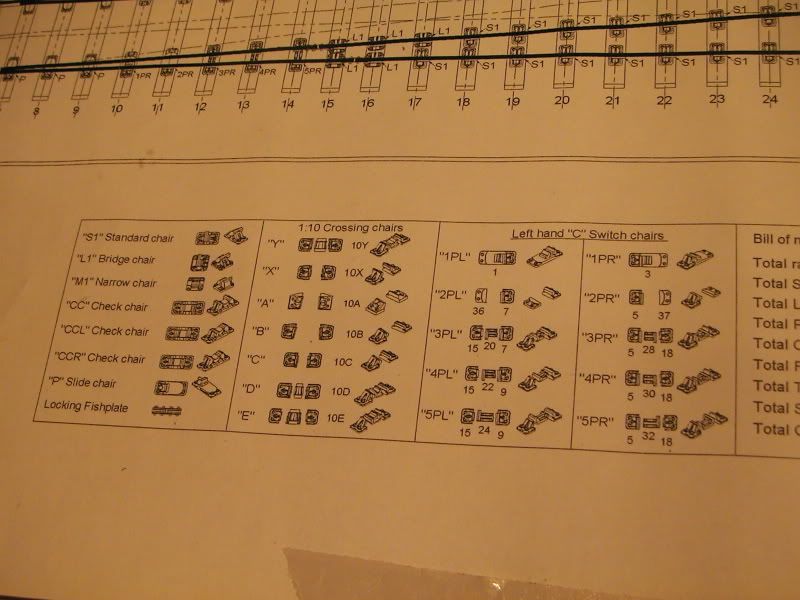
One thing that's hard is the different chair types. They arn't that learly labled in my opinion and it took me ages identifying them.
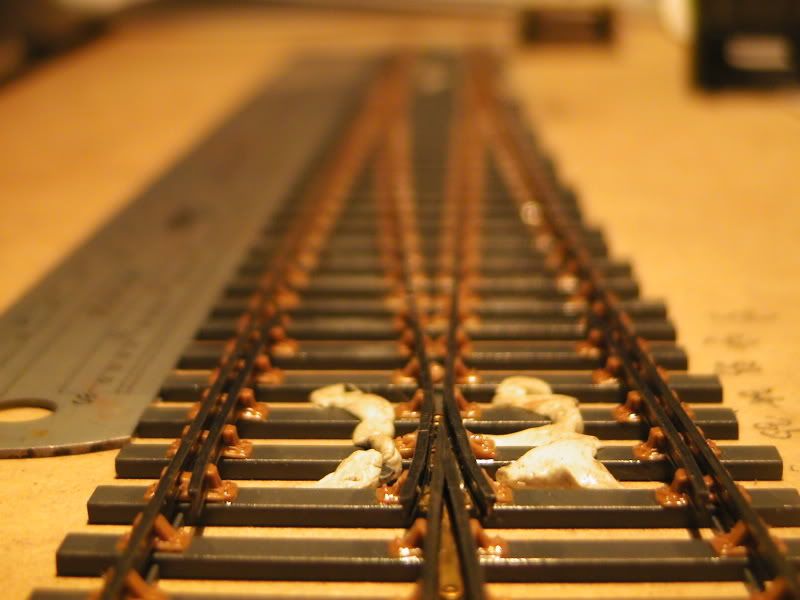
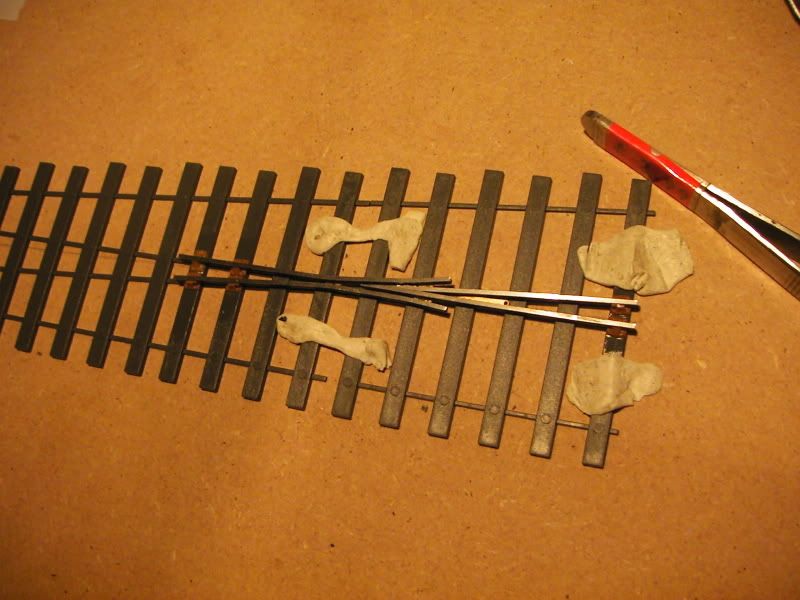
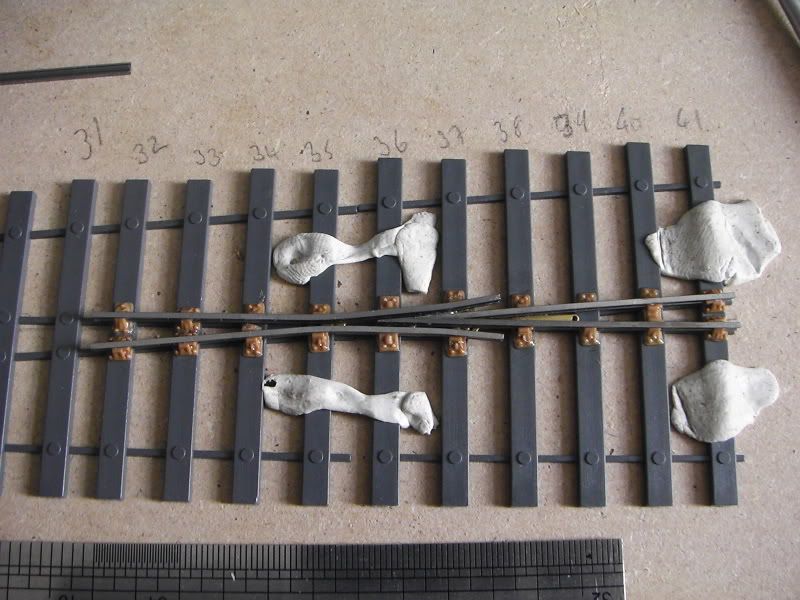
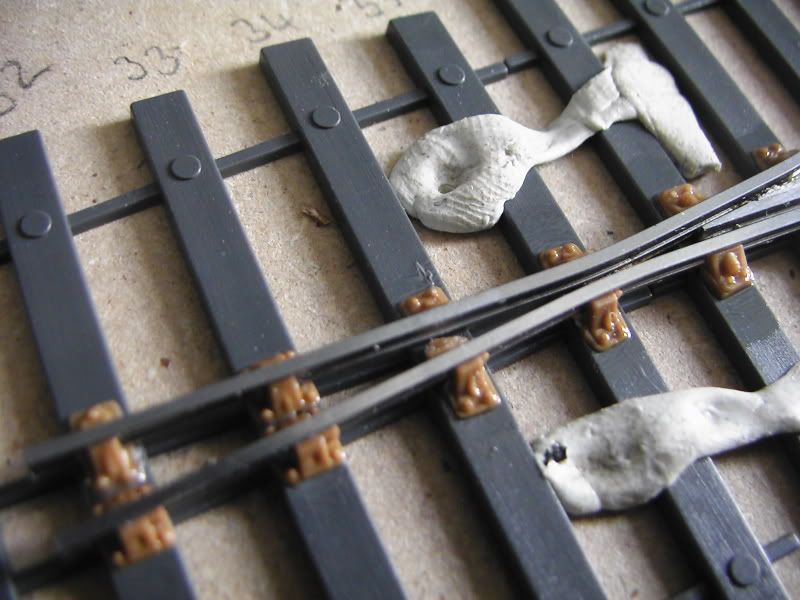
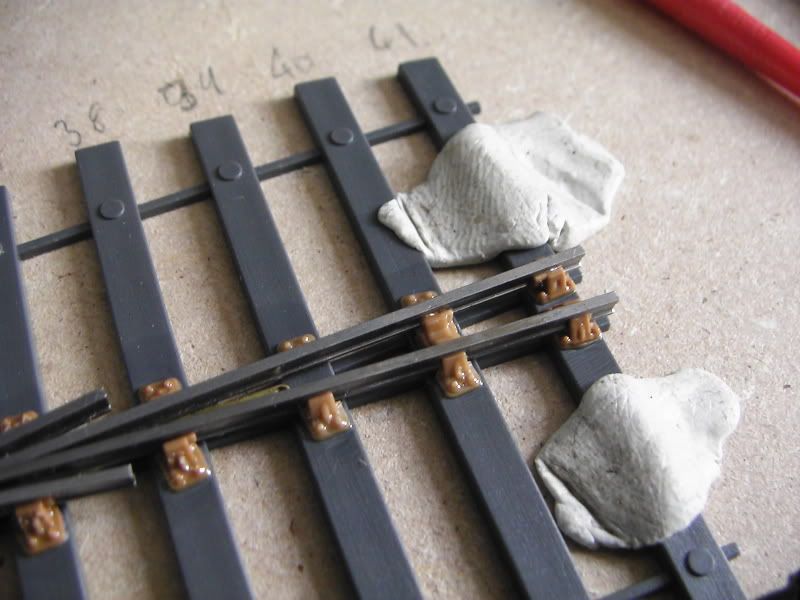
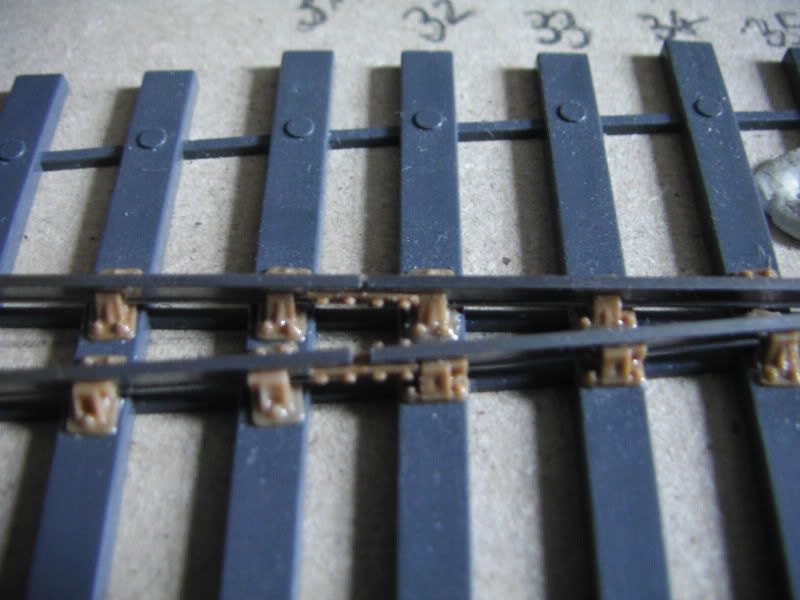
Crossing V finished with chairs. One problem is I needed to get a chair in the middle of the left bit and ended up just making a 'lump' of plastic to fit in. There was no way I was able to get it to just 'drop in' as I think the instructions were saying.
Middle sleeper shows the 'lump' substitute.
Timber 40, (1 before the end) shows how the previus picture should look with the chair in the middle of the two rails. Quite a difference but I wasn't prepared to unglue the whole assembly just for that. Interestingly the two outer chairs here are the wrong type, I used C chairs instead of E chairs becasue I could not find them for toffee. Visually there is hardly any difference and you get a few spares in the pack.
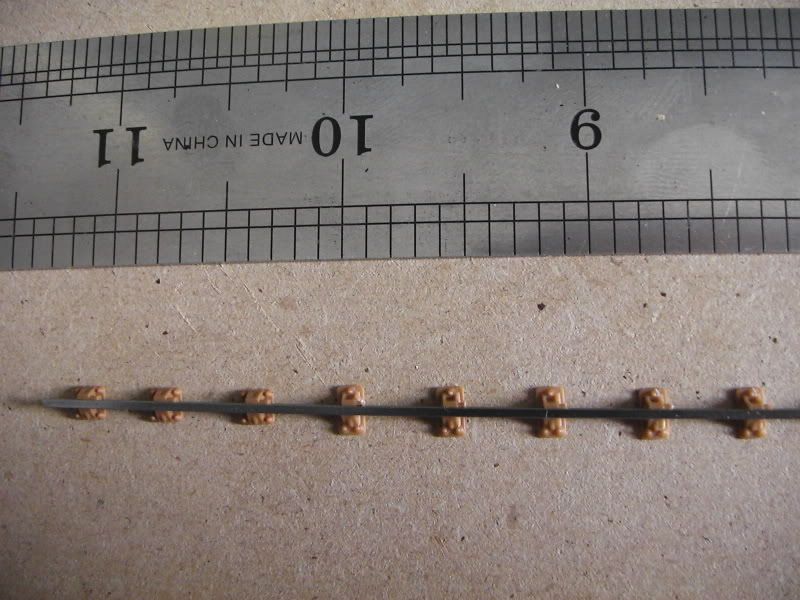
Chairing the straight closure rail, making sure to put past mistakes into practice. Make sure the rail is the correct way up, make sure the keys are facing the correct way with correct bolt configuration, and make sure the one closest the fishplate points the other way. Also make sure the 3 different chairs are the right way too. A bit of faffing needed to be sure.
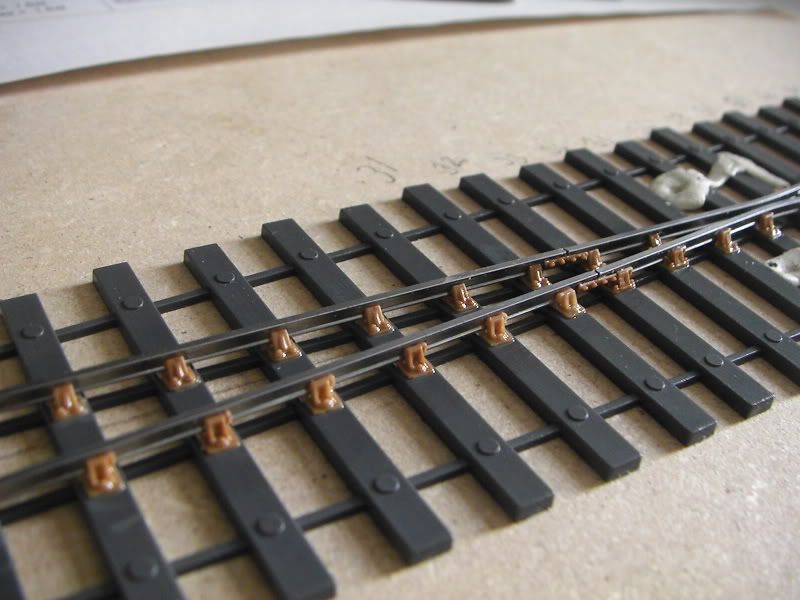
Finished both straight and curved, the curved was slightly bent by hand and eye before putting chairs on, and I also haven't glued all the chairs in position on the curved one because instructions said not to; I'm guessing it's for accurate gauging later but don't know.
The inside of one of the fishplates snapped off so I just glued it in poition, hopefully it won't be a problem.
And now we have the mother of all cock ups, a cock up with which progress is most definently halted until Exactoscale sort me out. Will have to send an email with photographic proof soon.
Must have been a friday kit this, "Hurry up Larry I want to go home"
Chocolate tea pot this...
What am I supposed to do with those? I'm not explaining the mistake, it's quite obvious.

After 2 months I finally managed to get the blade problem sorted out and progress has continued.
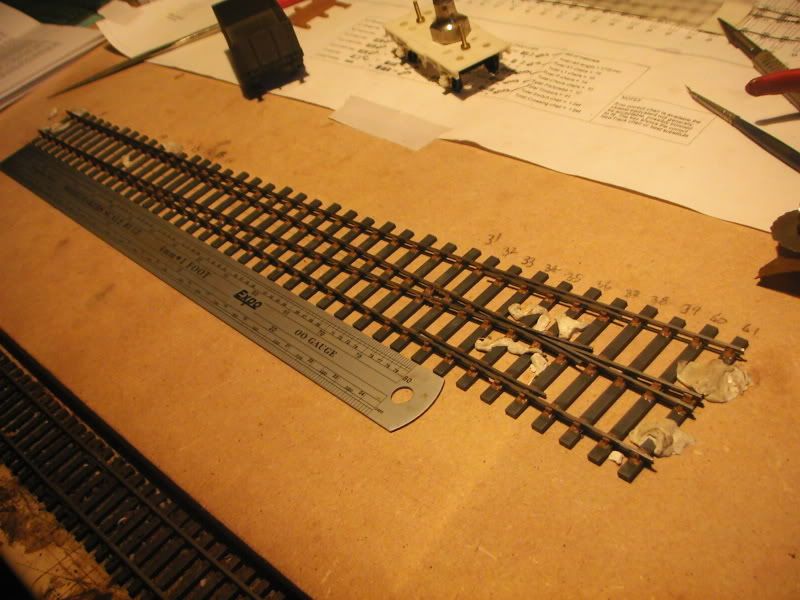
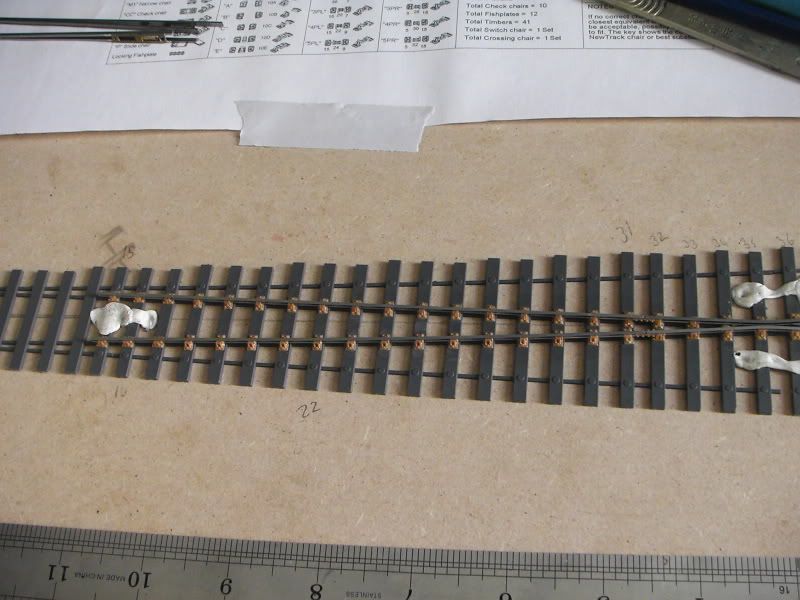
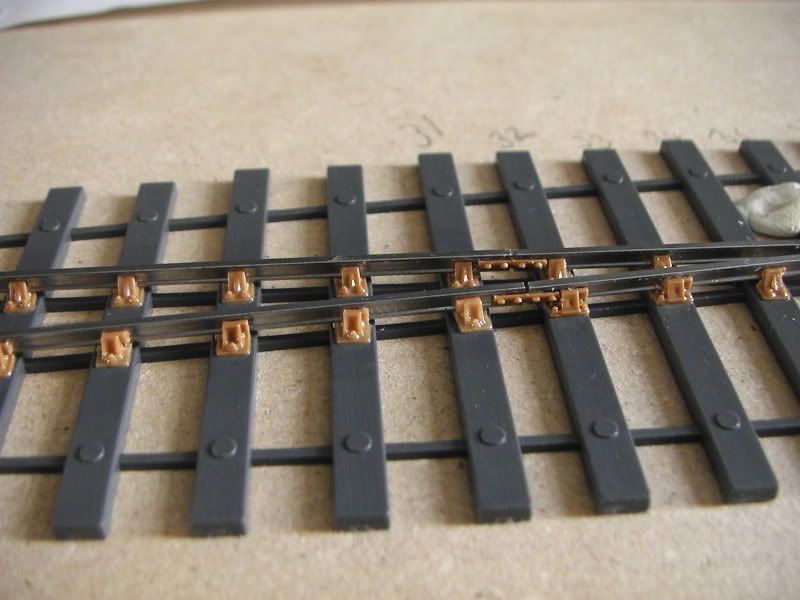
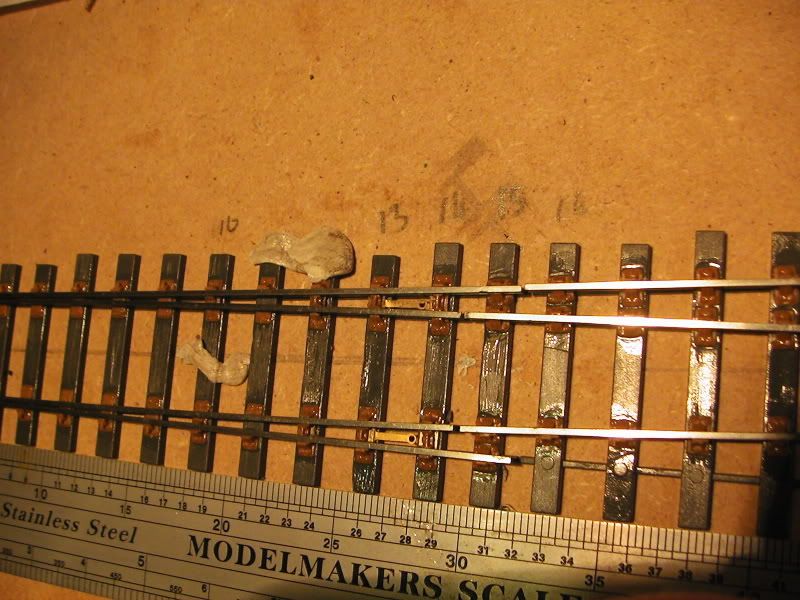
I fixed the blades in position as per the instructions, constantly checking with standard 18.83mm gauges in relation to the stock rails, I used a few different types as I seem to like doing to be sure.
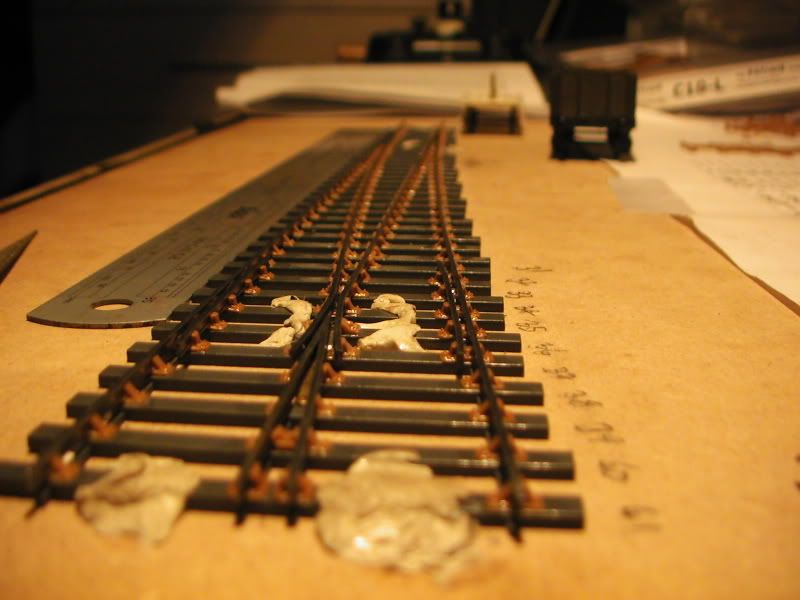
Looking here you will see there are no fishplates, that is because I kept breaking them, and then later I realised 'how' I was supposed to remove the switch assembily away from the main structure (as per instructions), as a result I decided to leave them off until later. I did do a few dry runs 'coupling' it together and 'uncoupling' and it worked fine until the fishplates broke...again...new ones! Oh, broke again! Might be a good idea to buy a lot of them. Another thing I want you to see in this picture is the large uneven gaps between the rails. They still slide through so I can tweak them but the problem is I can't seem to get them even in relation to each other. Unsure why. I've also hacked the sleepers a tad to give some damage effect. Looks like a hungry mouse has been around.
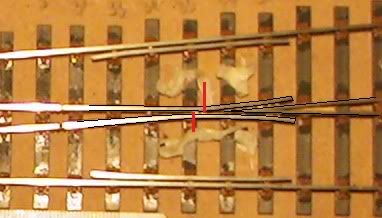
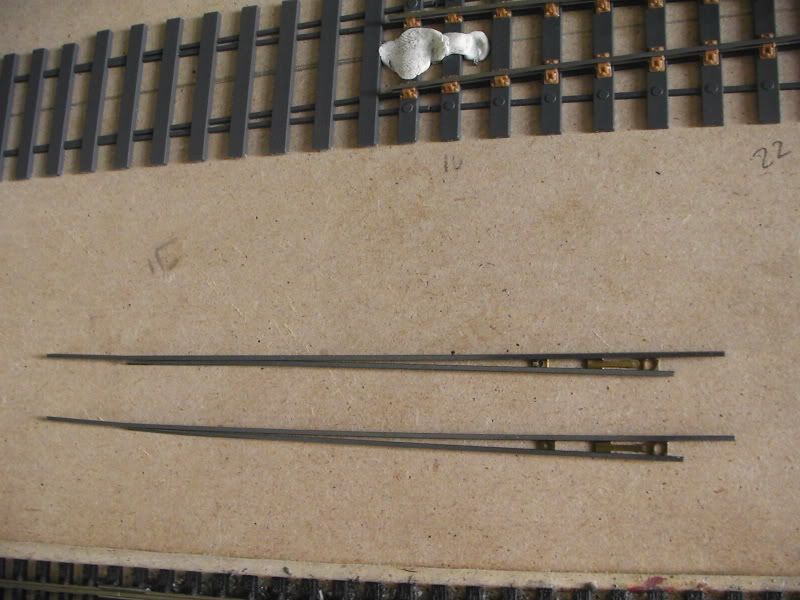
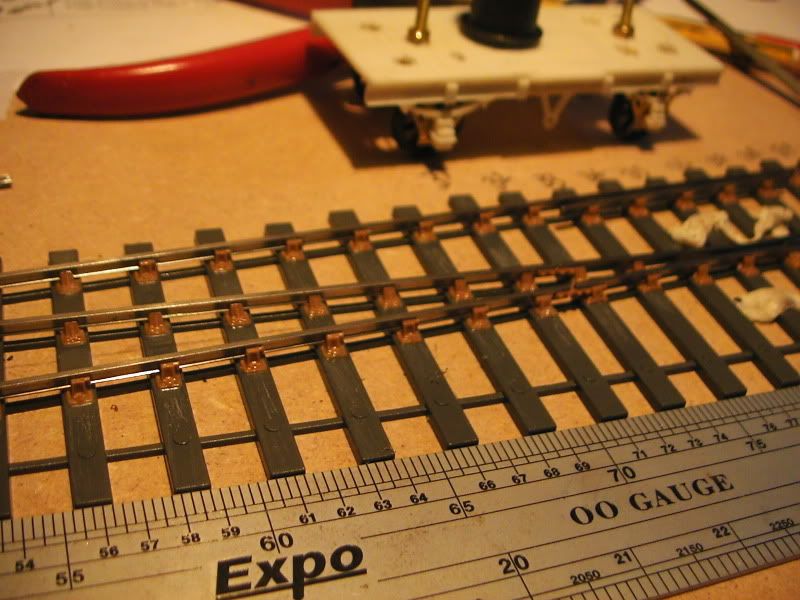
Maybe this is the reason I can't seeem to get the aforementioned rail gaps even. Looking at the top middle rail where the closure rails start (extreem left part of the V-Frog) you should see the rail gaps here arn't even either, furthermore the lengths of the extreem ends seem to be, at a guess 0-6mm's or so different. If these are supposed to be even then this would explain the problem. I'm unsure if they are supposed to be even but if so then a bit of bastardisation with a file should cure it.
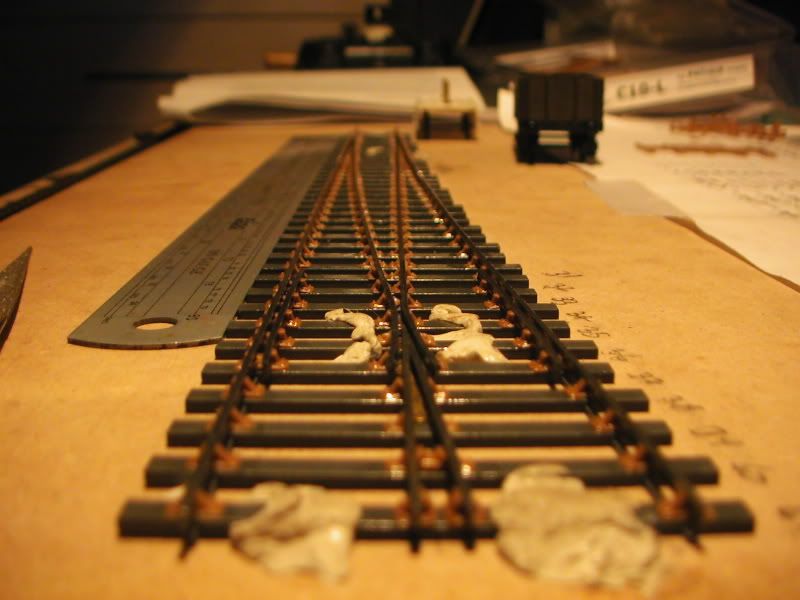
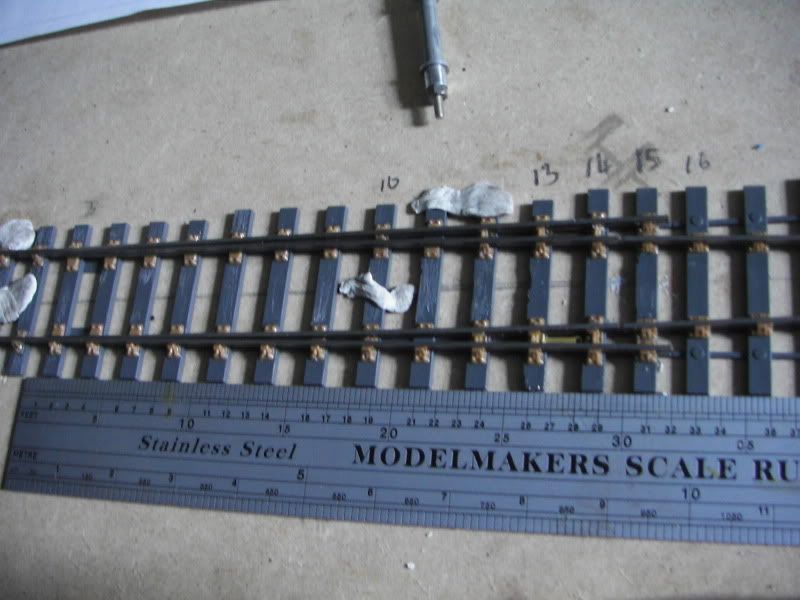
Looking here, if you look close and especially if you zoom in you may see the switch assembily doesn't meet up to perfectly with the main body. The guage is what I'm talking about. I read somewhere that it's sometimes a good idea to have gauge widening here but I just went for standard (being my 1st kit), I think there is a chance it narrowed somewhat upon glue drying becasue it is a tad tight. The gauges still fit but you have to put them in with a bit of pressure, without doubt a friction fit bordering on a jam. However, C&L's flexible P4 track on a straight is a tighter gauge than this so I guess I can relax, if you have any tips on tweaking or smoothing the transition I'm all ears.
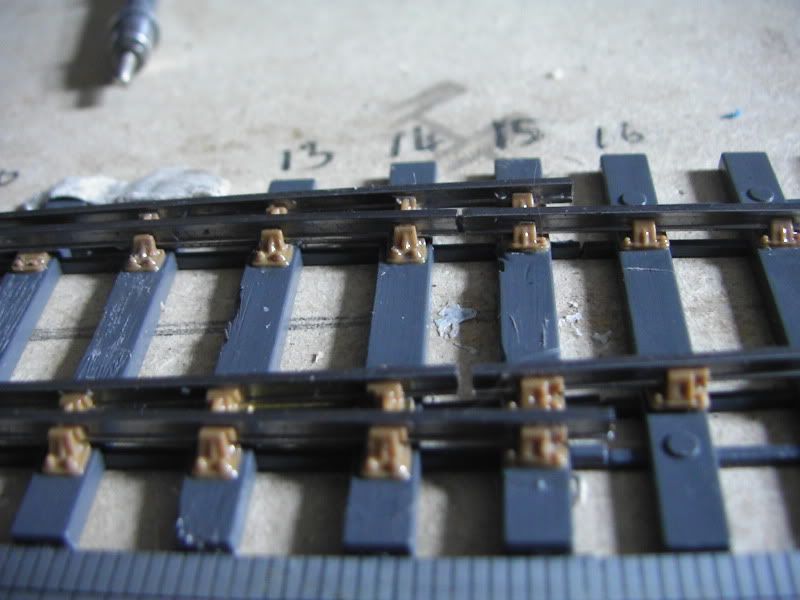
Spot the glaring error!
Throughout the construction of this kit I've been vigilant on the key positioning, noting every one on the drawing and patting myself on the back for learning from past mistakes on my track construction tests. Well, I can say goodbuy to that Golden Rail Chair trophy now can't I?
Getting the chairs on the check rail and the stock rail was a bit of a game but not too hard. I filed the check rail ends to make chair insertion easier (essential a lot of the time with any rail it seems, without doing so you often unwittingly break chairs, this results in you launch them with a well placed expletive, or in my case chew them as a punishment for not working properly, blame the object, not the worker! Any excuse.) I made sure I gauged the stock rail from the point of the V first, seeing as that is a critical area. Once happy I did the ones adjacent.
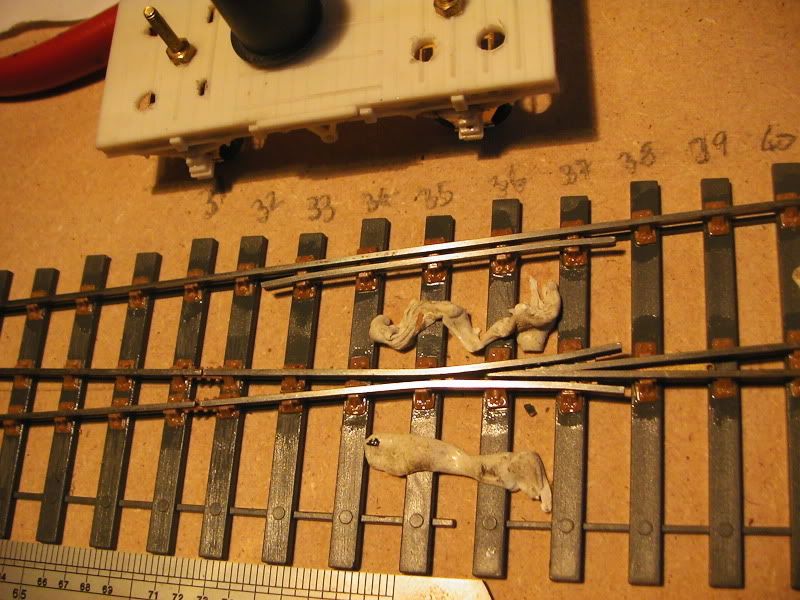
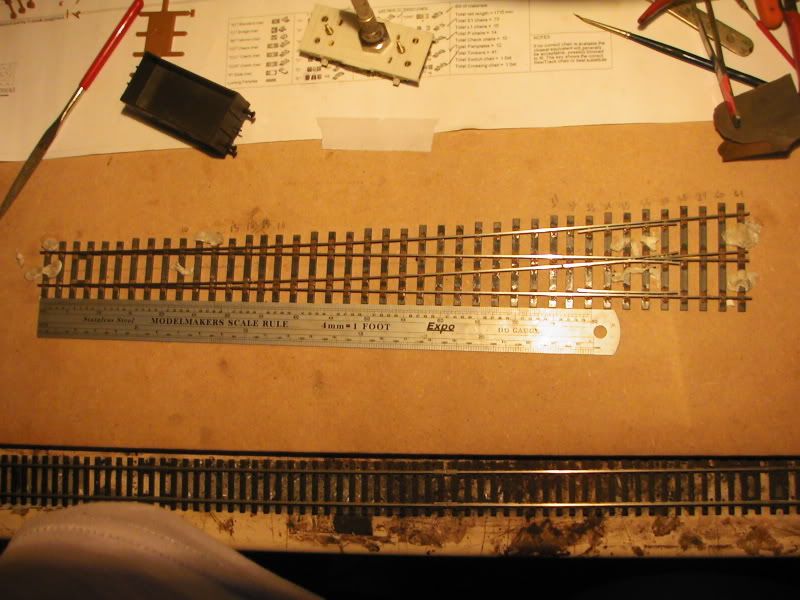
General impression. My little truck experiment wouldn't run without derailing in the middle but after adding a guage as a weight it has gave 100% reliable running through what I have constructed so far, so that's a confidence boost and a first step in getting something running, kind of.
Any comments, suggesstions so far?