https://www.scalefour.org/forum/viewtopic.php?f=23&t=8012
And I'm very grateful for all the replies I got.
So now it seems to make sense to start a workbench thread about my attempt to model this wagon. I'm going to be writing detailed posts on my blog, so I'll use this thread just to provide short progress updates with pictures and if you're interested in the gory details, you can click through to the full blog postings.
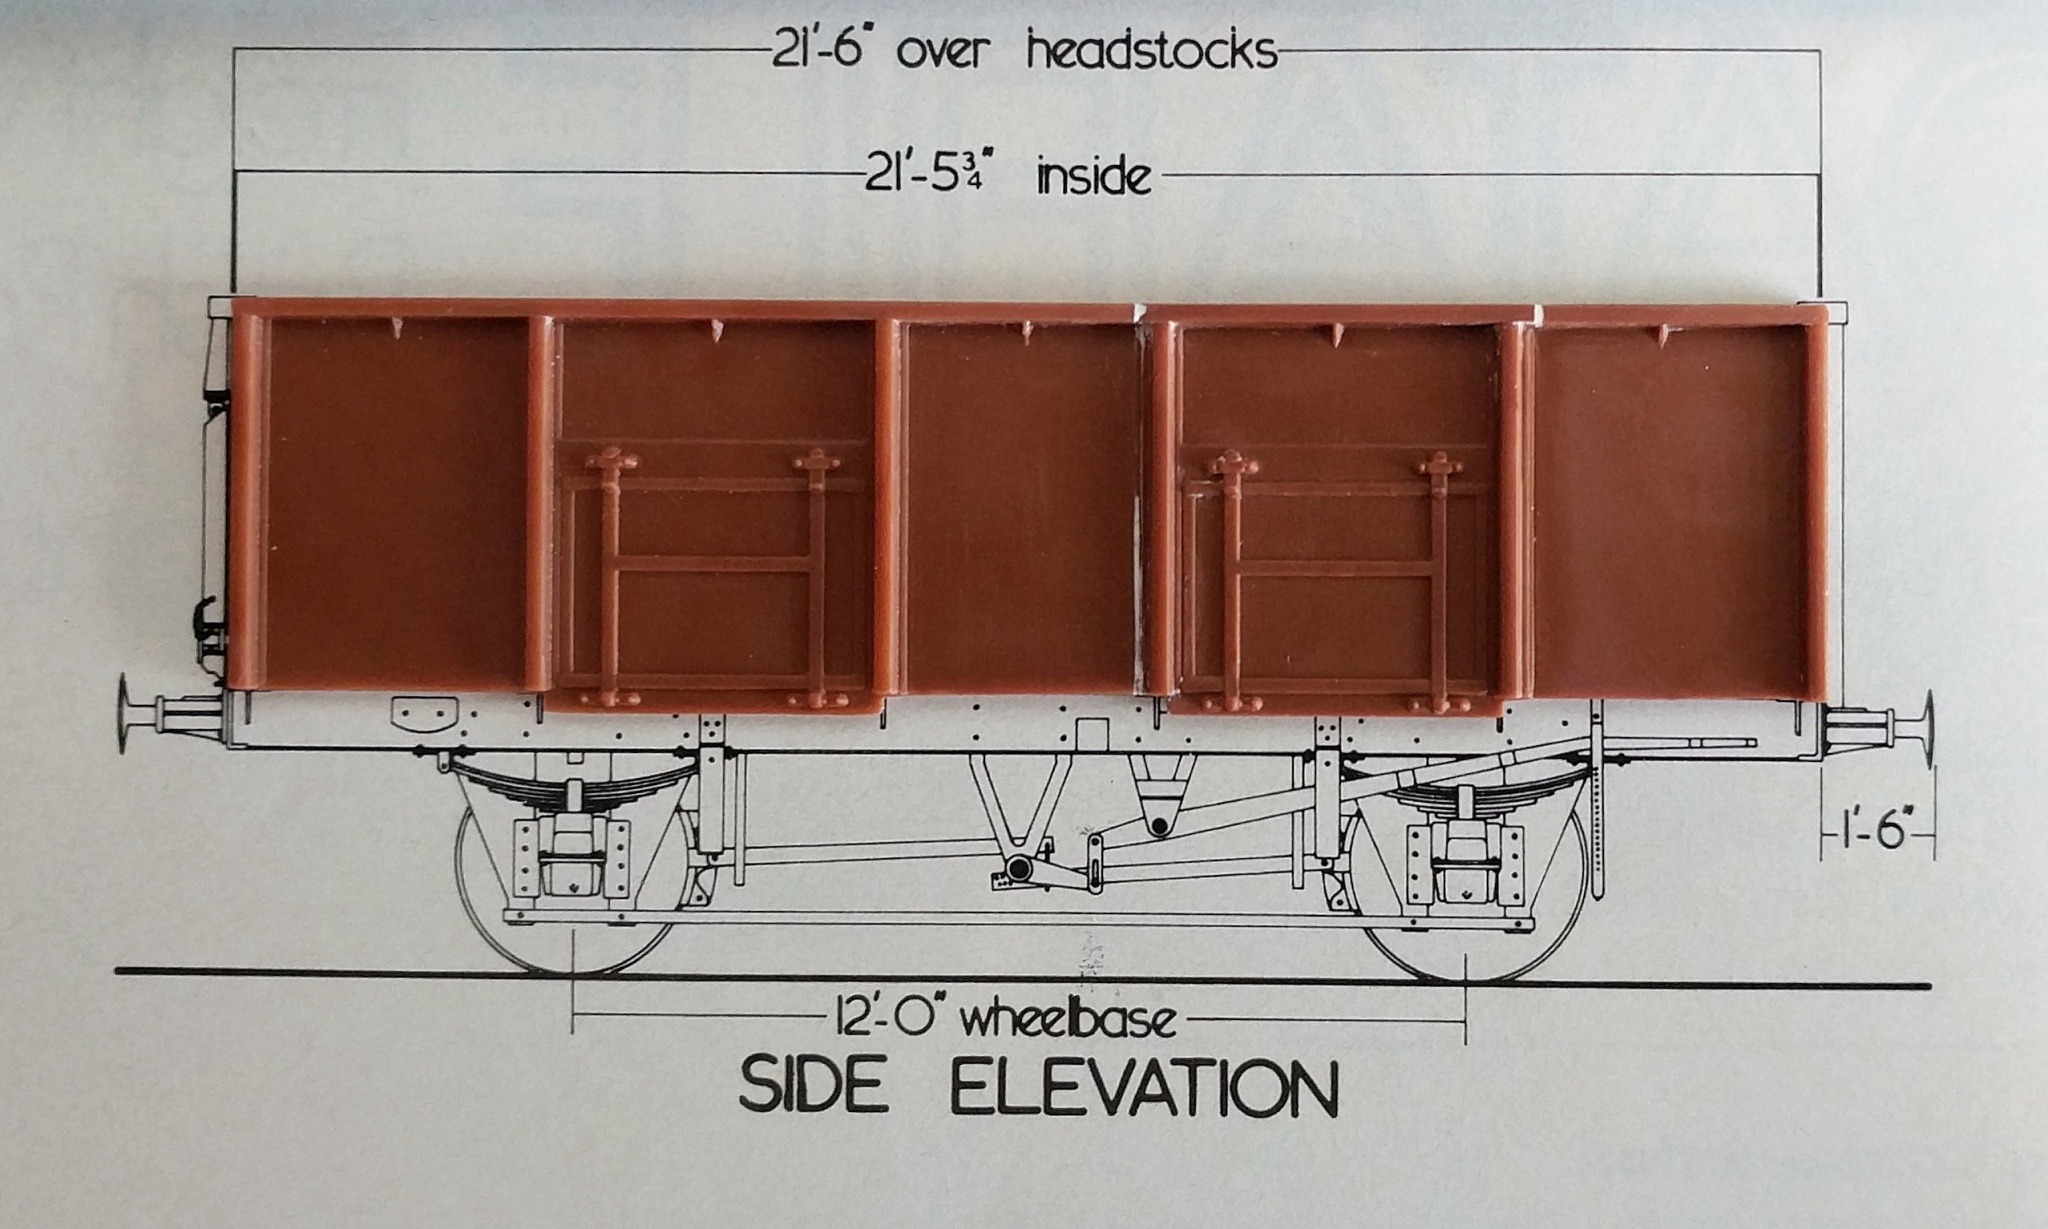
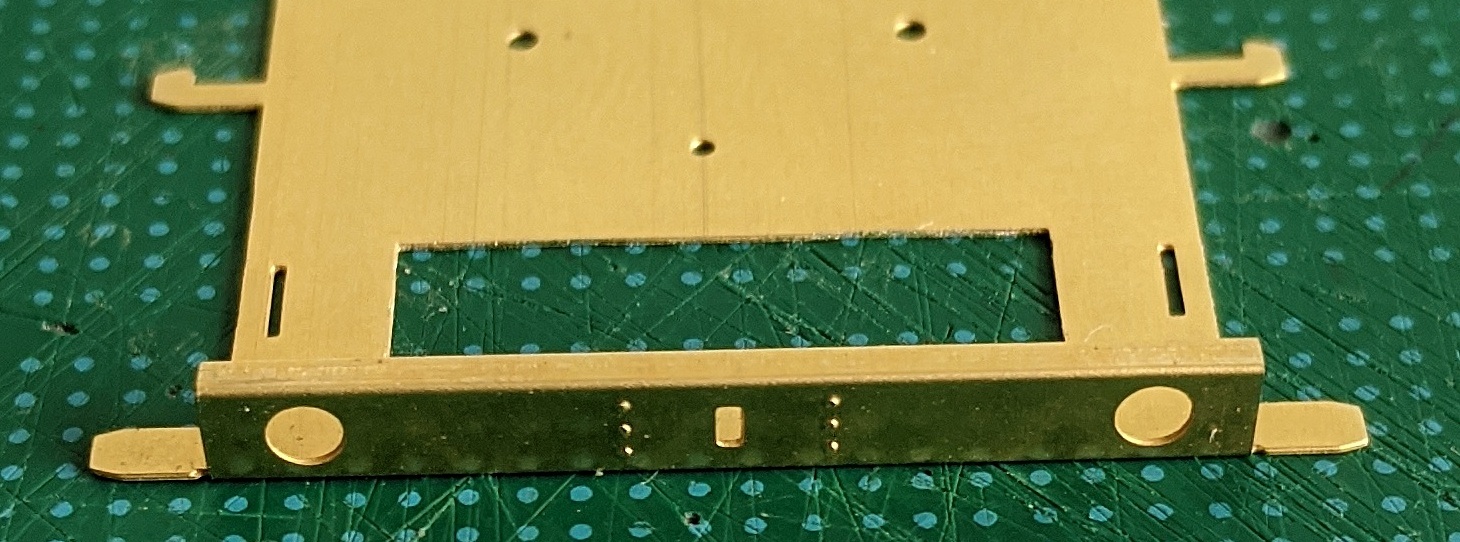
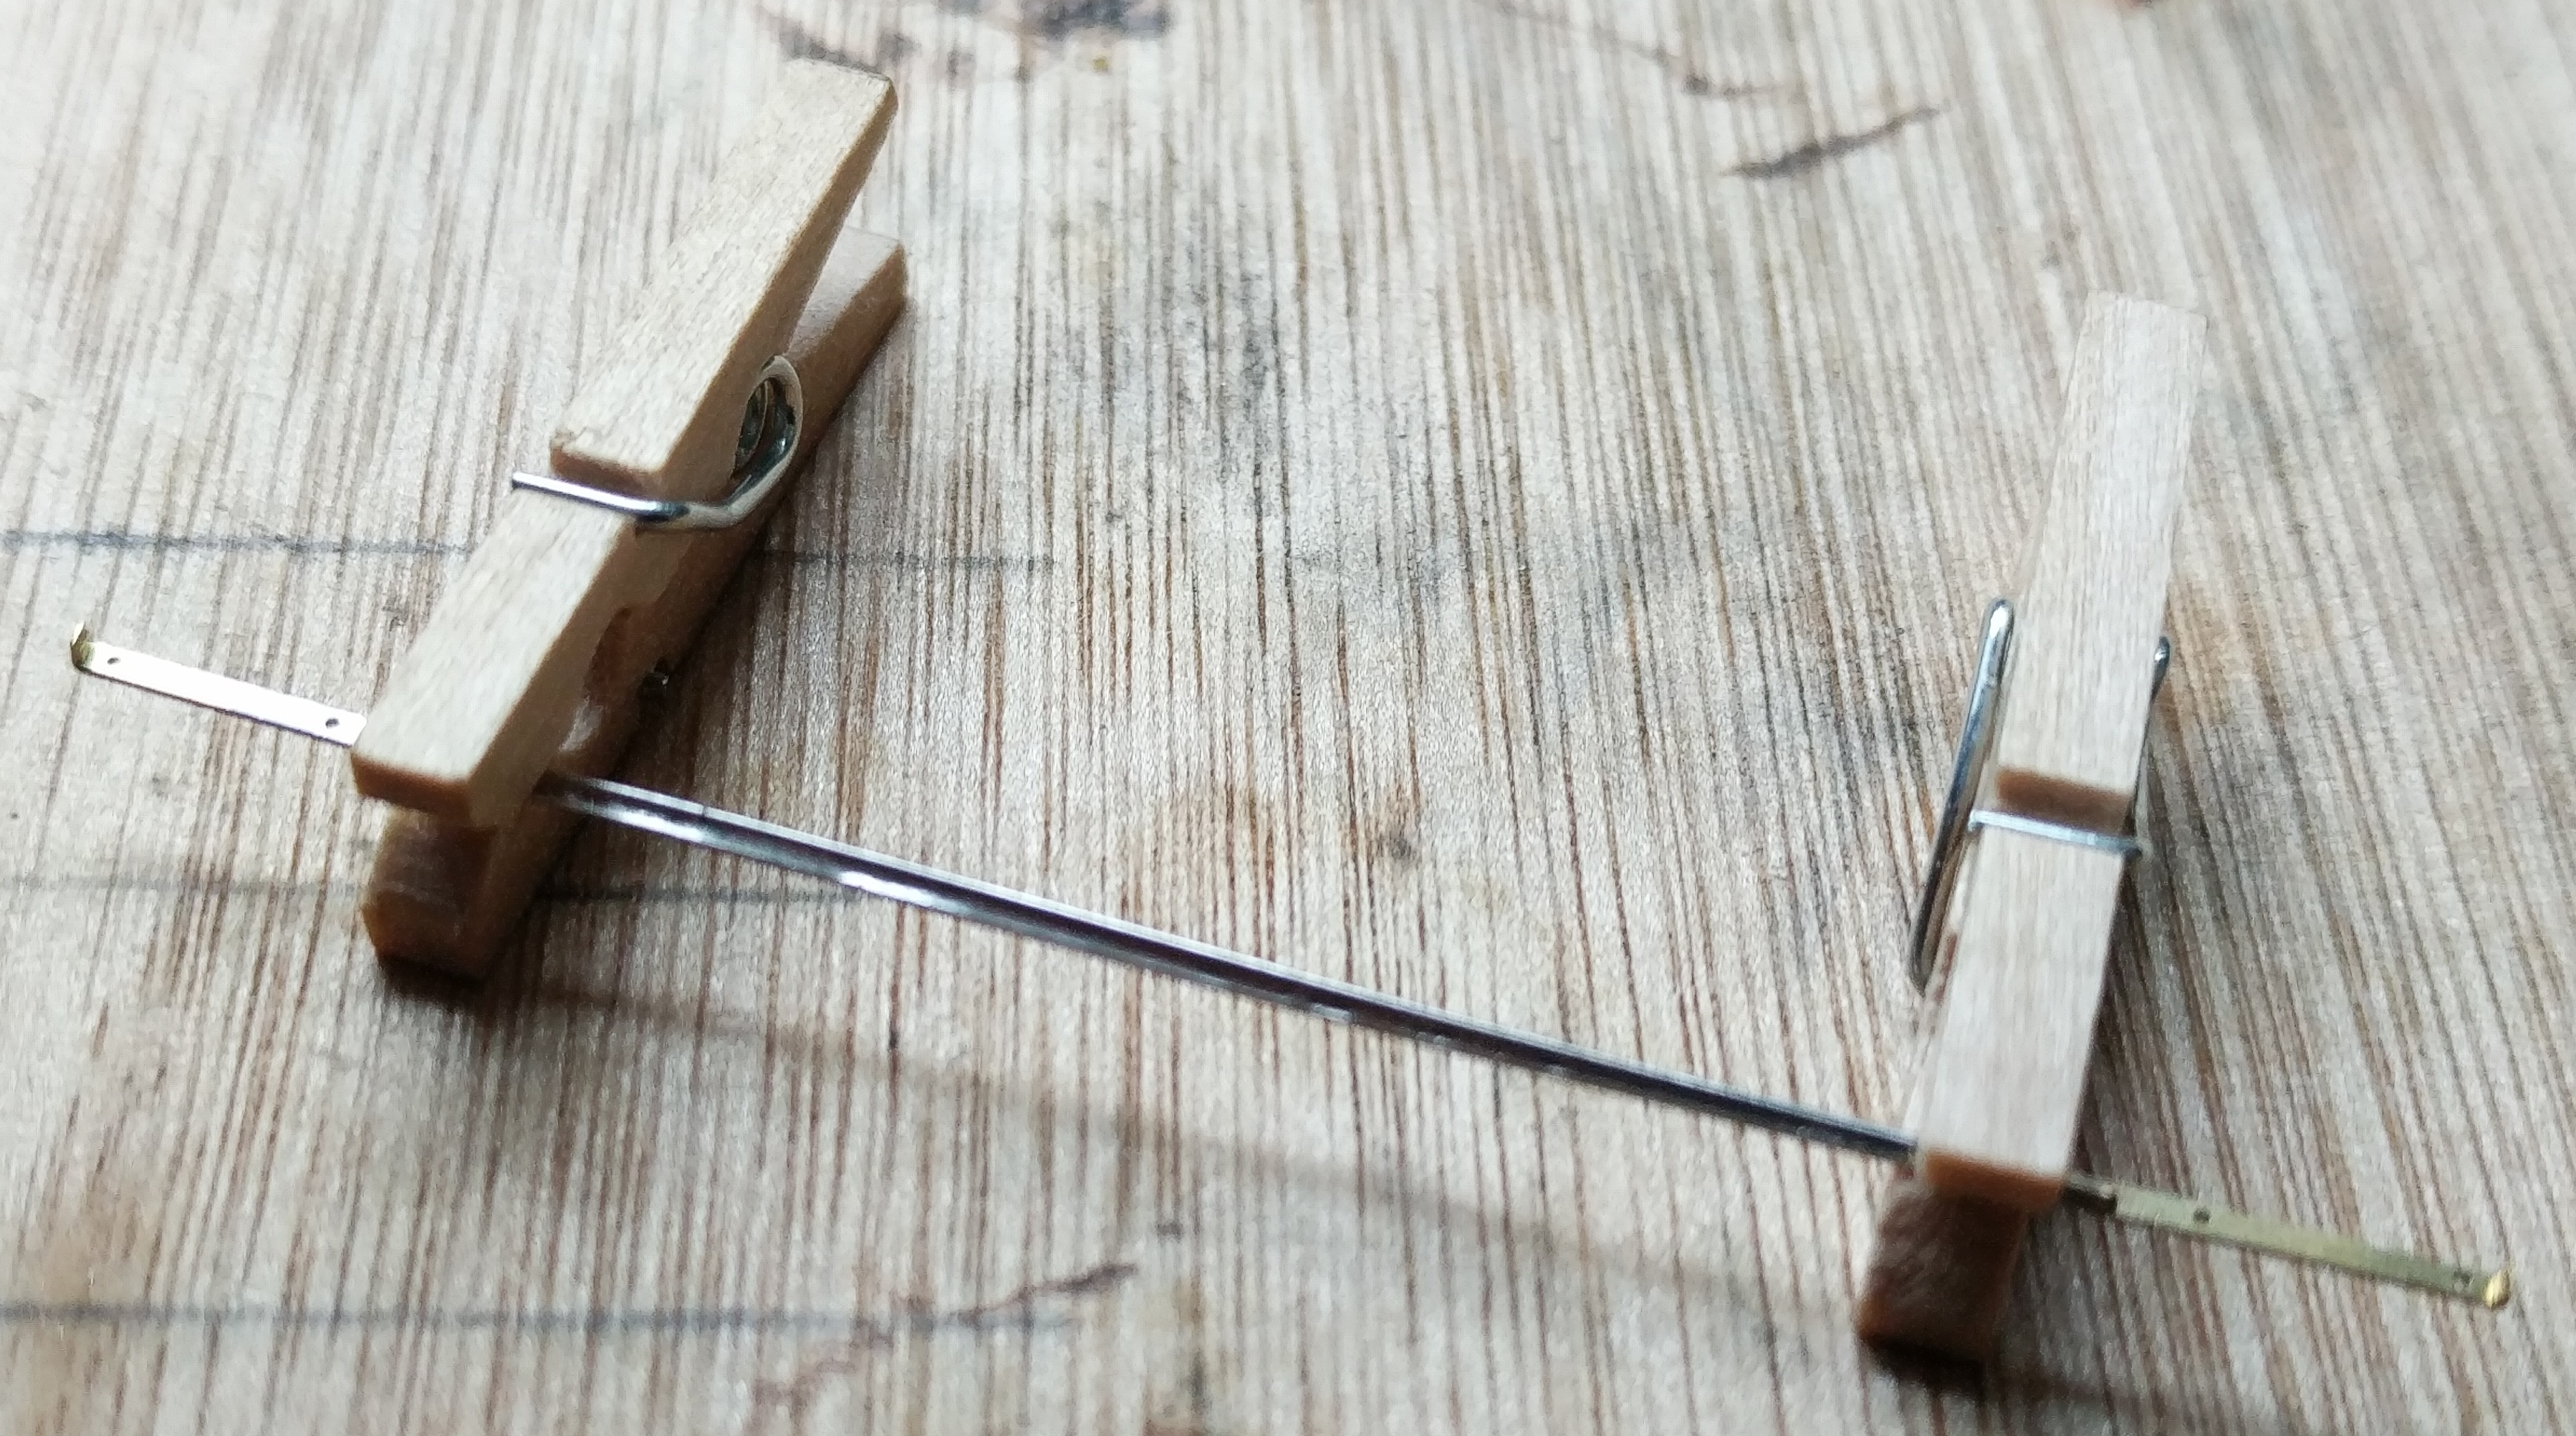
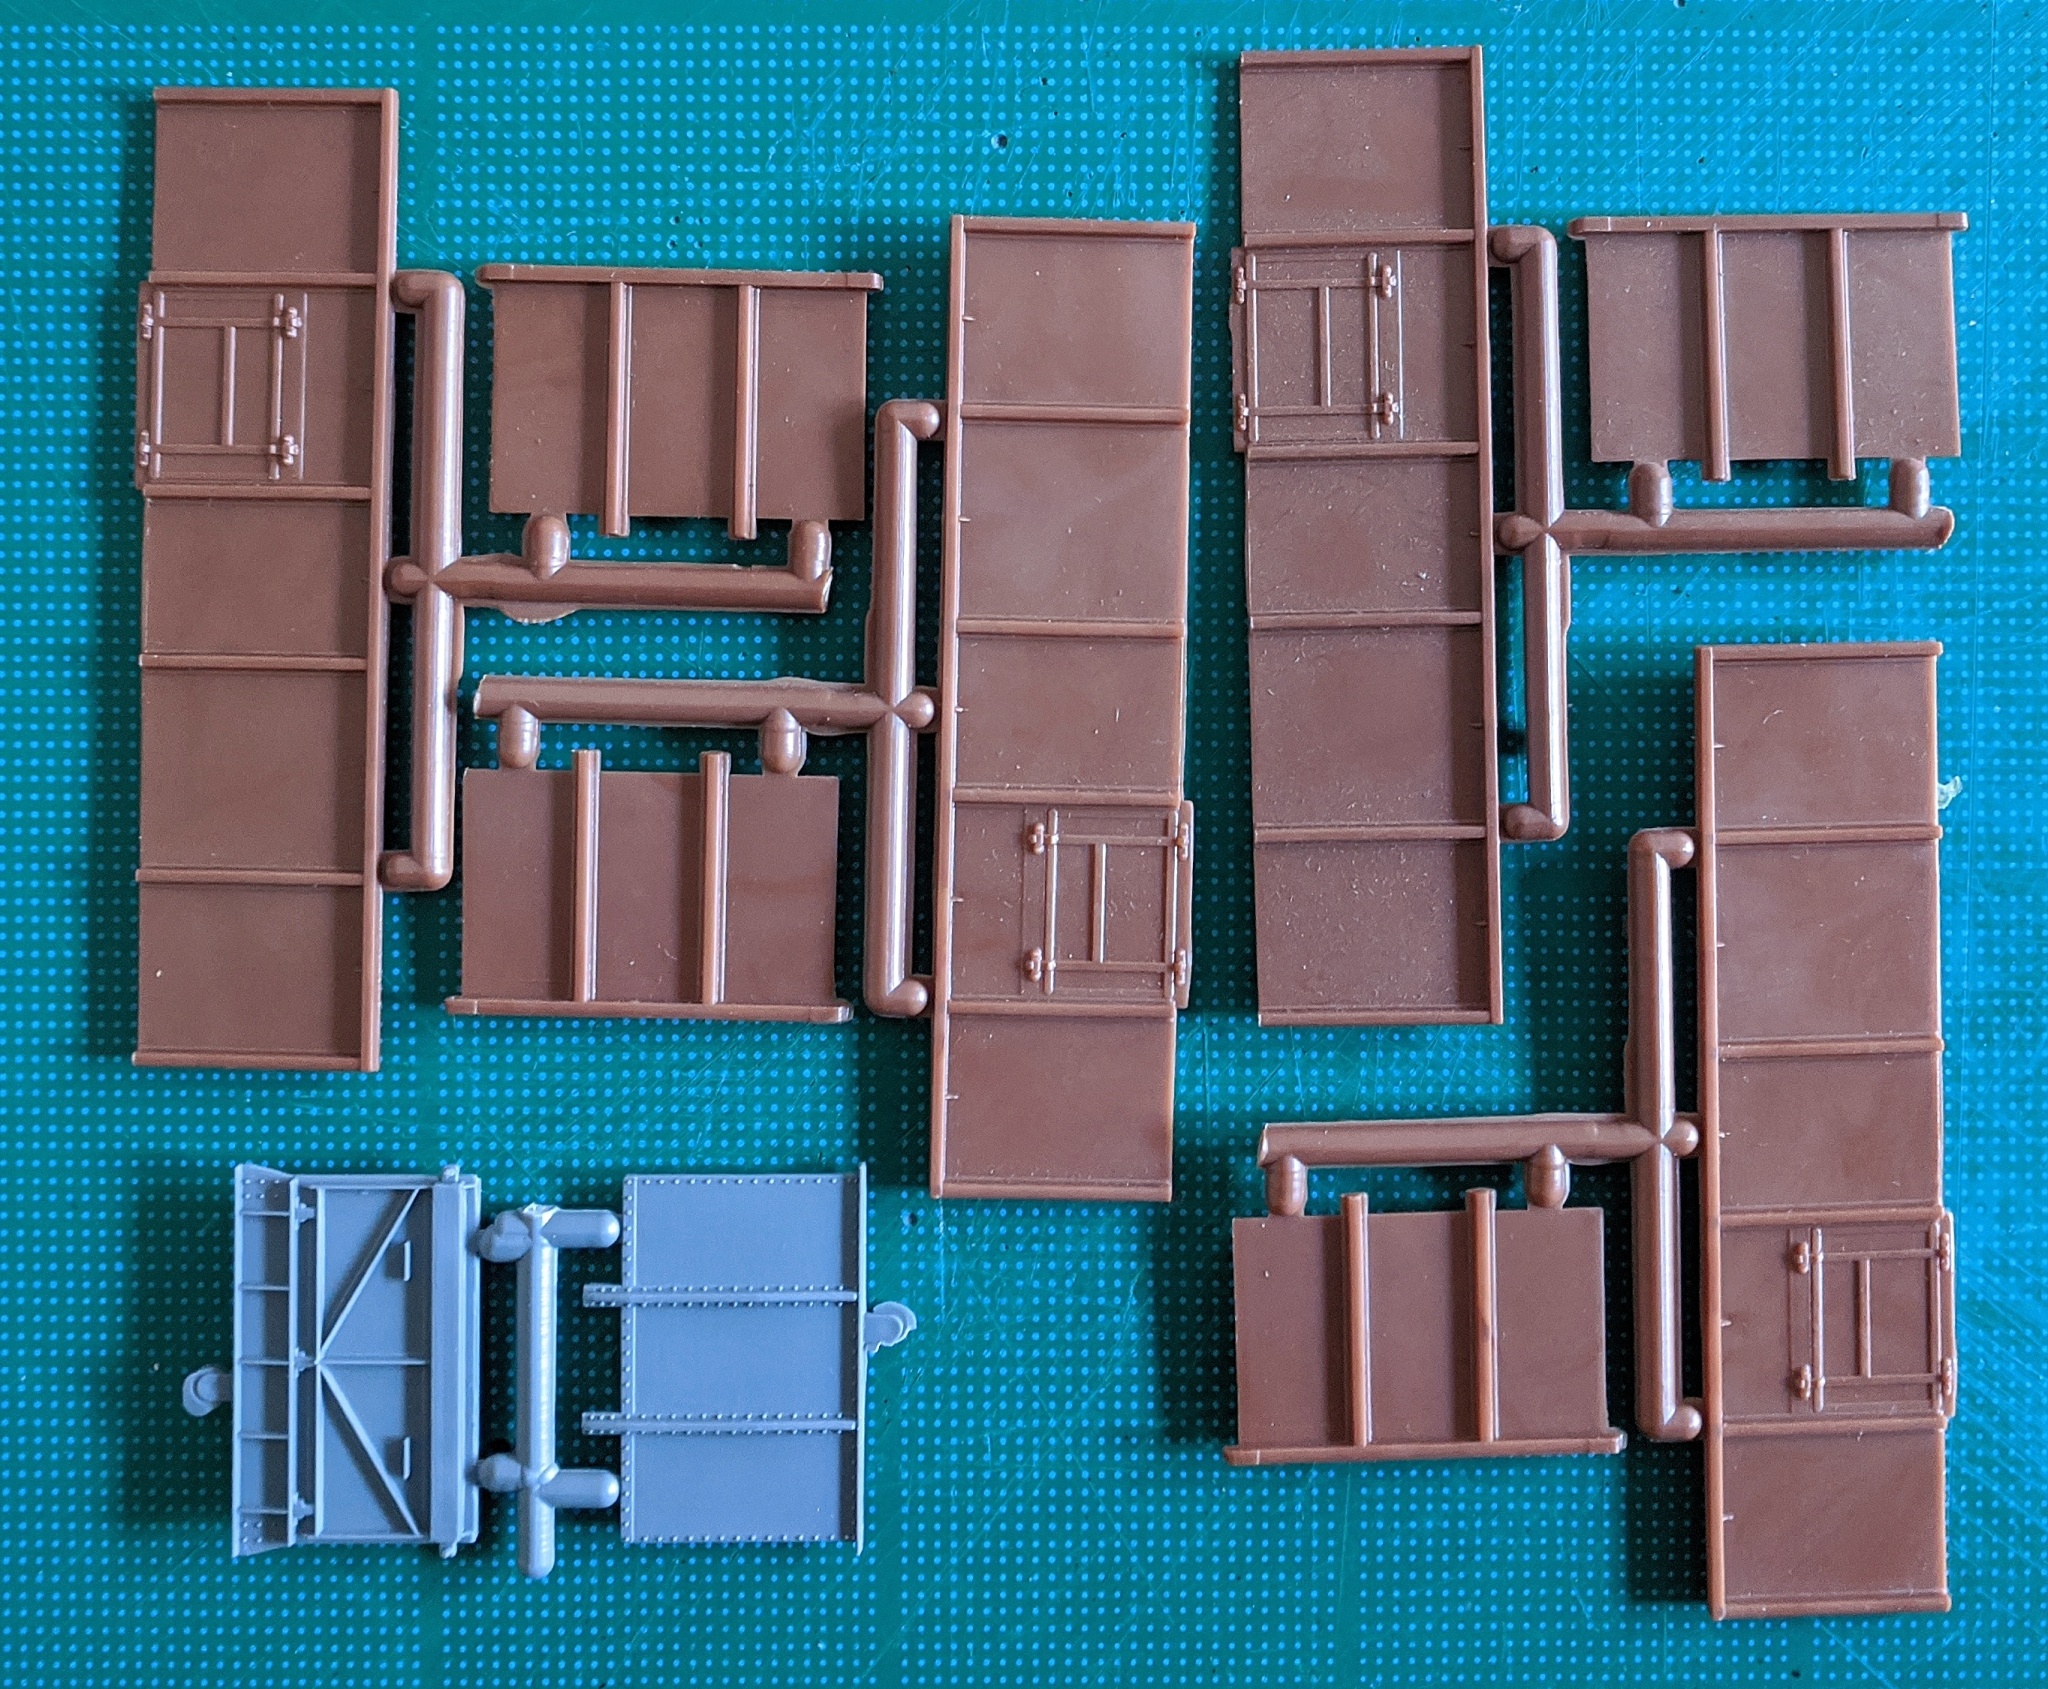
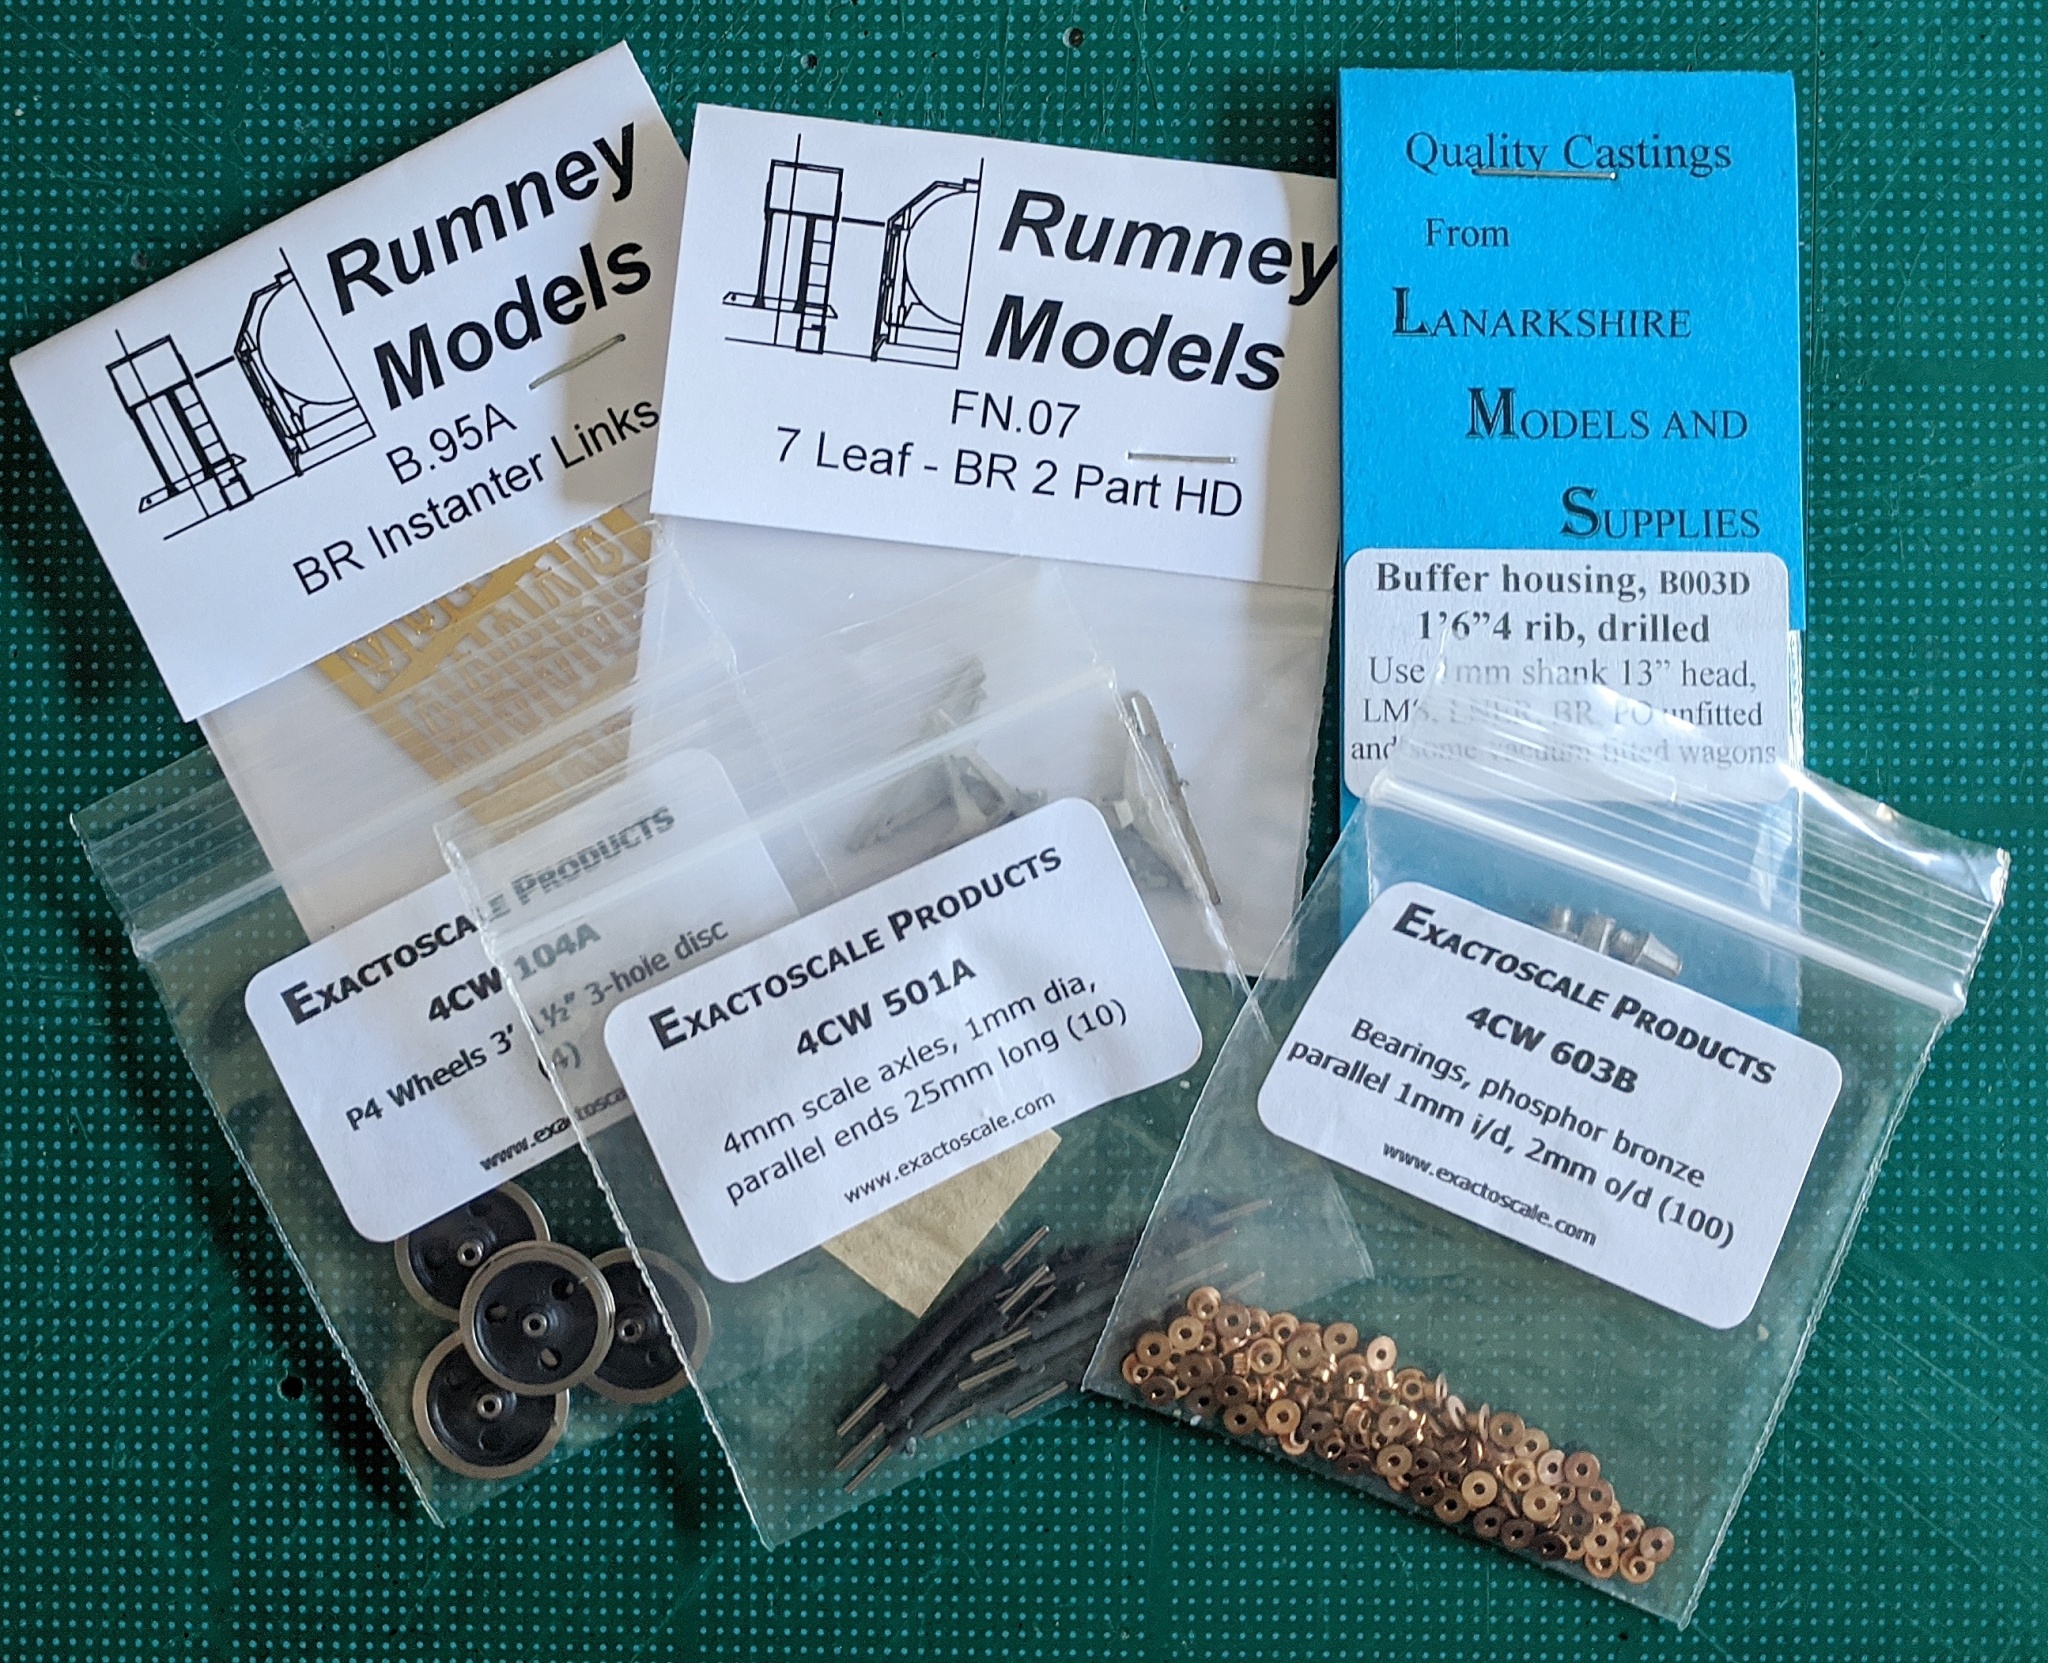
To get the ball rolling, I've been gathering together the raw materials I'll need for the build: parts from two Peco Parkside kits (PC03 and PC32), one of Rumney Models amazing etched brass underframe kits, castings for axlesboxes/springs and buffers, Exactoscale wheels and so on.

You can read the full blog posting here:
https://everywagontellsastory.wordpress ... modelling/
Hopefully this build will go well and people will enjoying following my progress.