Everyone makes mistakes!
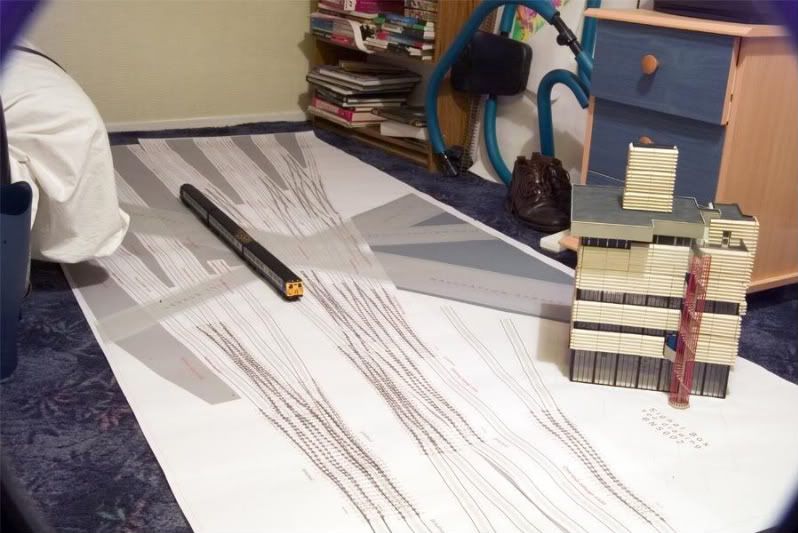
Back in Oct 2003 I had reached this point with my signal box.

I had made a master for the distinctive cladding and copied it in resin. But there comes a time when you have to step back and look at what you have done not from the heart but from the head. It doesn't matter how much time, effort and money you have spent to reach this point but there is one overiding question that needs an answer. That question is a simple one, "is it good enough?"
The answer might not be an easy one and as much as i didn't want to admit it at the time the answer was no! Could I live with it? Ultimately its not about living with it. Will do just wont do. It was inevitable that it would have to be redone.
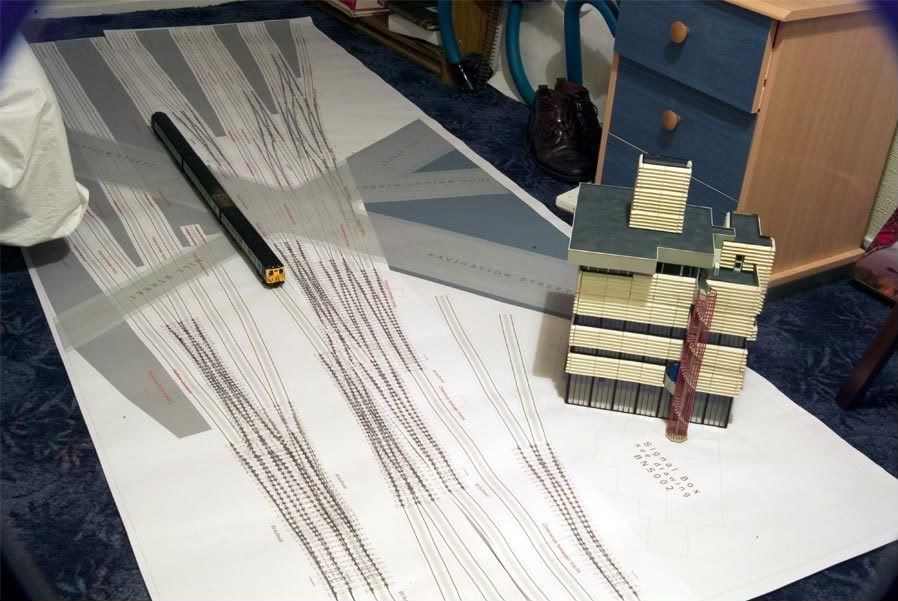
I had not enjoyed the resin side of the build and I didn't think with my skills (or lack of) I would be able to produce what I needed so the alternative was to use Evergreen L section - nearly 25 packs of it! (70 lengths in total!)
It was 3/16 which was a tad too big so every length needed a sliver cutting off using a piece of H section brass as a guide.
The end result is something I am much, much happier with and I am now pretty much back to where I was in october 03 - This time I am happy to move forward with the model


Cheers
Jim