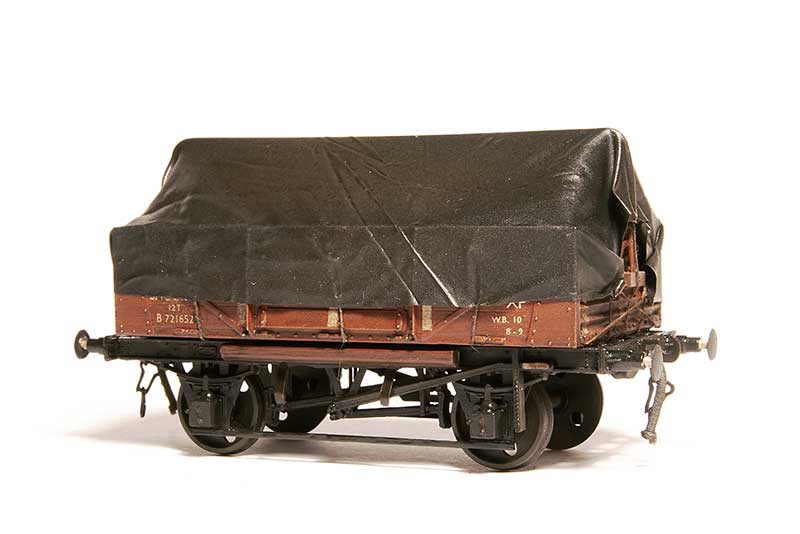
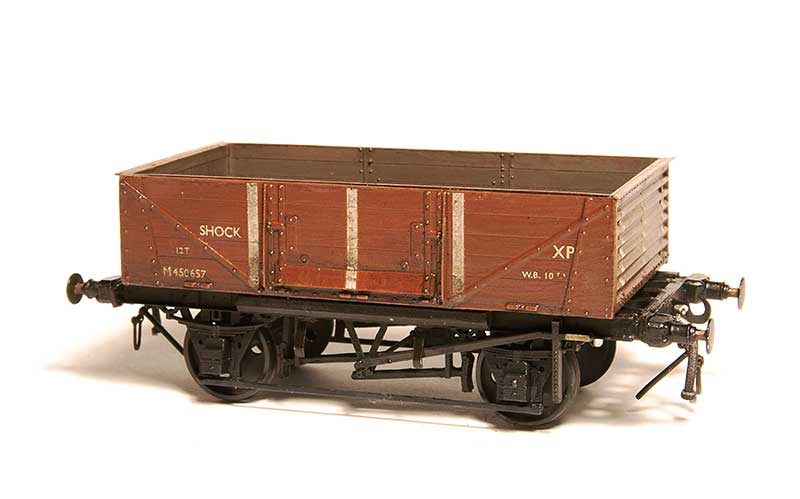
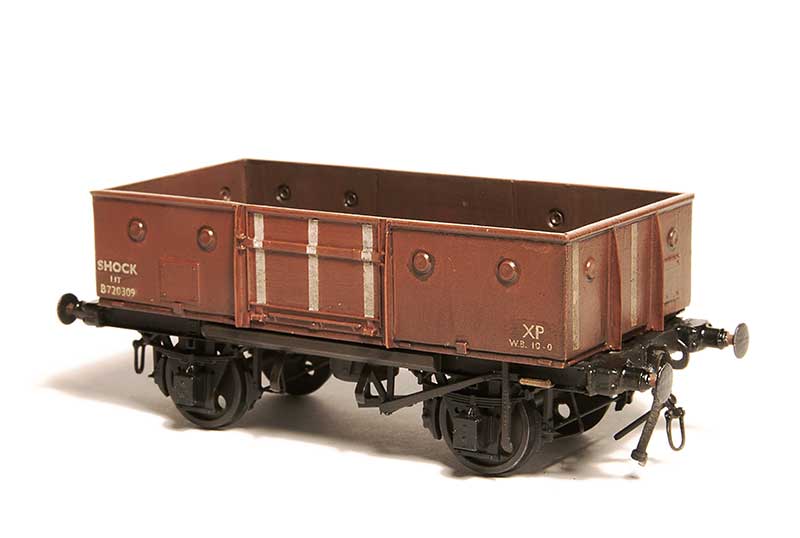
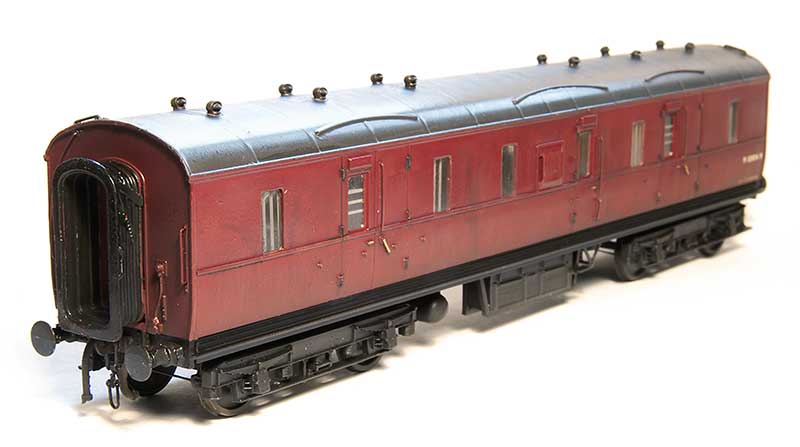
The subject this time is this...
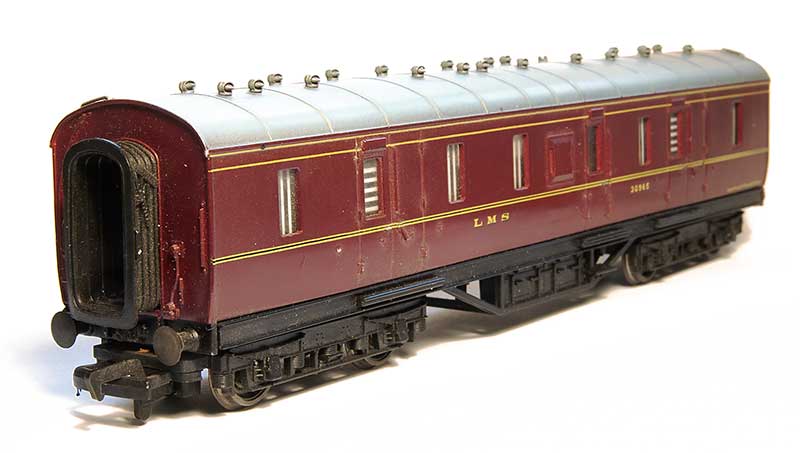
... the good old Mainline LMS BG. A great model for its time but not without room for a little bit of TLC. There is an error here that once you see it you cant un-see and that is that the underframe is too wide by 2mm. Ive talked in the past about looking at dimensional errors as a percentage. 2mm off over the width of a coach is a much larger percentage than 2mm over its length but theres an additional factor in play here and that is relationships. If the whole model was 2mm to wide you might (but probably wouldn't) get away with it but when only part of it is, it just looks weird. Let's be realistic here we are talking about 1mm per side but that 1mm means the edges of the solebar framing sticks out from the bottom of the body rather than tucking under it. Also the footsteps don't line up properly but thats a minor thing.
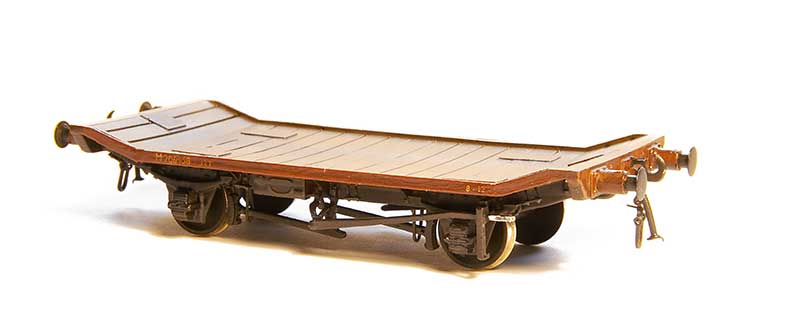
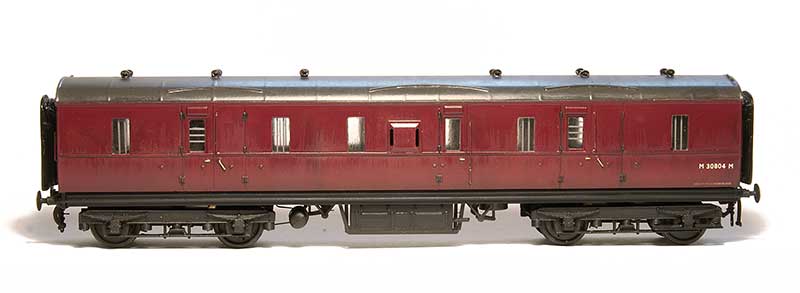
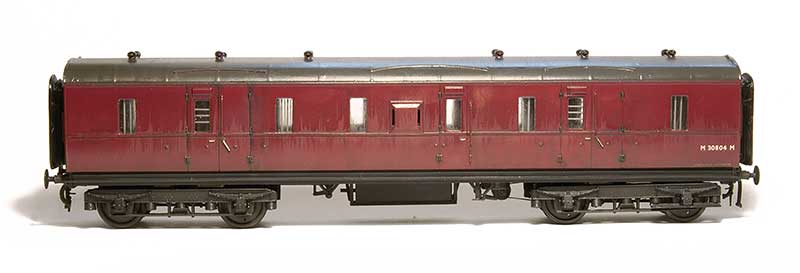
So the options then. You could just replace the underframe with a Comet one but at the time they were out of stock and the trussing is a flat etch so no real improvement over the one already there. Or you could slice 2mm out of the centre of the floor and glue it back together. The issue with this is I don't think the trussing itself is over width. To me the simplest solution was to make a new floor from plasticard (29.5mm x 196mm) and transplant the trussing from the mainline model. The new solebars are 4mm channel from evergreen.
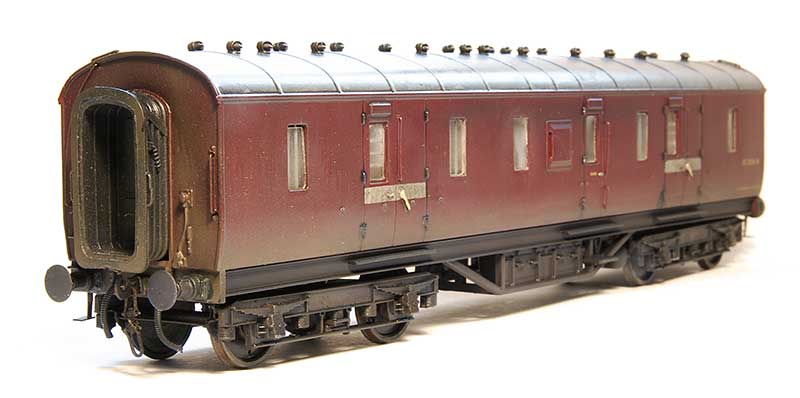
So heres the model had already done on its new underframe. The bogies are Brassmasters with the original sideframes attached. Buffers have been replaced with more accurate ones from Lanarkshire models.
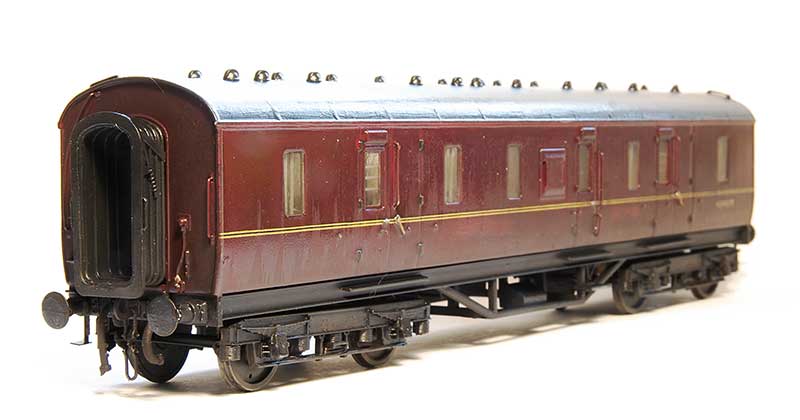
As is usually the way for me I got a little carried away. Why build one new floor when you can build several? Theres a few subtle differences here such as the roof vents and footsteps.
As with any grouping of things there tends to be one member thats a little bit weirder than the others and this is it. The diagram 1715 version. OK it looks kind of the same but the qay it was build was quite different and actually much more like the much later BR Mk2 in that the body was where all the strength is and it didn't need a traditional underframe. The solebars themselves are also different in that the outer face is solid. Other variations are the positioning of the roof vents, bodyside beading (which comes in a whole load of variations on these coaches anyway), the extra rain strips and the full length footboards
This is the more normal side. Note the dynamo is at the opposite end to the more standard versions.
The other side is decidedly more odd with basically next to nothing there. It almost looks like the model hasn't been finished. Note also the steps on the bogie.
Just a quick note to thank Mark Tatlow and Graham Speechley for their help locating images of the diagram 1715 version.