jim s-w wrote:I haven't Rob. It's a HO kit (vollmer I think) although the bricks would be quite big if used in a HO setting.
Not my failing then to roll embossed brick sheet into a taper, will stick to square and hexagonal chimneys………..
Rob

jim s-w wrote:I haven't Rob. It's a HO kit (vollmer I think) although the bricks would be quite big if used in a HO setting.
jim s-w wrote:I haven't Rob. It's a HO kit (vollmer I think) although the bricks would be quite big if used in a HO setting.
Phil. The door furniture is supplied as extras on some of the brassmasters etched Windows. The arches are left overs from New Street so not available, sorry
Jim


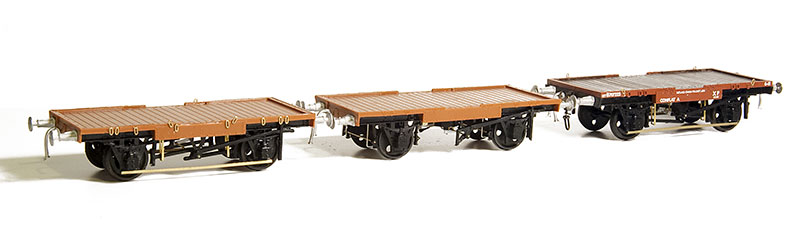
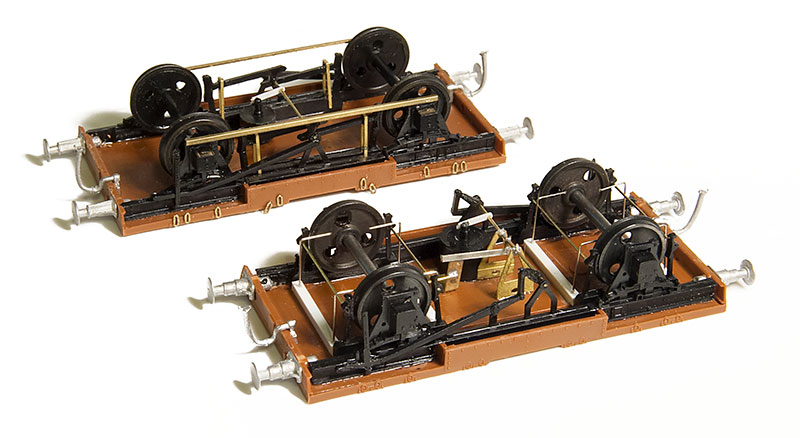
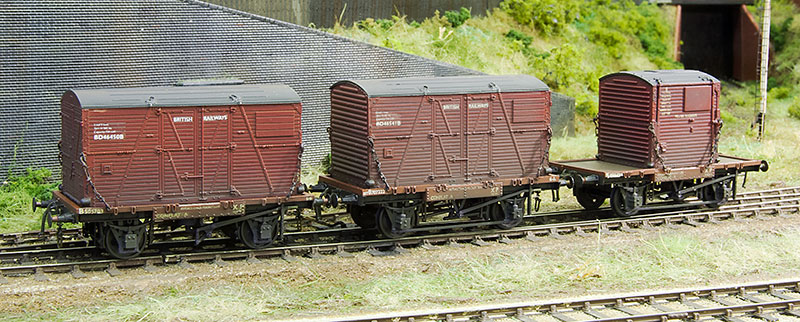
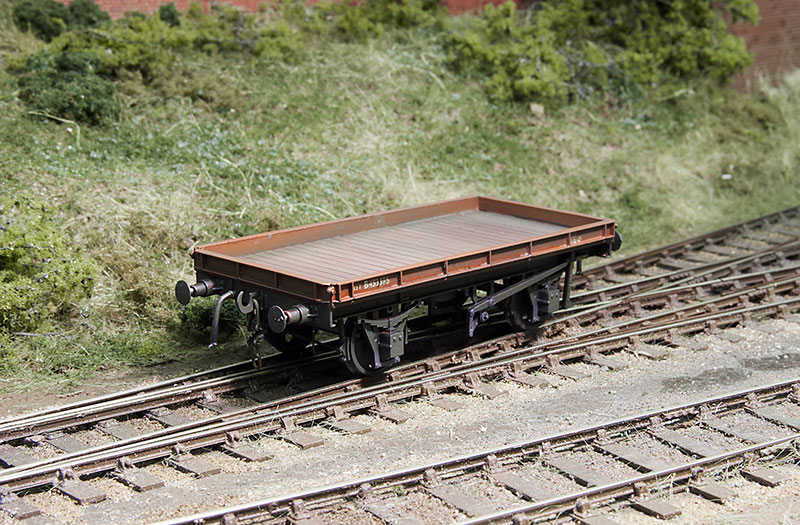 I've been doing other wagons too. Above a Dia 1/002 Lowfit from the Red Panda kit.
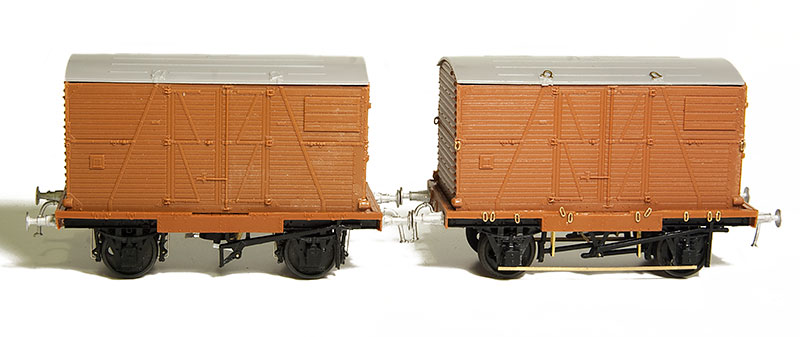
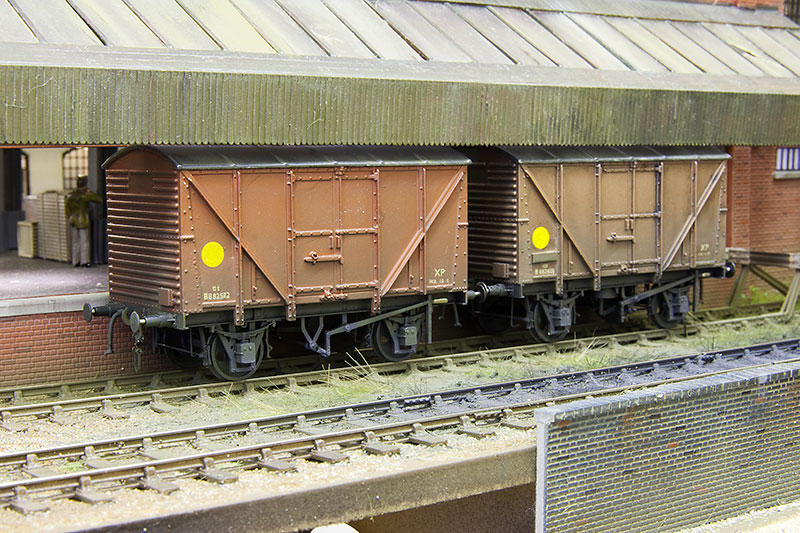 A couple of Banana vans - Wrenn bodies on Red Panda underframes with additional details.
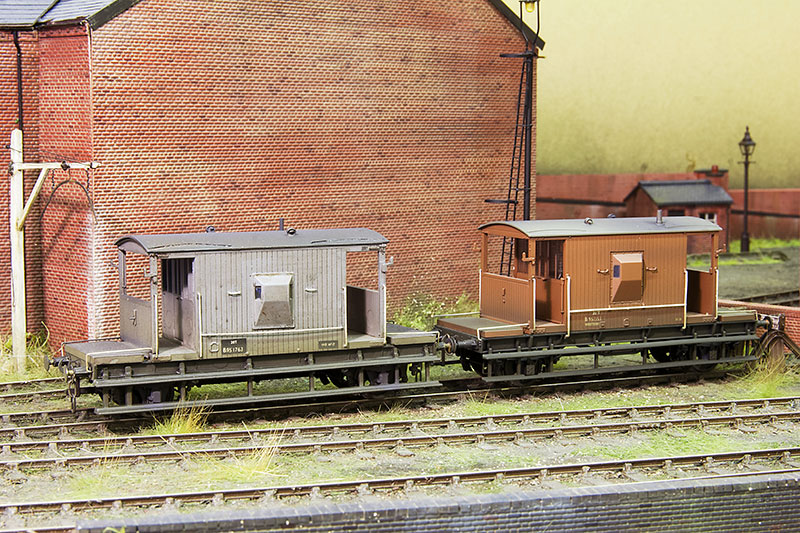


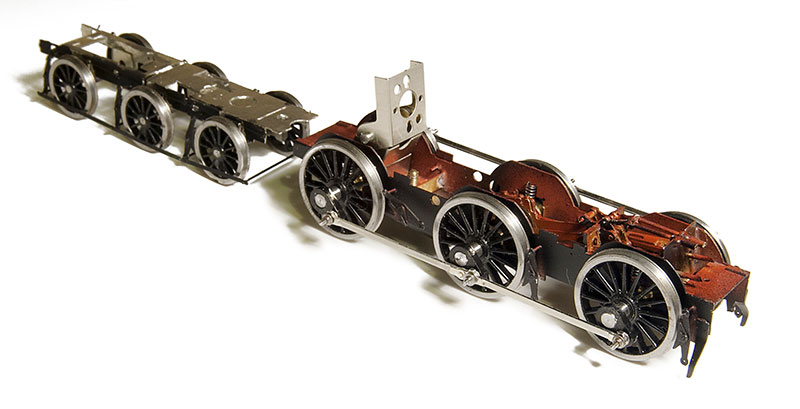

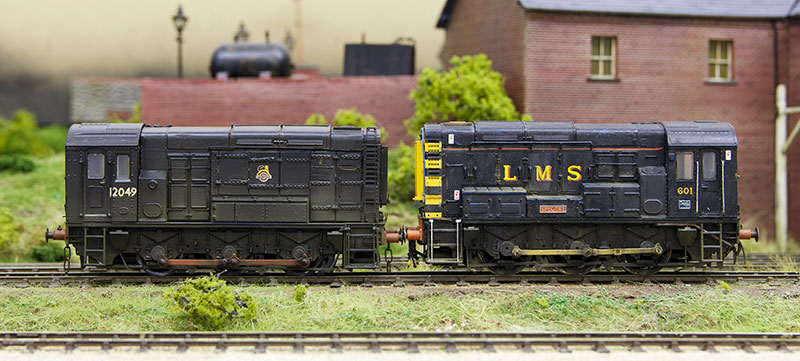
garethashenden wrote:That looks very good! It's interesting that the wheelbases line up so well between the two locomotives.

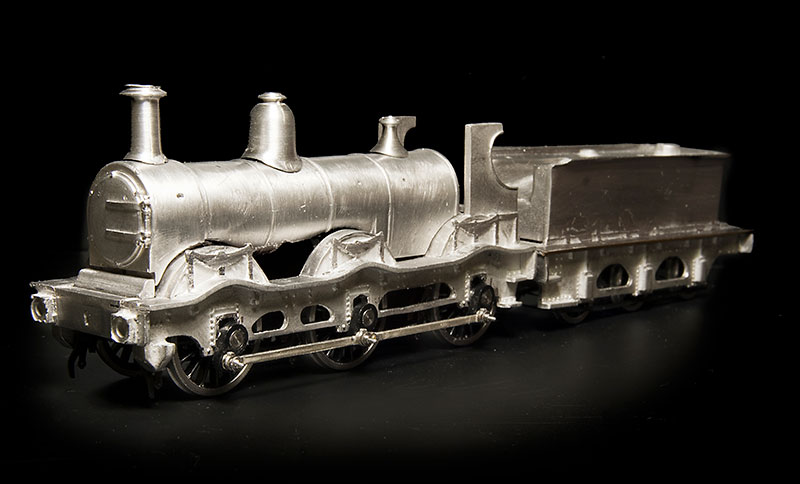
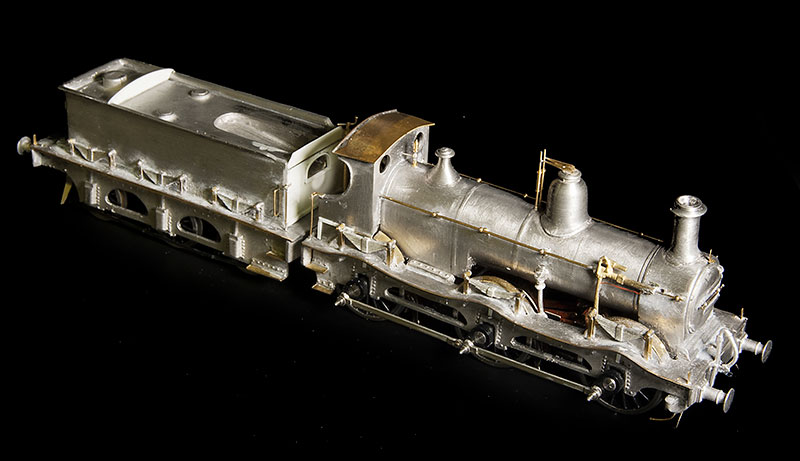
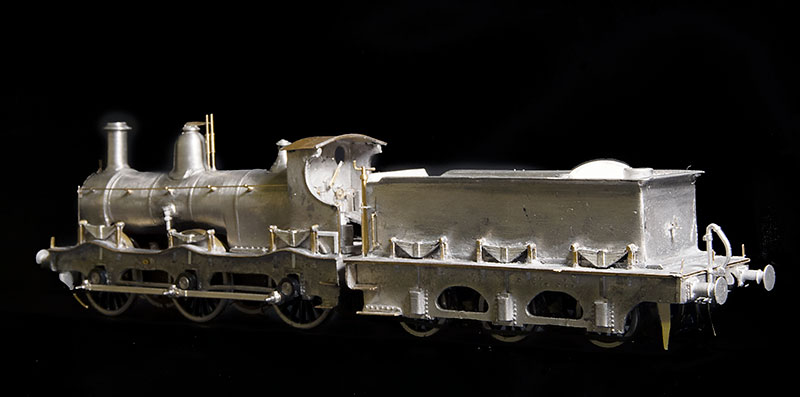
jim s-w wrote:More work on the Kirtley
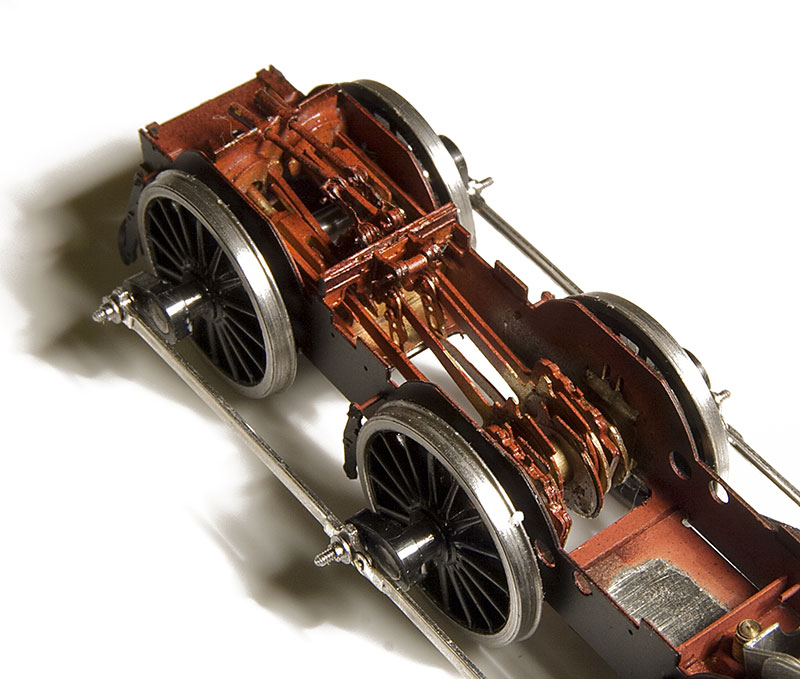
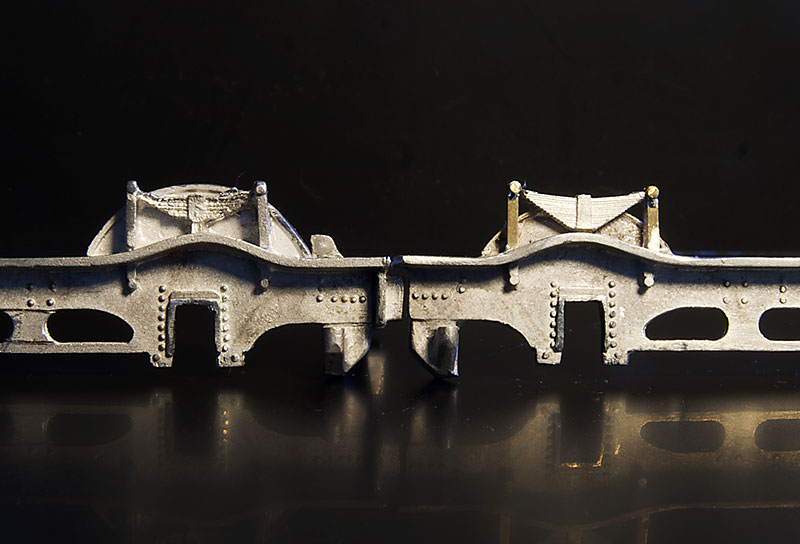
On the left the original splasher (and somewhat crude spring) and on the right my resized version/ I chain drilled a line of 1mm holes inside of the splasher (from the back) and added a new top from some scrap etch.
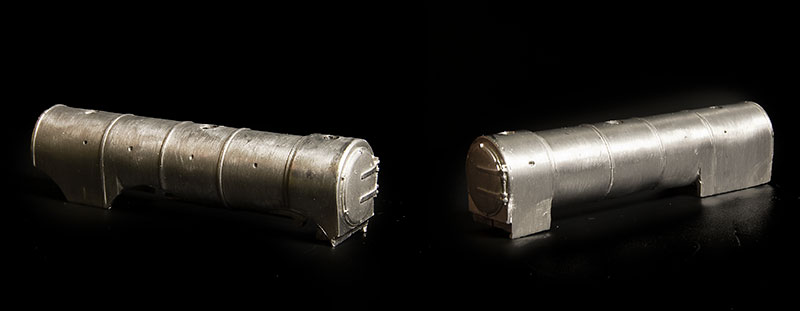
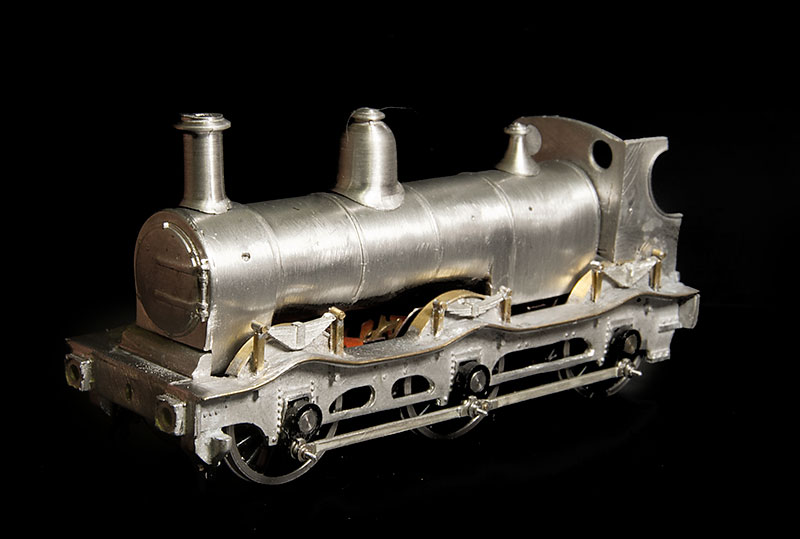
The oversized splashers mean the boiler is compromised to fit around it. I modified it with some scrap whitemetal disks (from a southern Pride 310 kit - see, never throw stuff away!) Below is the loco so far with new splashers, springs and beading along the footplate. I've also mounted the chassis a tad higher into the body since the first image the other day.
jim s-w wrote:This kit is ticking my poor kits are more fun box that's for sure
Users browsing this forum: ClaudeBot, Crepello, John Donnelly and 1 guest