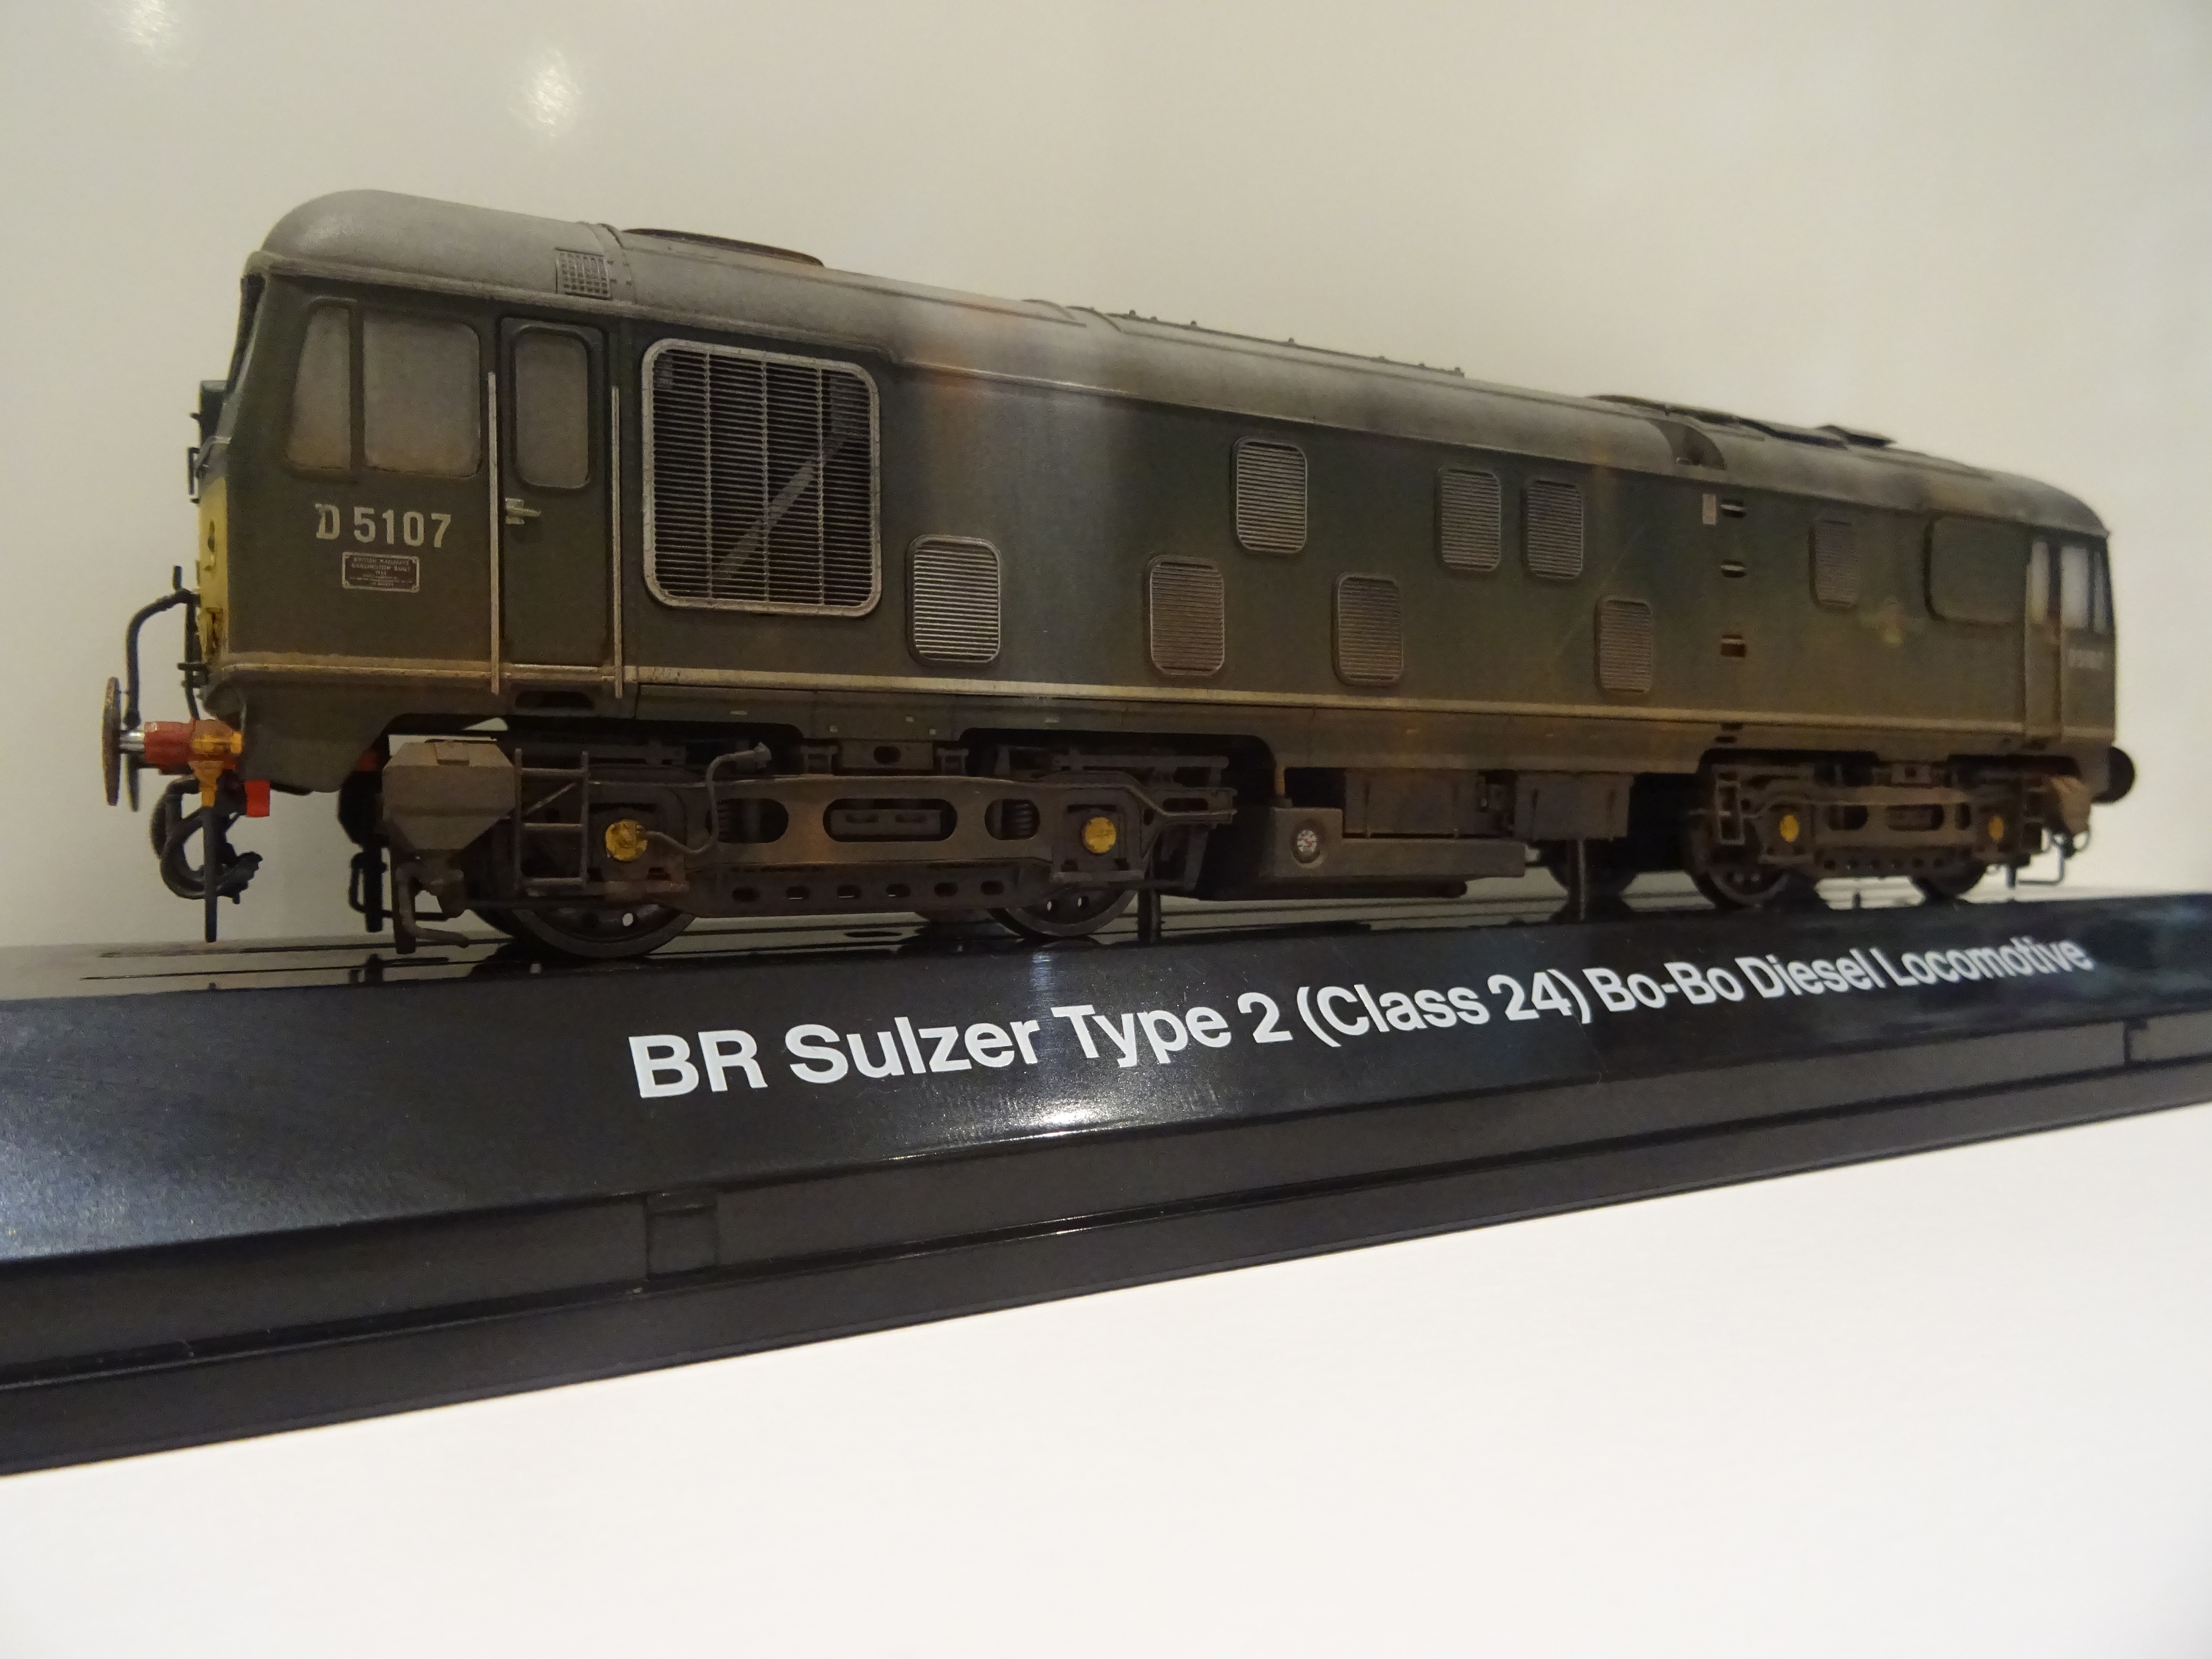
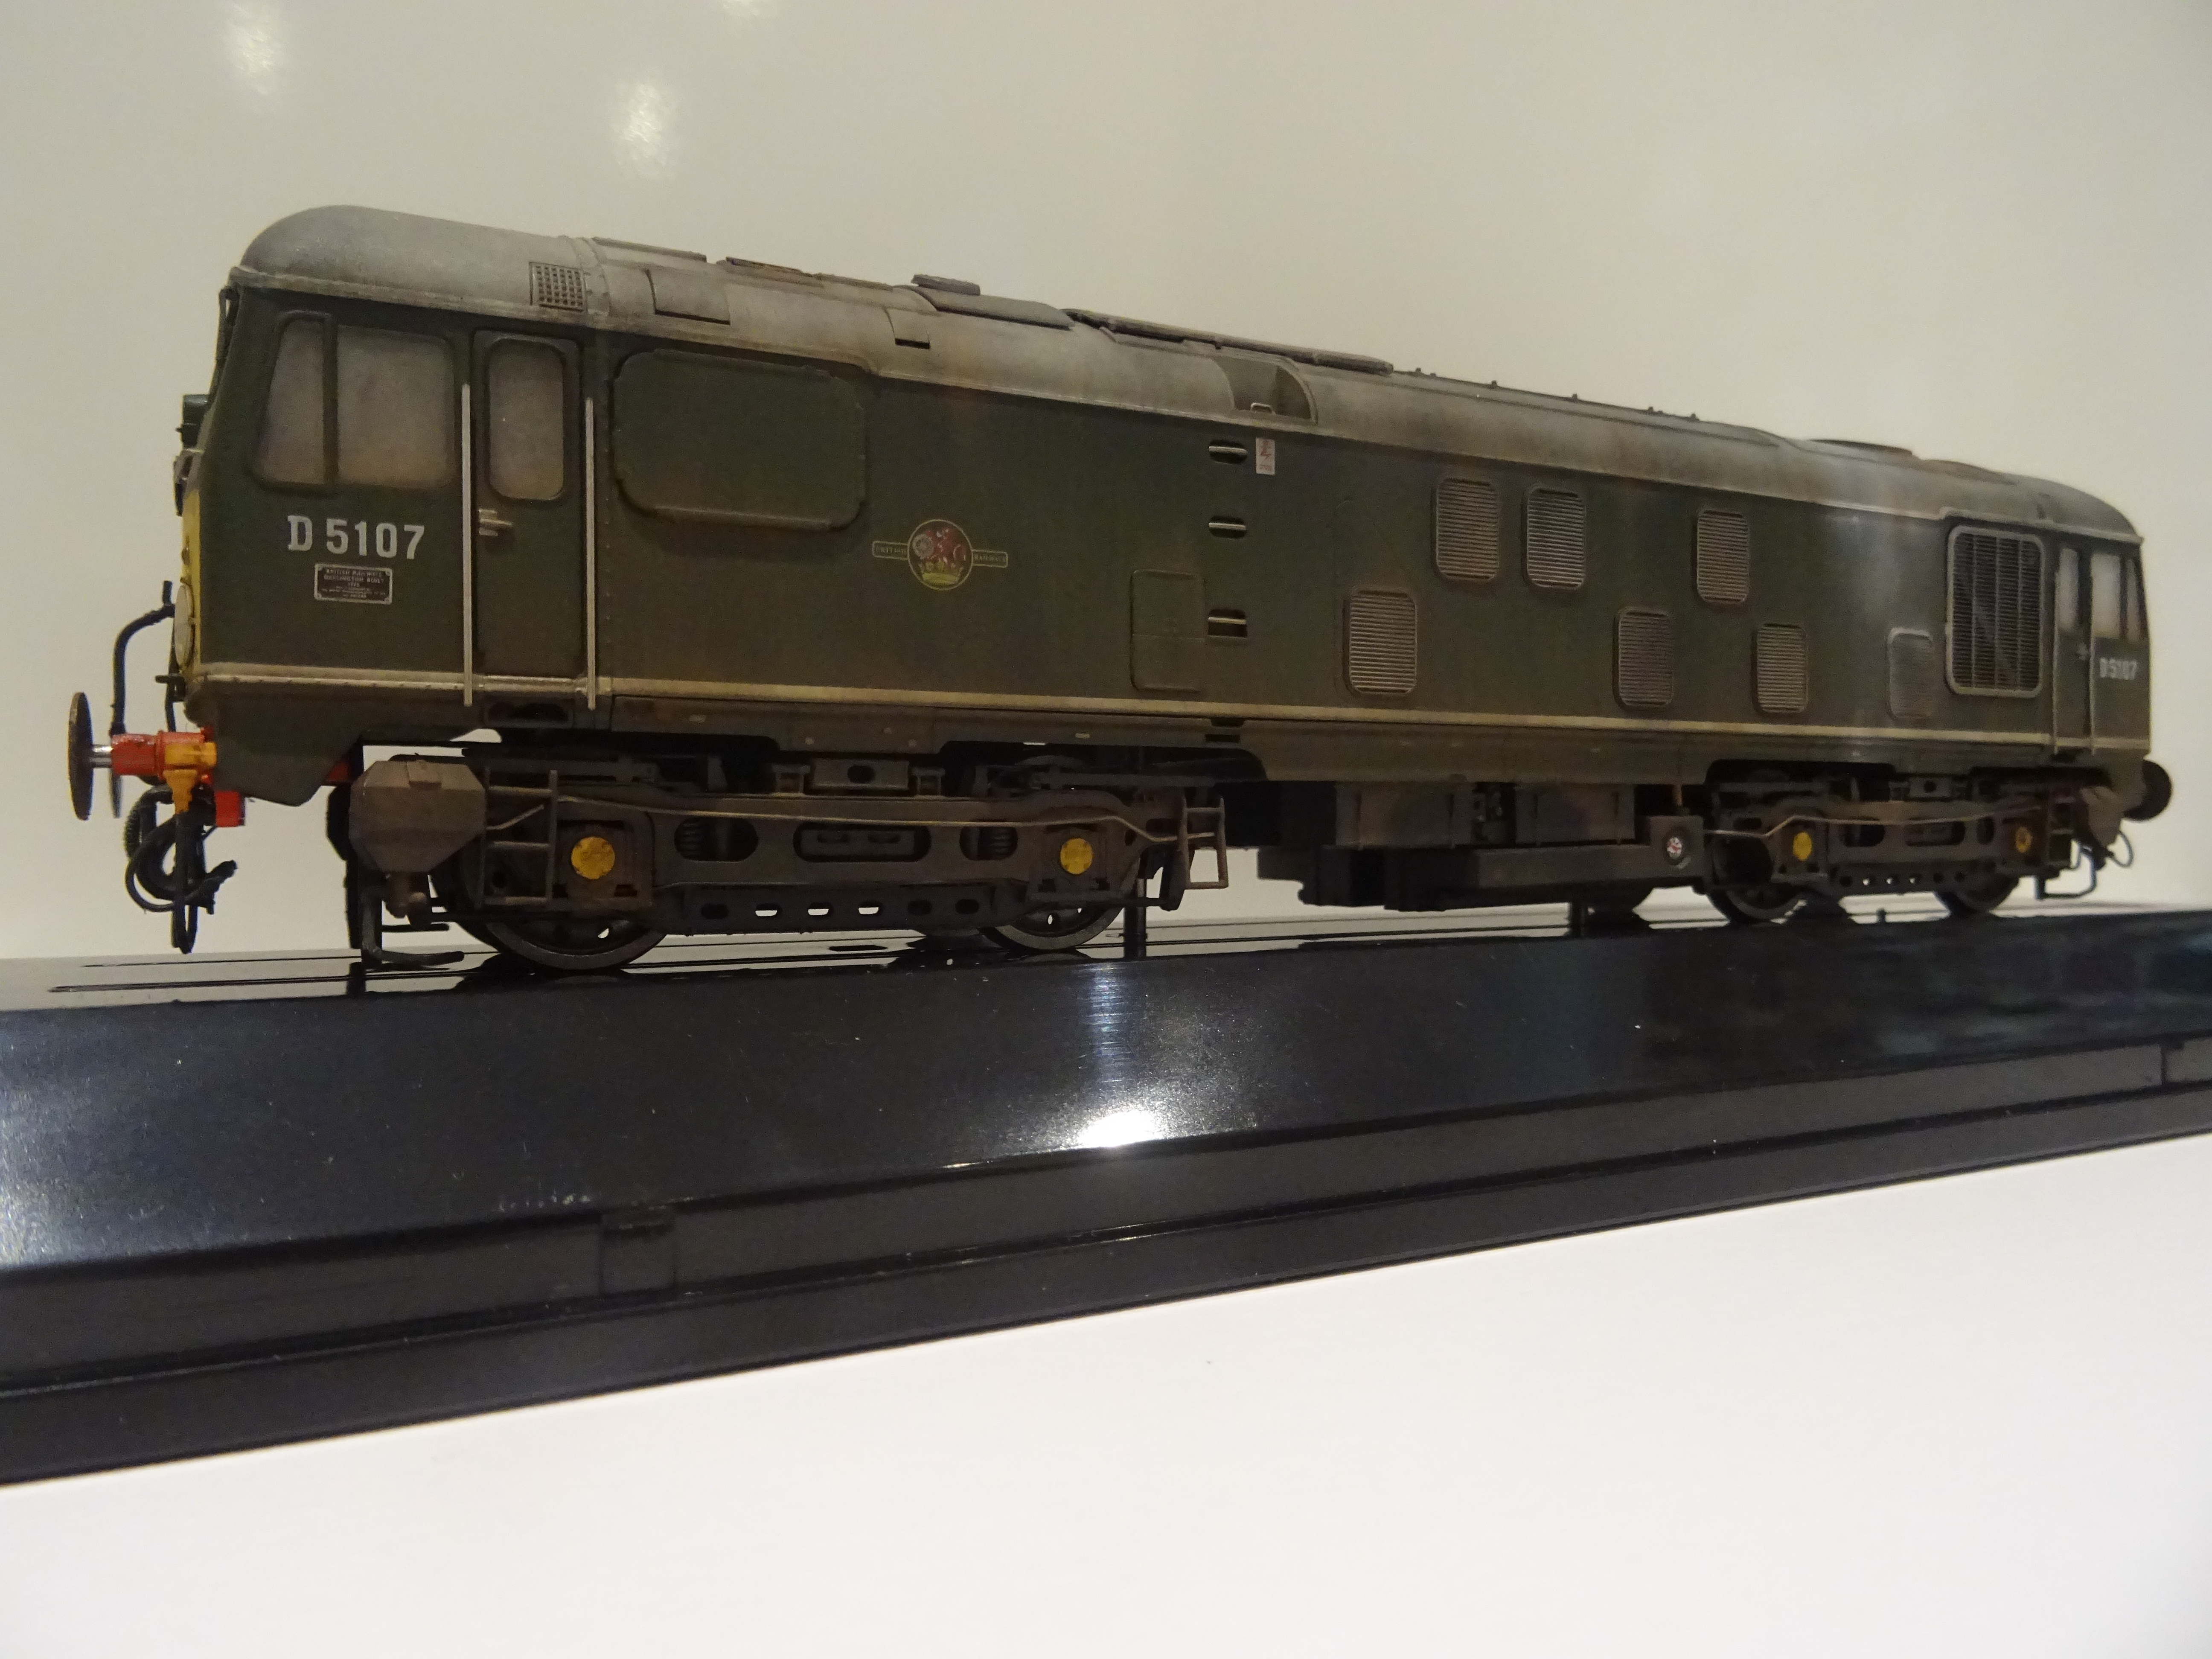
James,
Springing the centre axle is relatively simple as Hornby has done most of the work for us. I suspect their designers wanted to follow Bachmanns lead but decided not to include the springing on the production runs. The springs are even shown on Hornby's maintenance sheets. (Attached)
Adding the springs was so quick and simple that I'd forgotten I'd done one of mine, even when talking to Rick about the repairs carried out on Johns 08. Hornby has altered the bearing design over the years of production and I've used a couple of different springing methods to take into account Hornby changes.
Hby_CL08_SpringsSm2.jpg
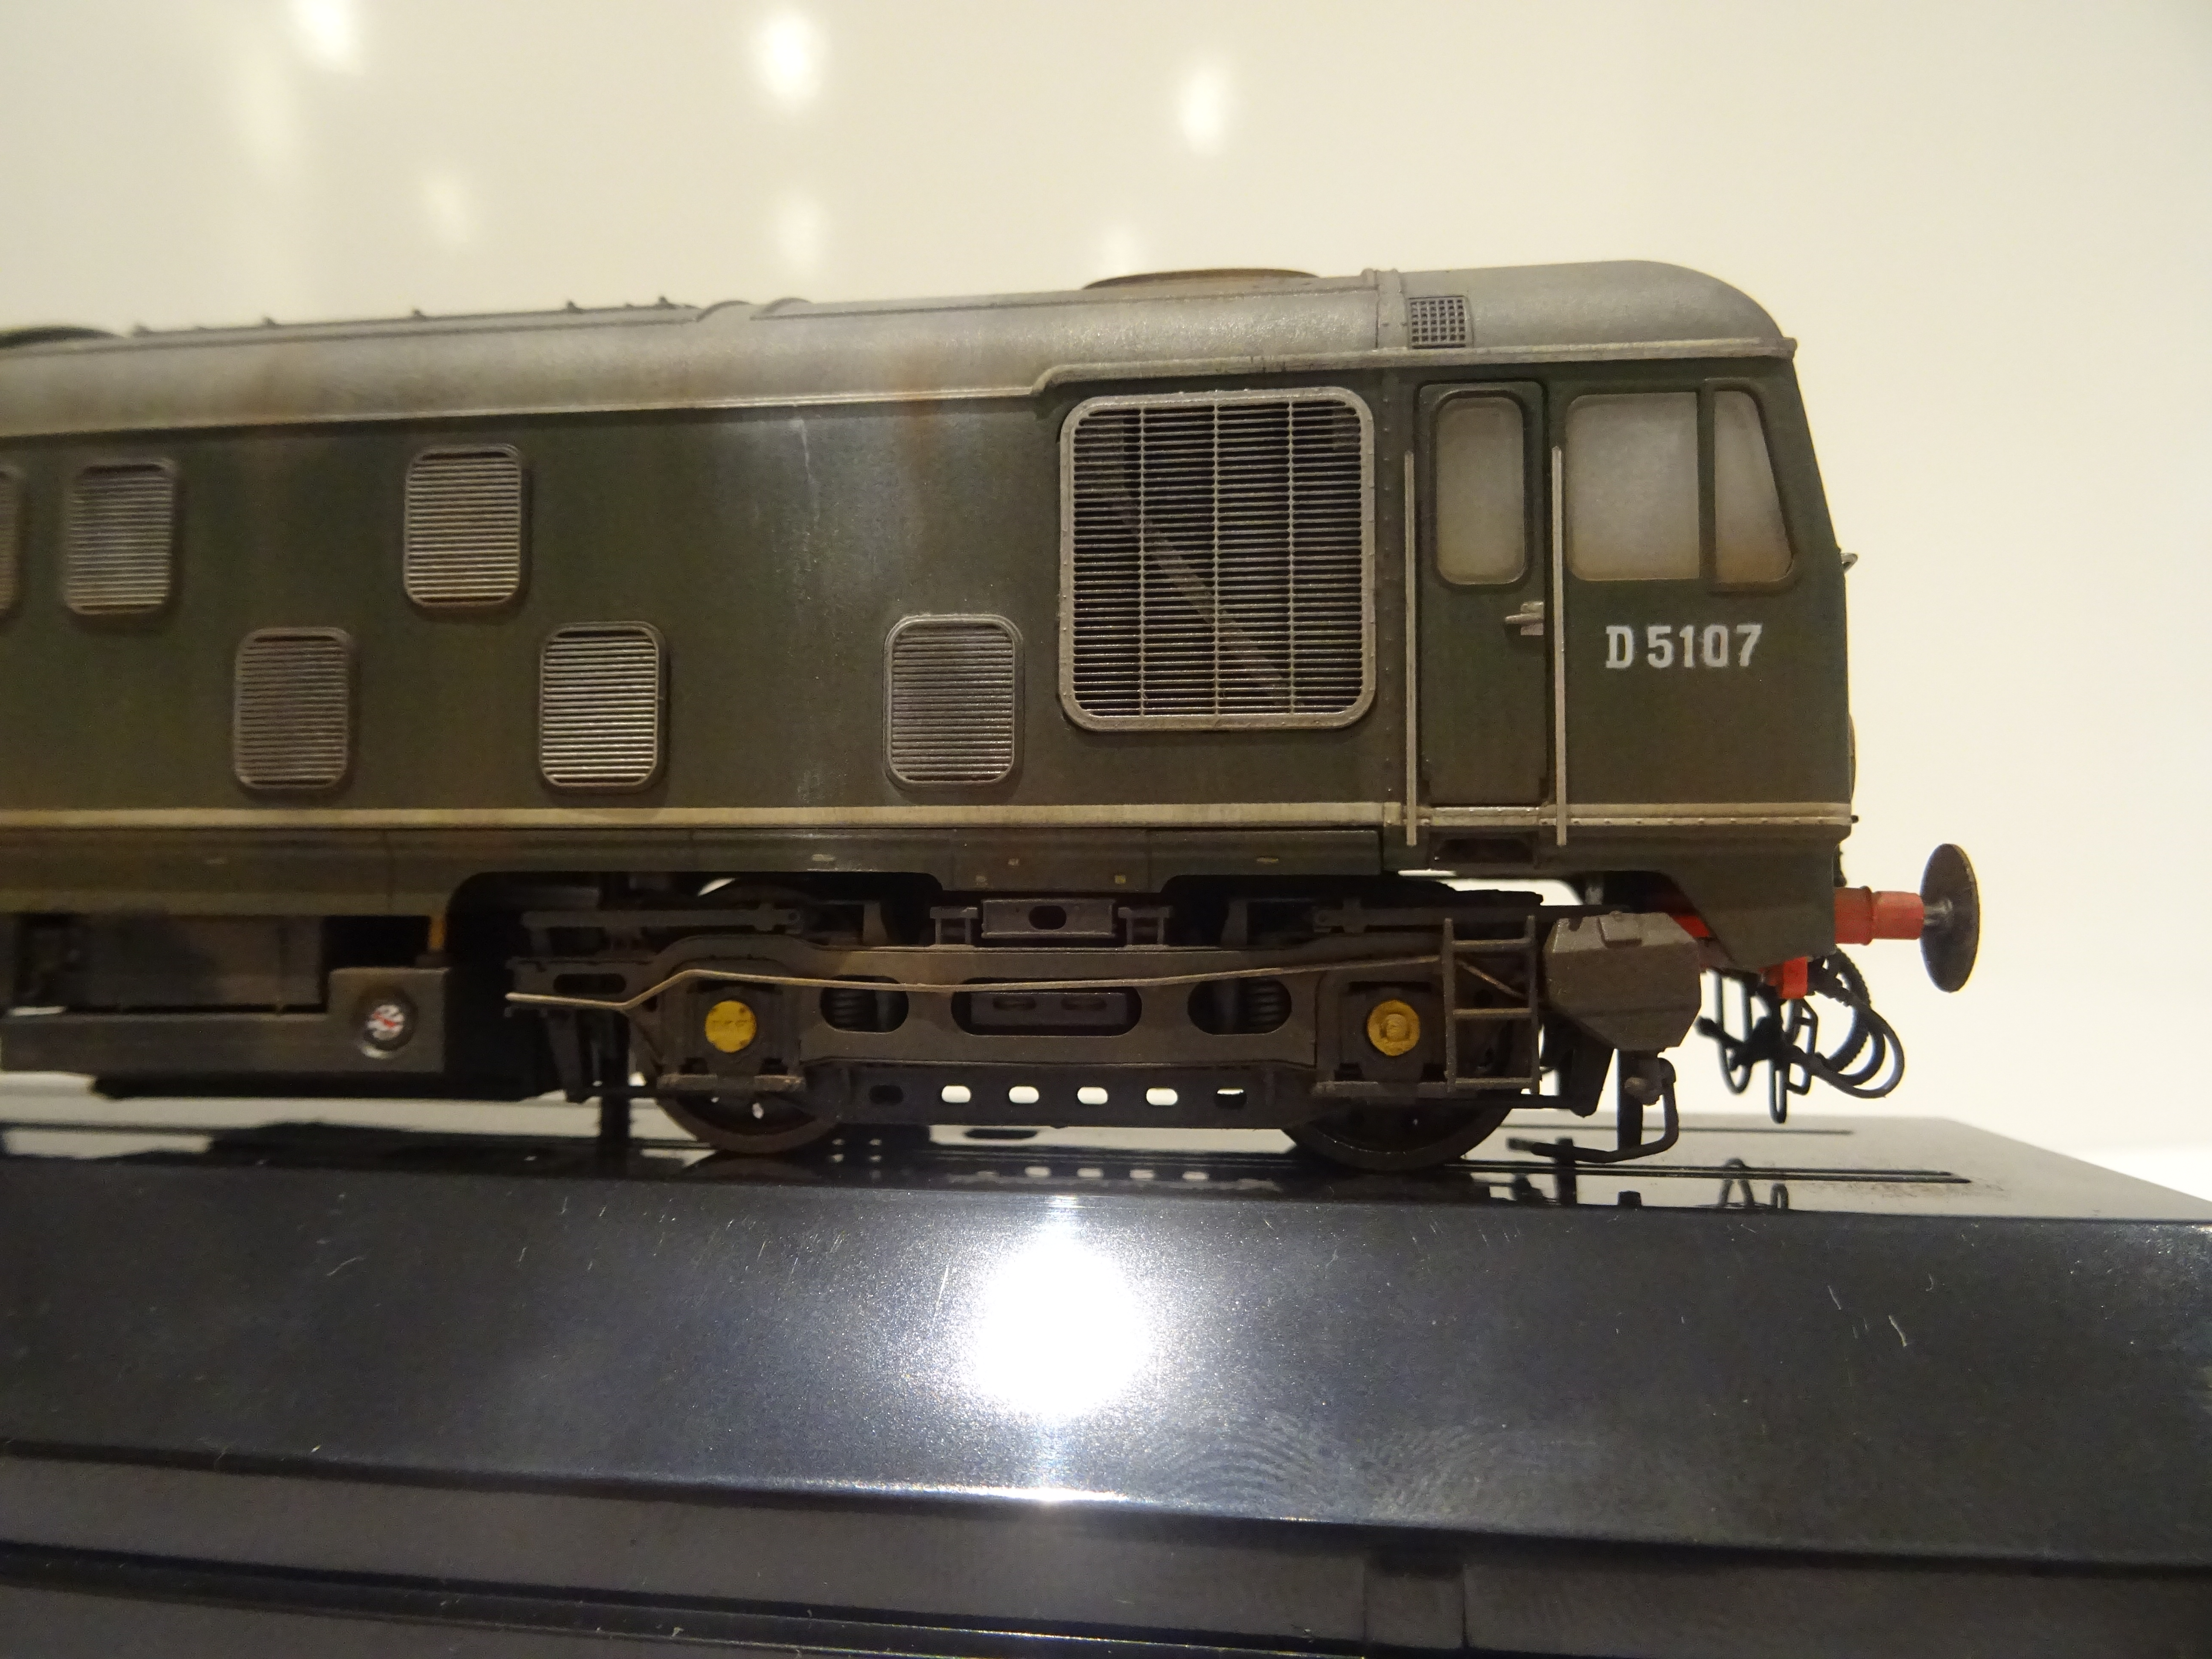
Hornby have provided 1.7 mm blind holes in the chassis block above each centre horn guide. Later 08s use a circular flanged brass bearing, the wider flange slotting into the cast in hornslides of the chassis block. I wound a couple of springs from phosphor bronze then cut two slots into the wide flange of the bearing with a fine blade in a piercing saw to locate the spring. I also filed a flat to about half of the depth of the wide flange to give a corresponding increase in upward movement of the bearing. The spring sitting in the slots in the bearing prevents the bearing from spinning in its guide.
Hby-08-Springing1-Sm.jpg
RING-BEARINGmod.jpg
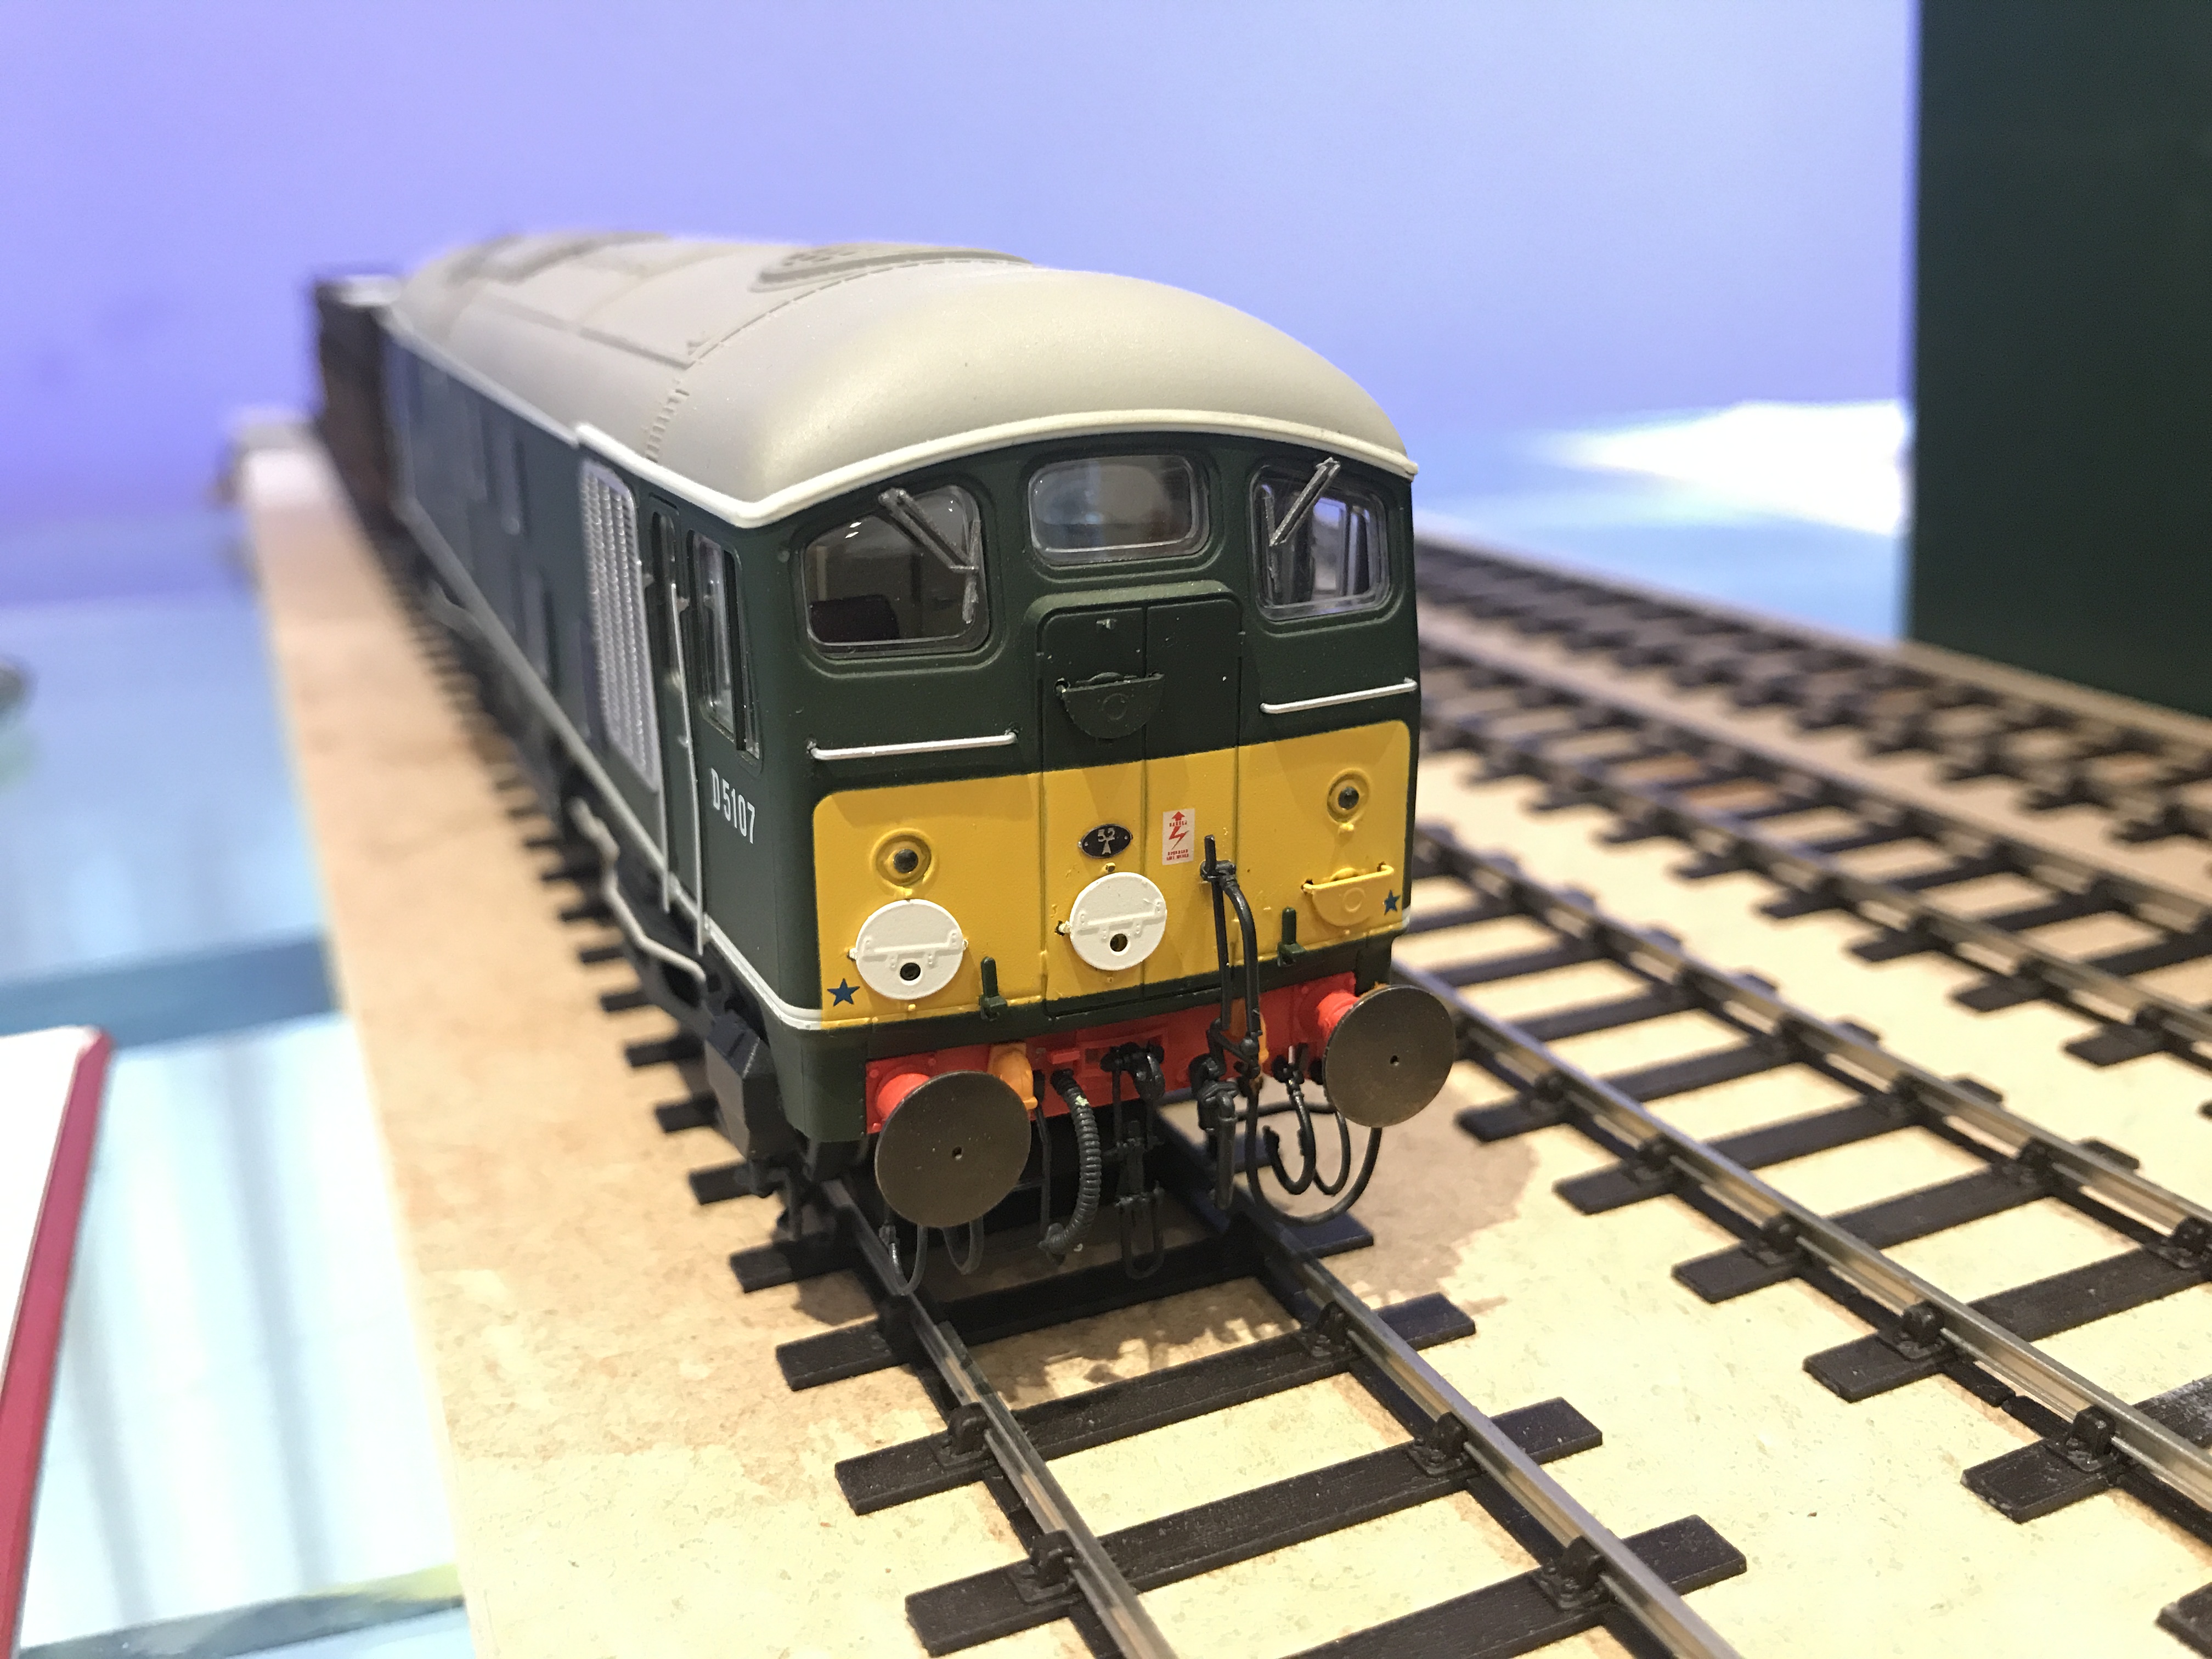
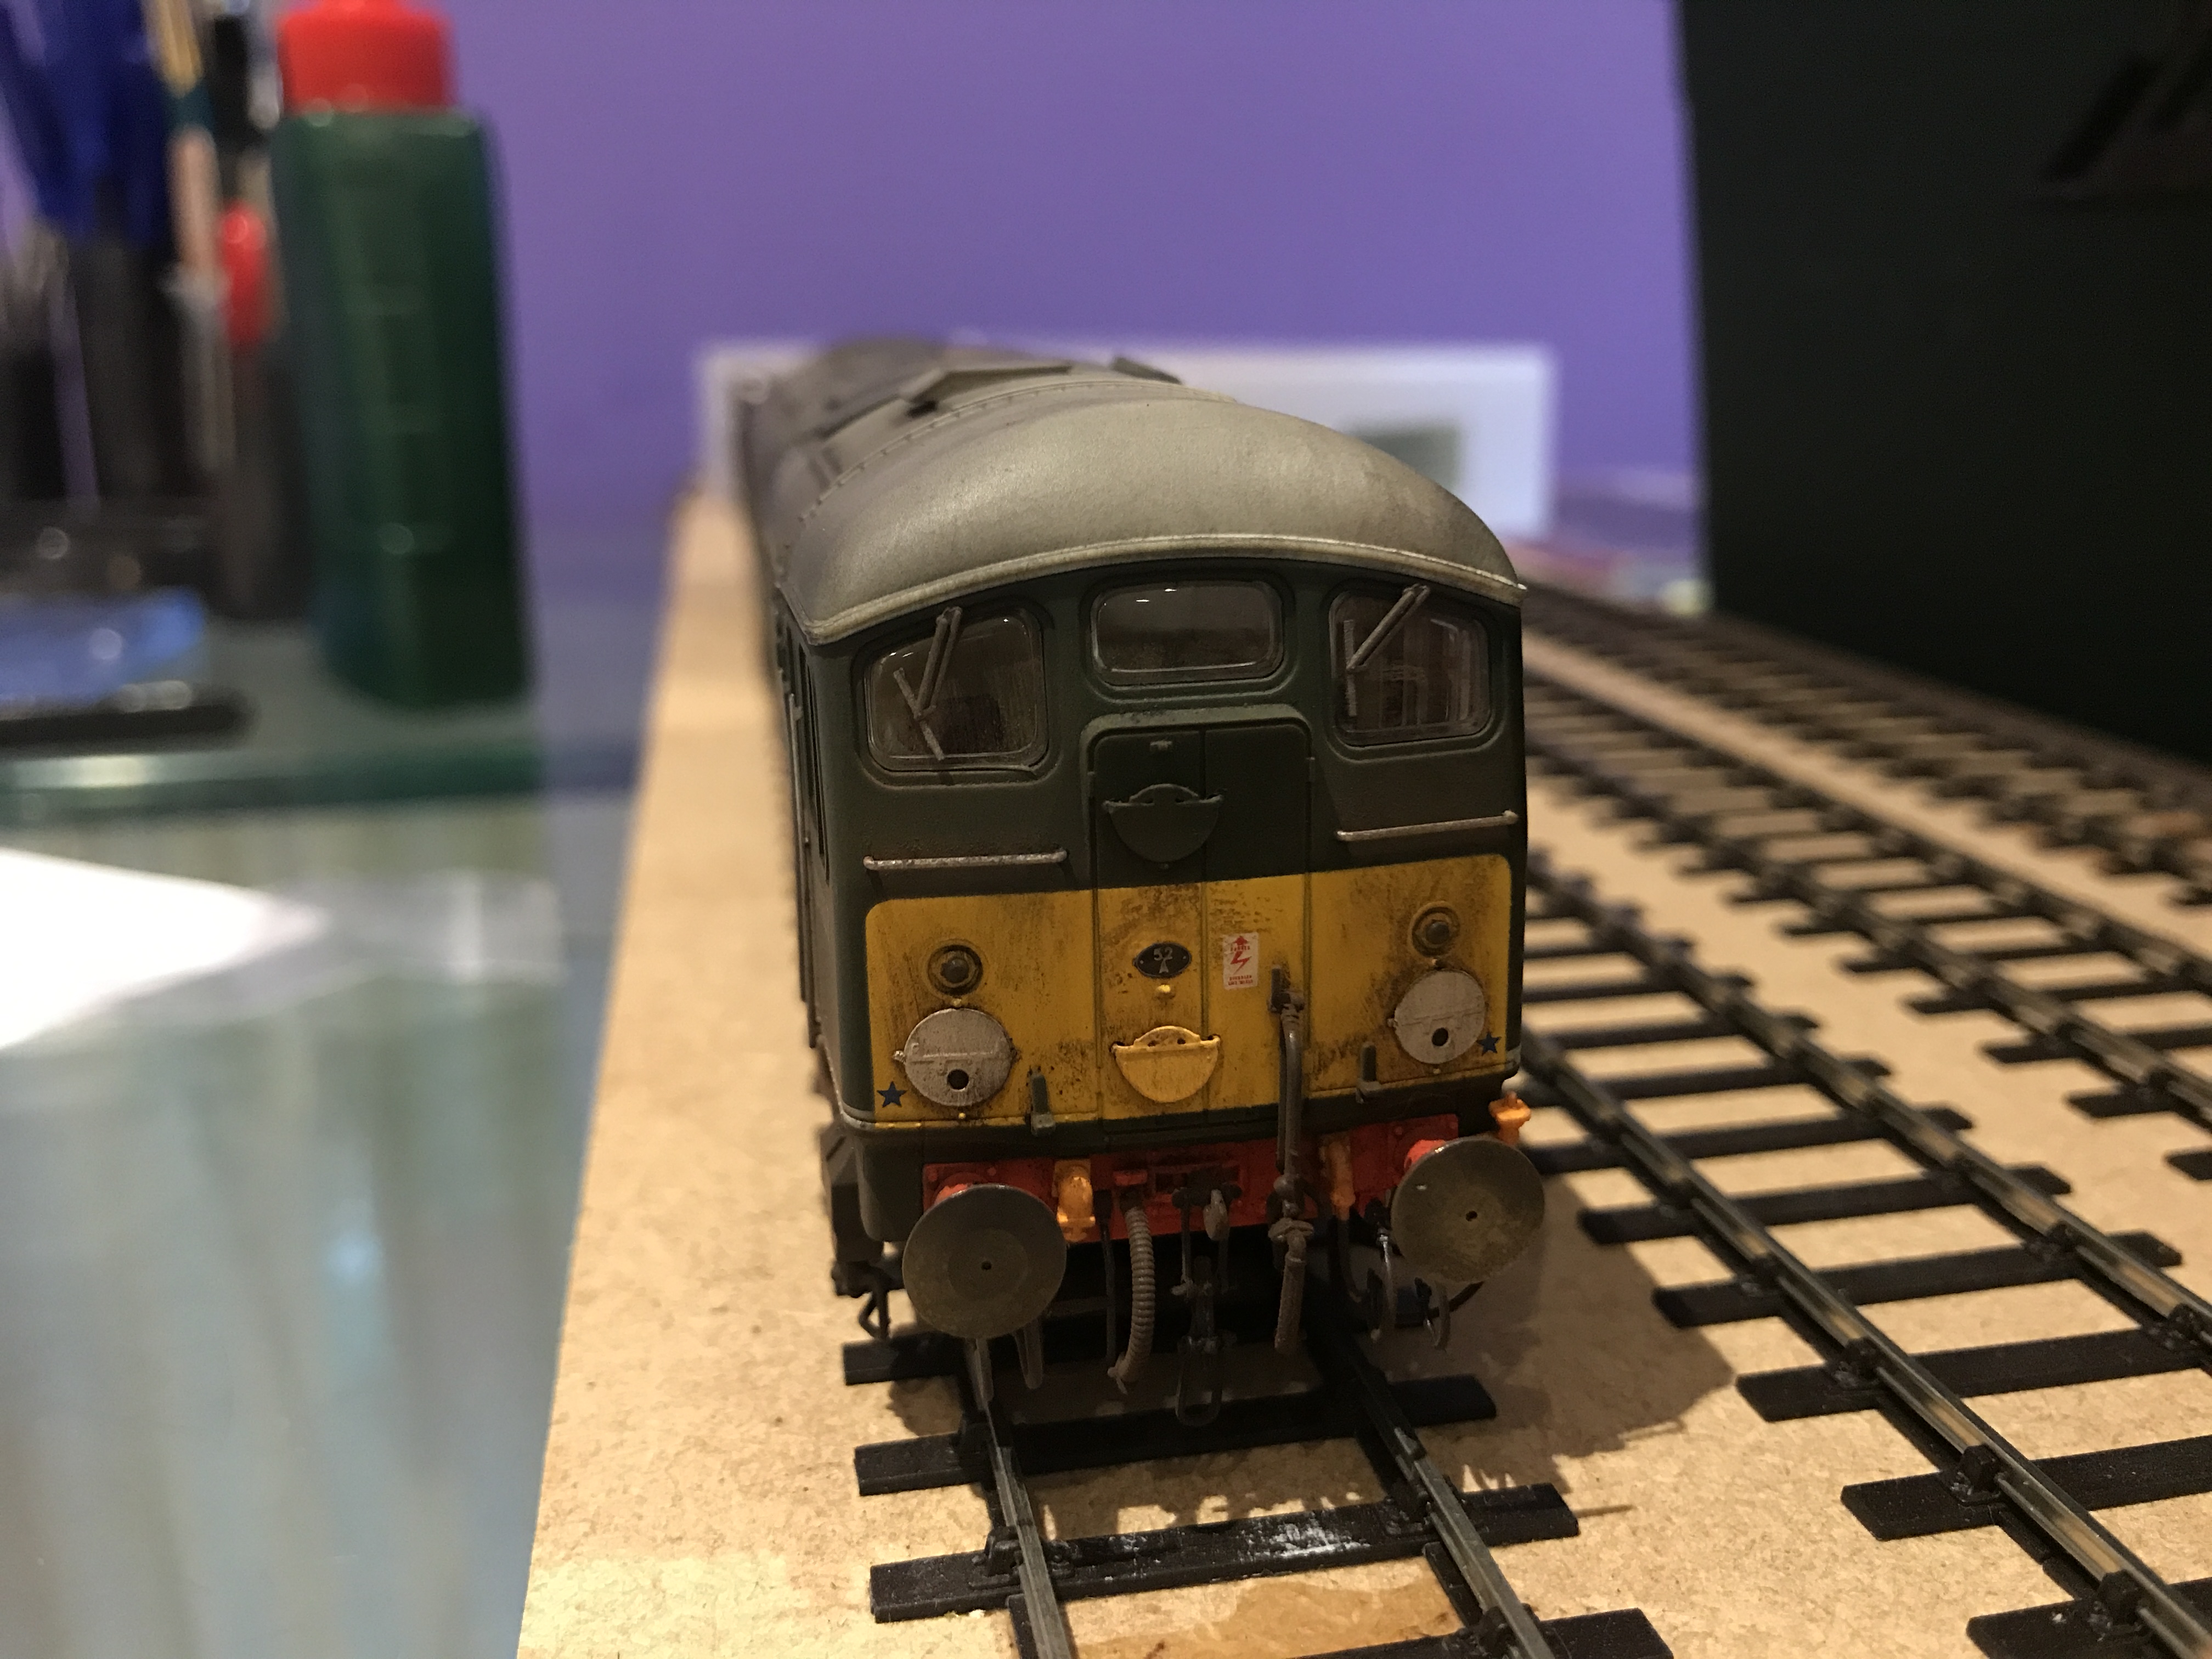
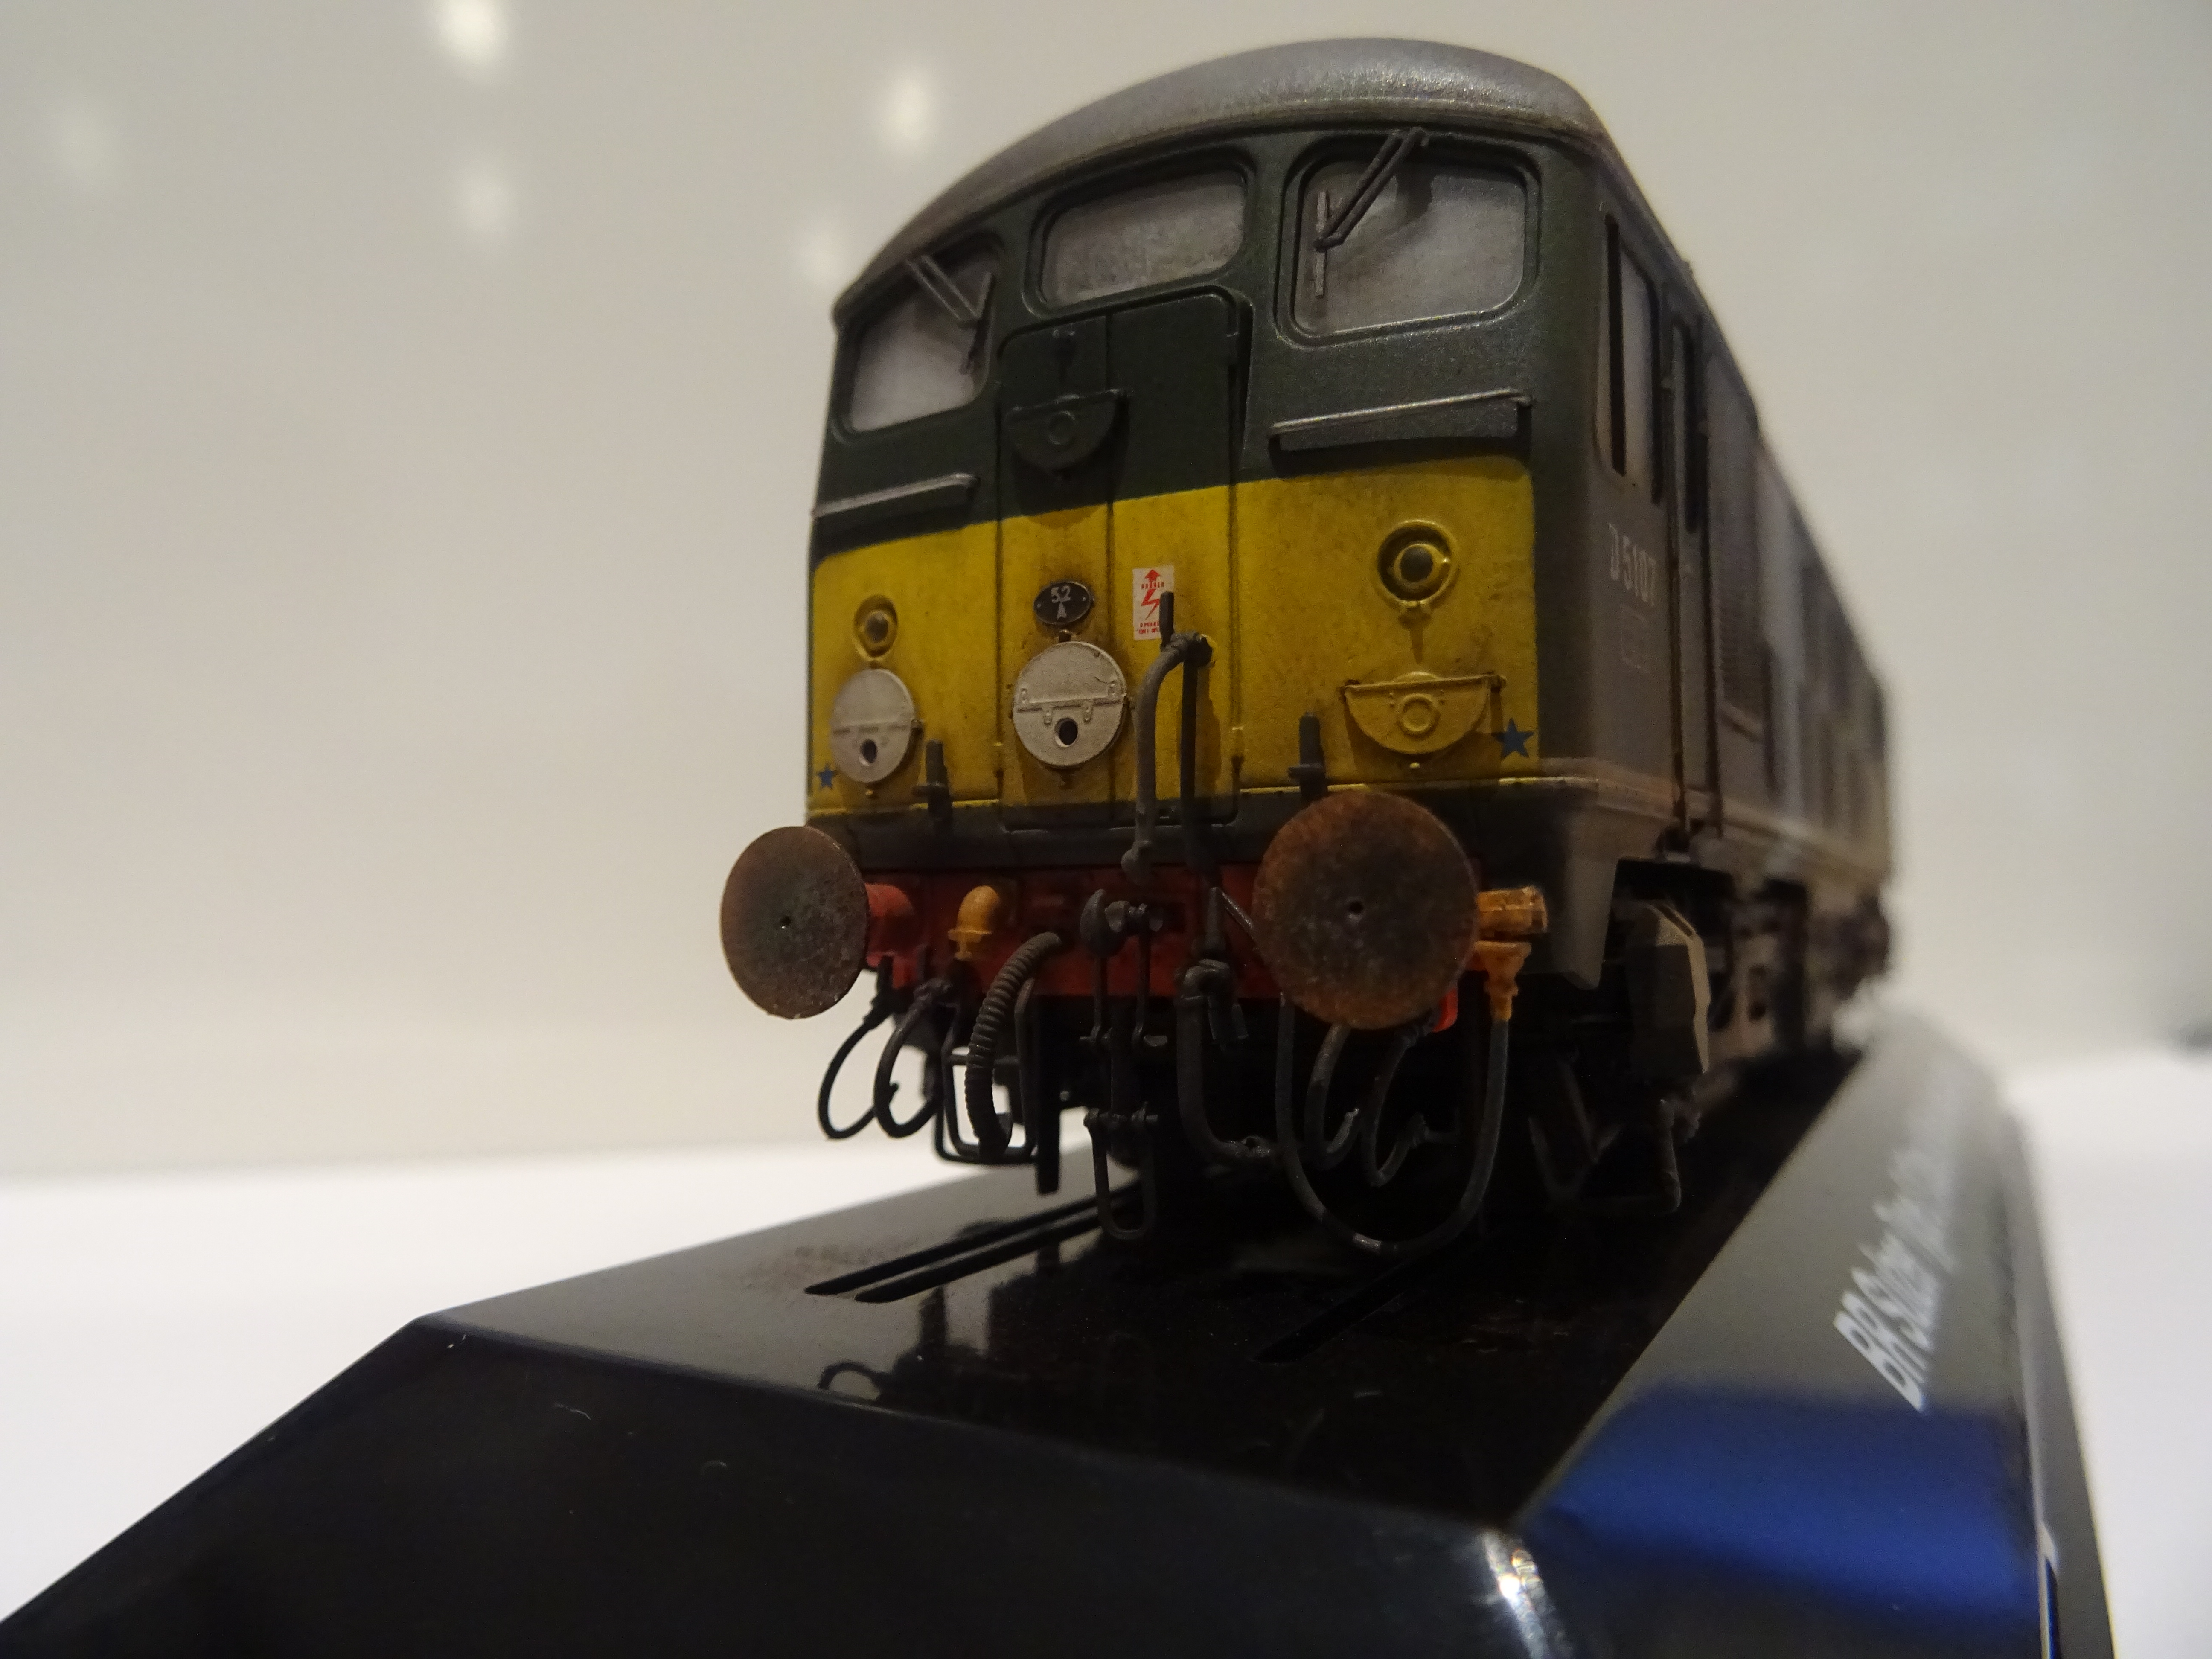
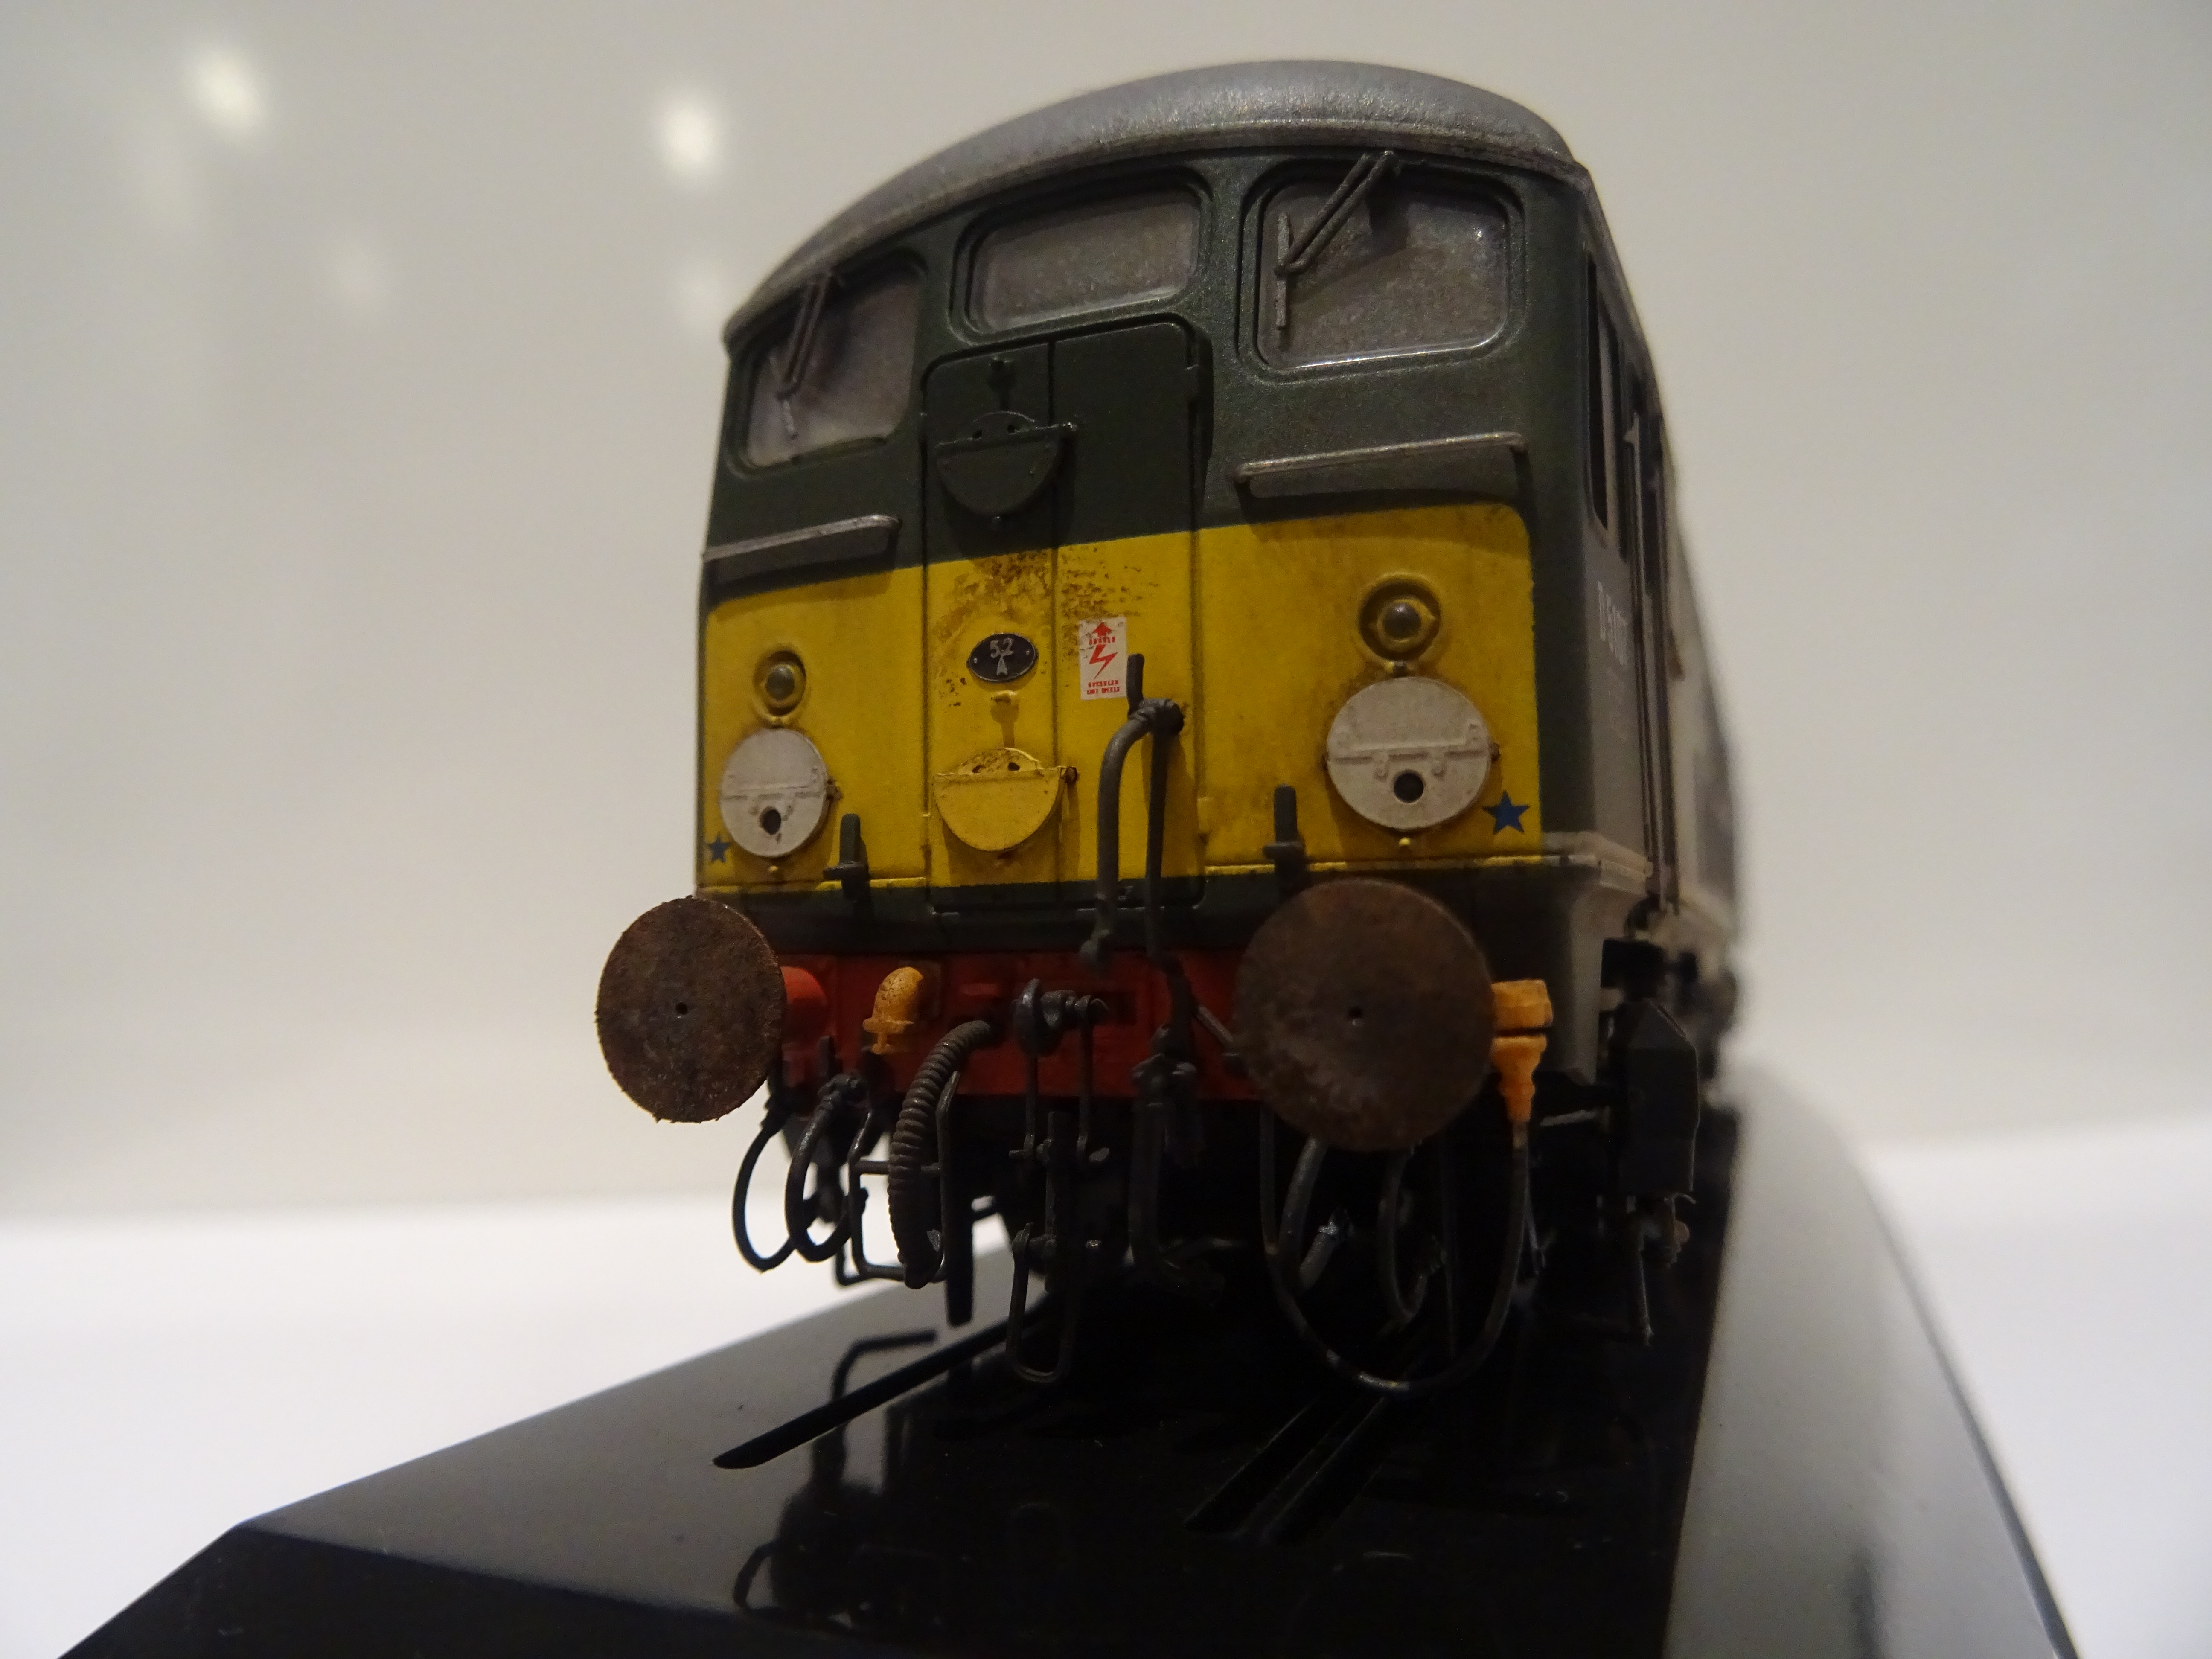
Earlier Hornby 08's had a square bearing that appeared to be made from sintered bronze. Here a long spring could simply push down on the bearing but I did things a bit differently. The centre hornguide was deeper than the two outers by a few thou but I increased the depth a little further by scraping away the upper mazak face with a Number 17 blade. The springs I used came from the original Hornby 08 buffers. To my eyes I find the original Hornby buffer head gives the appearance of a Dowty buffer as opposed to a BR self contained so replace them with a LMS LB01 buffer housing sprung with an MJT 2.5 mm shank head. This frees up the springs for use in the centre axle & also liberates some rather nice miniature E clips which I have other uses for.
The Honrby 08 buffer springs are a perfect fit diameter wise to fit in the "spring location holes" but far too short to push on the bearing so I made an extension plunger by soldering a length of 0.9 mm brass wire into some 1.6 mm dia. small bore tube. The photographs should clarify things.
I'm not sure whether Rick used a commercial spring or wound his own on Johns Loco. I forgot to ask him yesterday. I'll be speaking with him over the weekend and enquire.
Hornby08--076-Sm.jpg
John.
It's a simple thing to add the speedo drive bracket to etched coupling rods. I knocked one up from a a strip of foil cut from an old metal toothpaste tube that had been opened out and flattened. I glued the Bracket to the rod. Just got to get the speedo crank working now.
PwDs-Hornby08--103-Sm.jpg
P
You do not have the required permissions to view the files attached to this post.


