
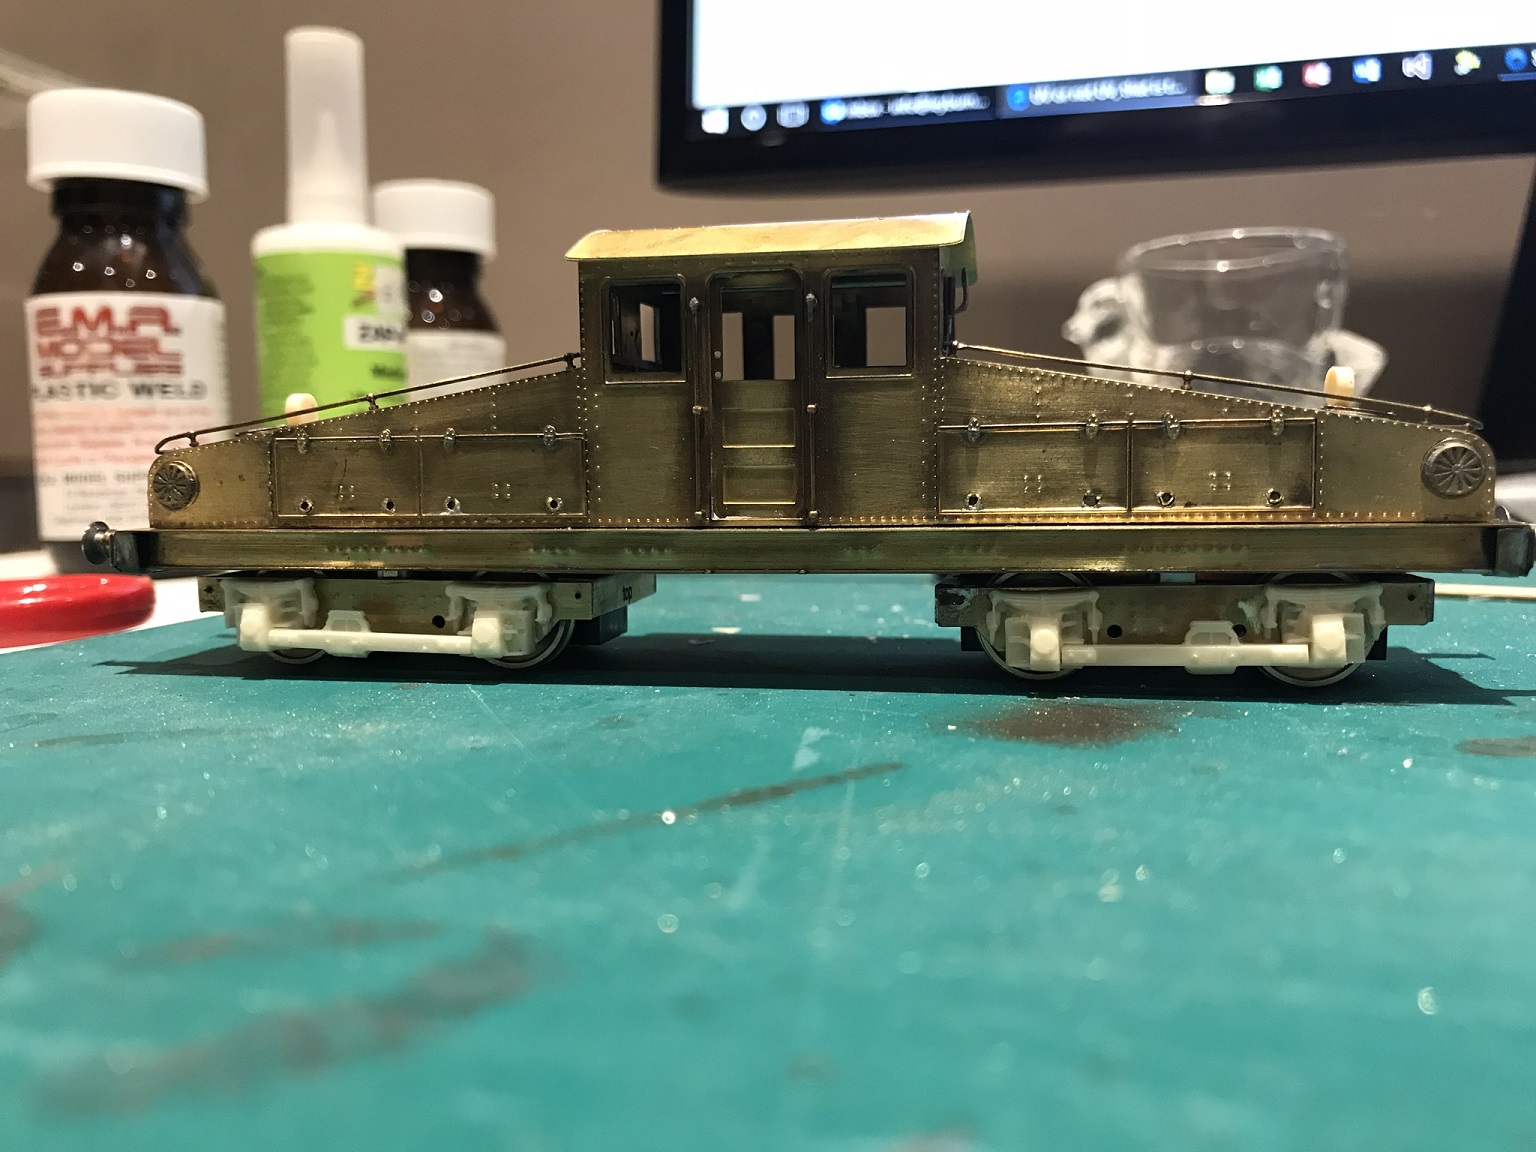
Bogies (Black Beetle) are actually EM but I'm going to build it as is as I'll likely never have the appropriate layout to run it on but it's a nice bit of history from my local area.


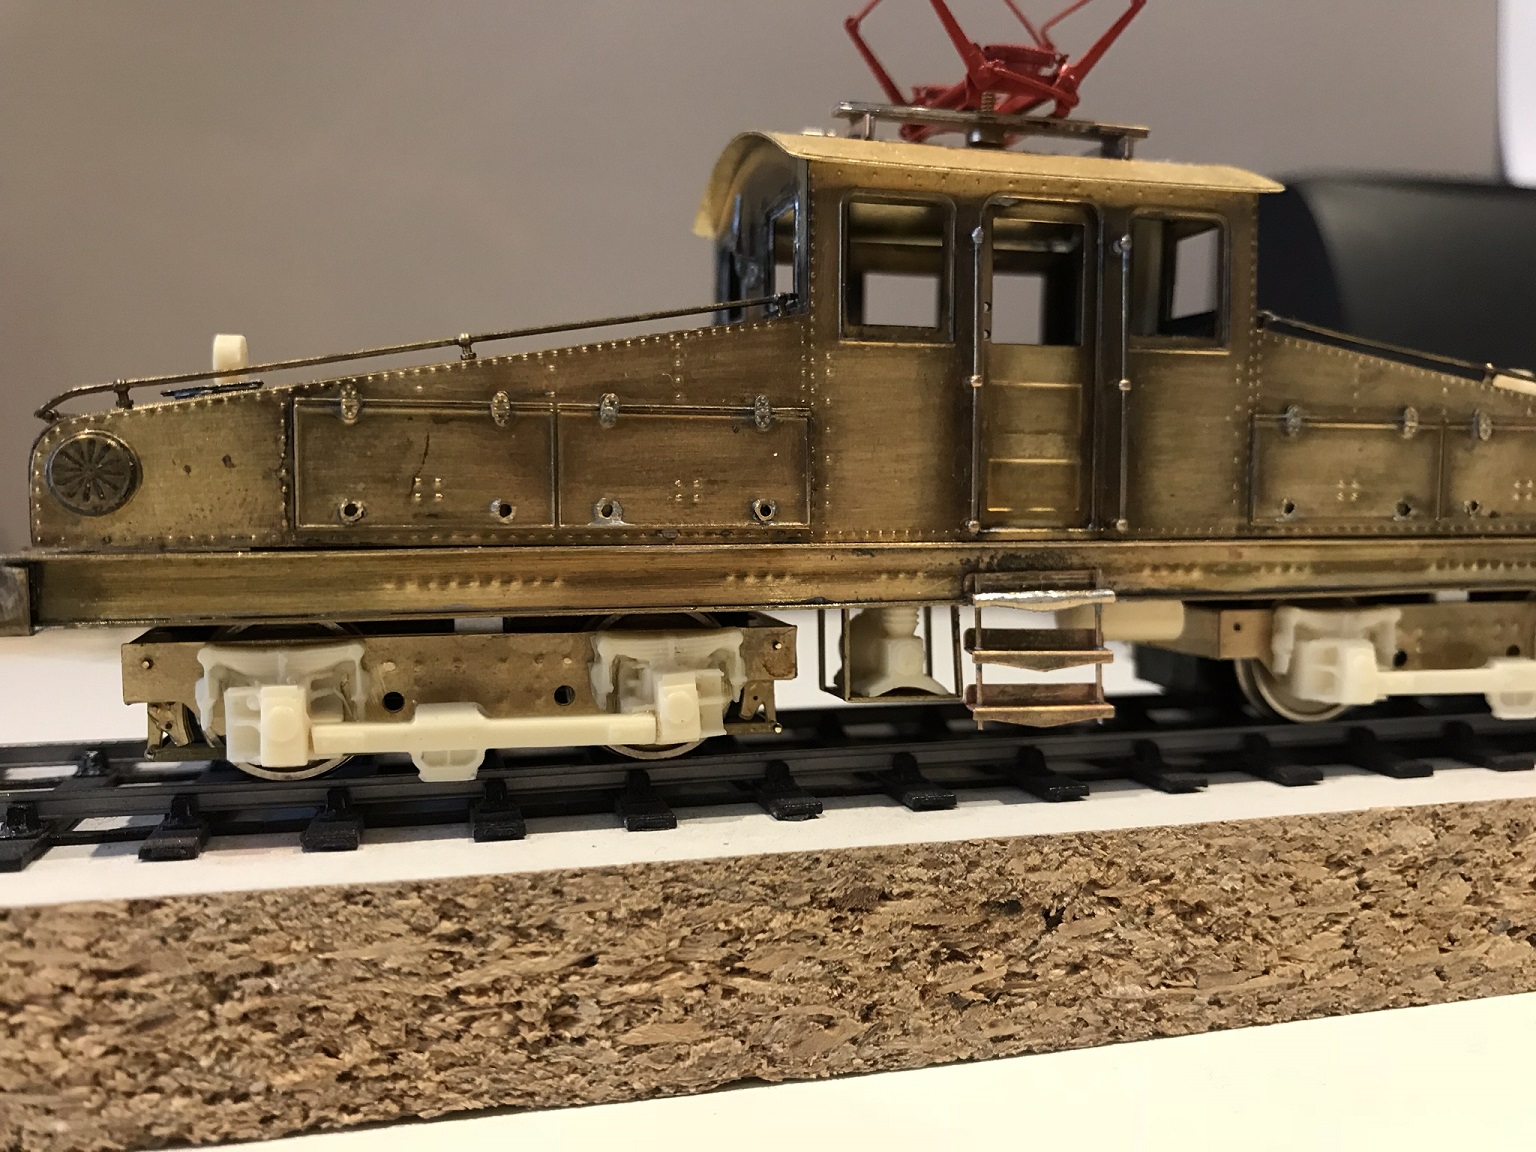

kelly wrote:Lovely model. The Judith Edge range has a number of great items, I've a few to make myself, one of which is an overhead loco from the Harton system, No. 2.
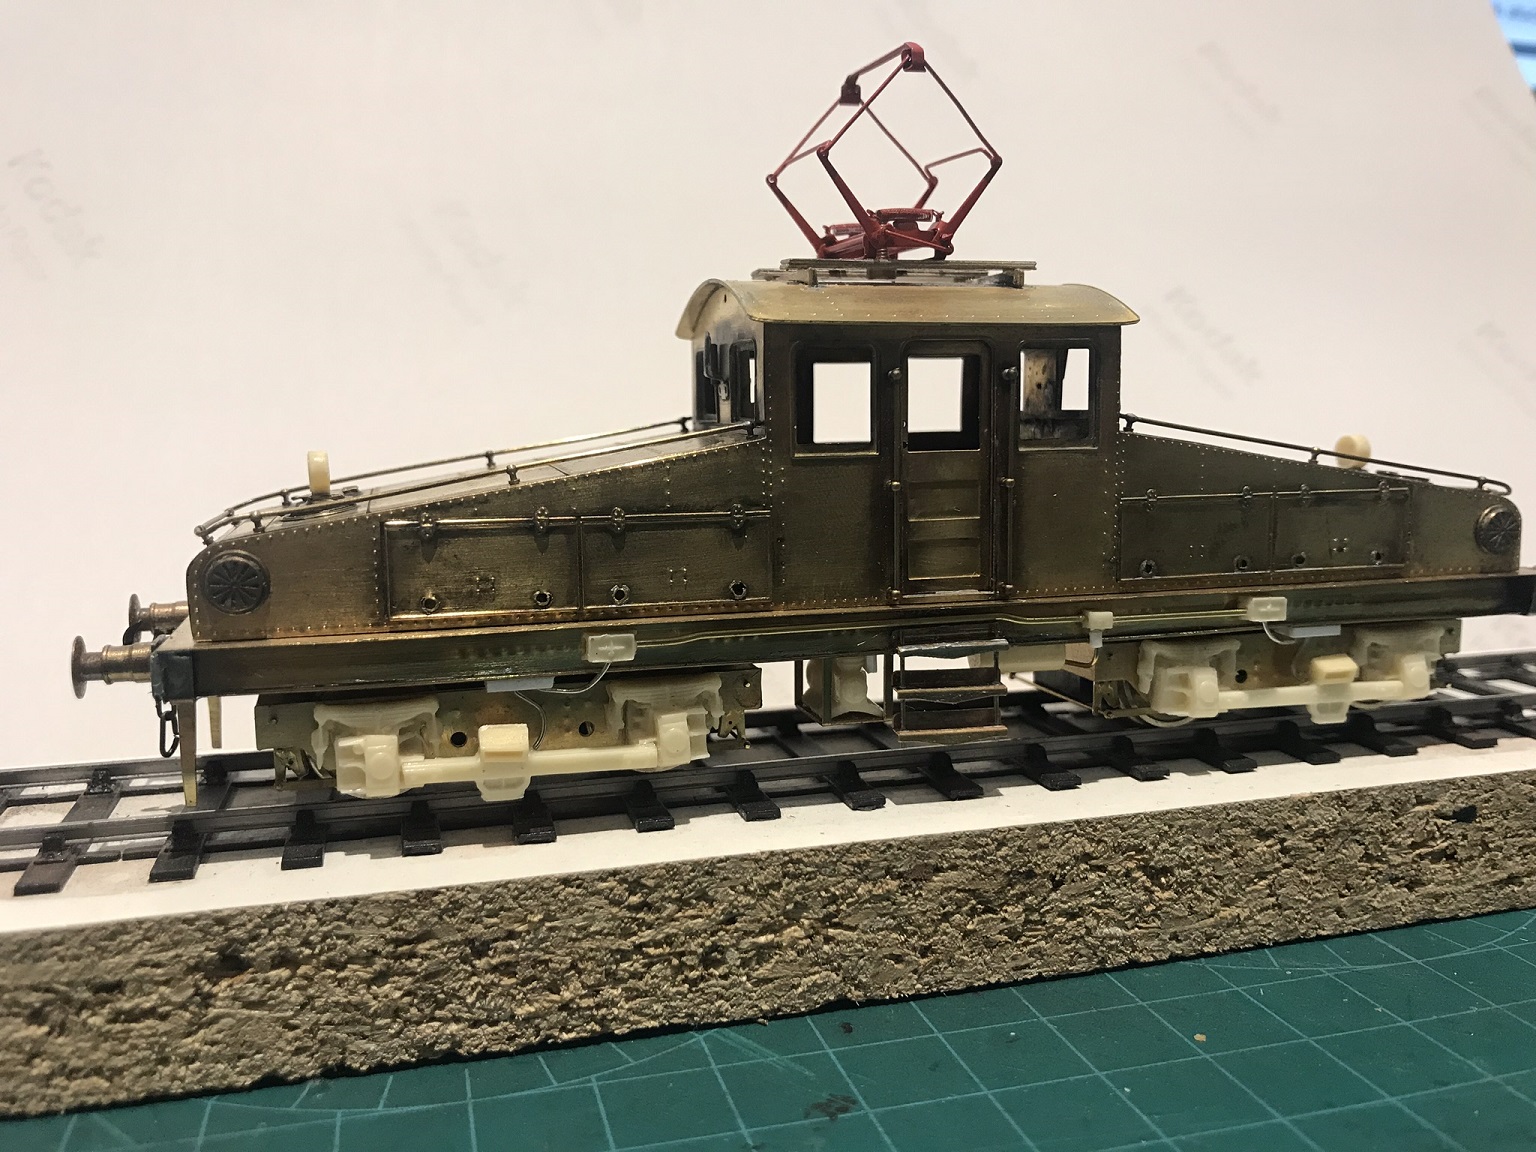

Daddyman wrote:There's some nicely observed detail on your model - I see you changed the angle of whatever that thing above the shoe beam is, as per late condition.
zebedeesknees wrote:Daddyman wrote:There's some nicely observed detail on your model - I see you changed the angle of whatever that thing above the shoe beam is, as per late condition.
That is a fuse holder with a ceramic arc chute, to guide the molten bits of fuse, should it fail, to places of less inconvenience.
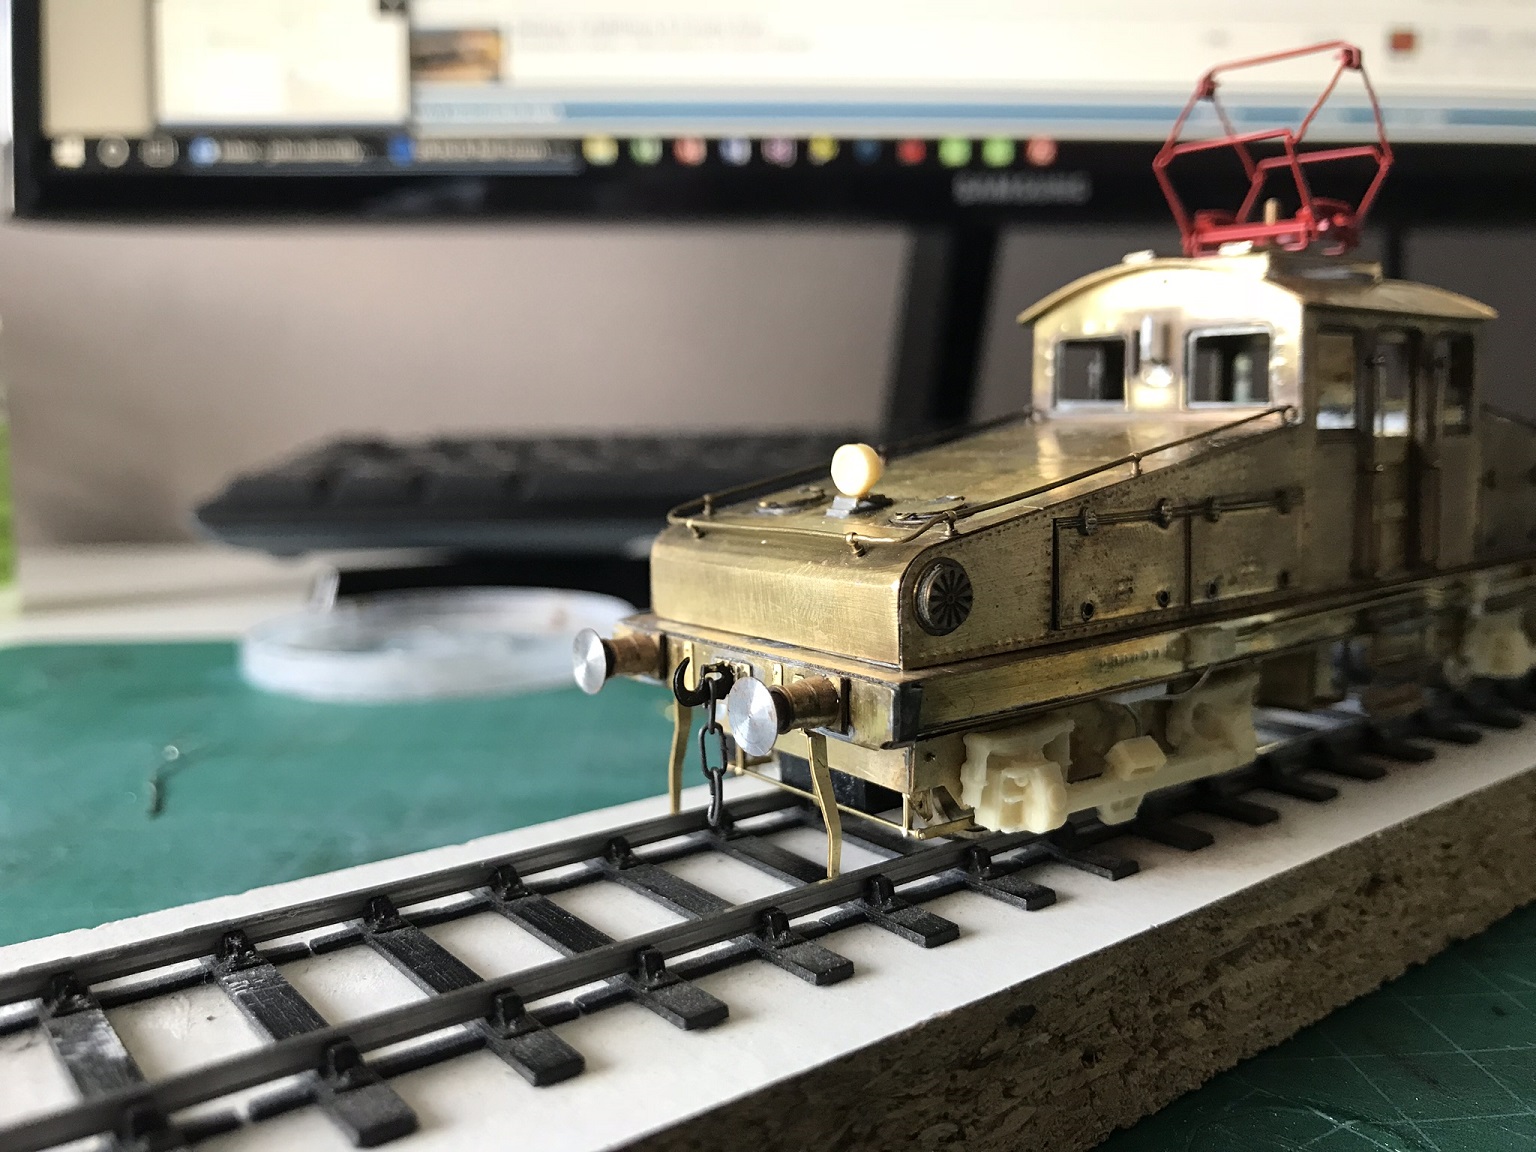
They occur on Southern Railway and London Underground stock too.
Ted.
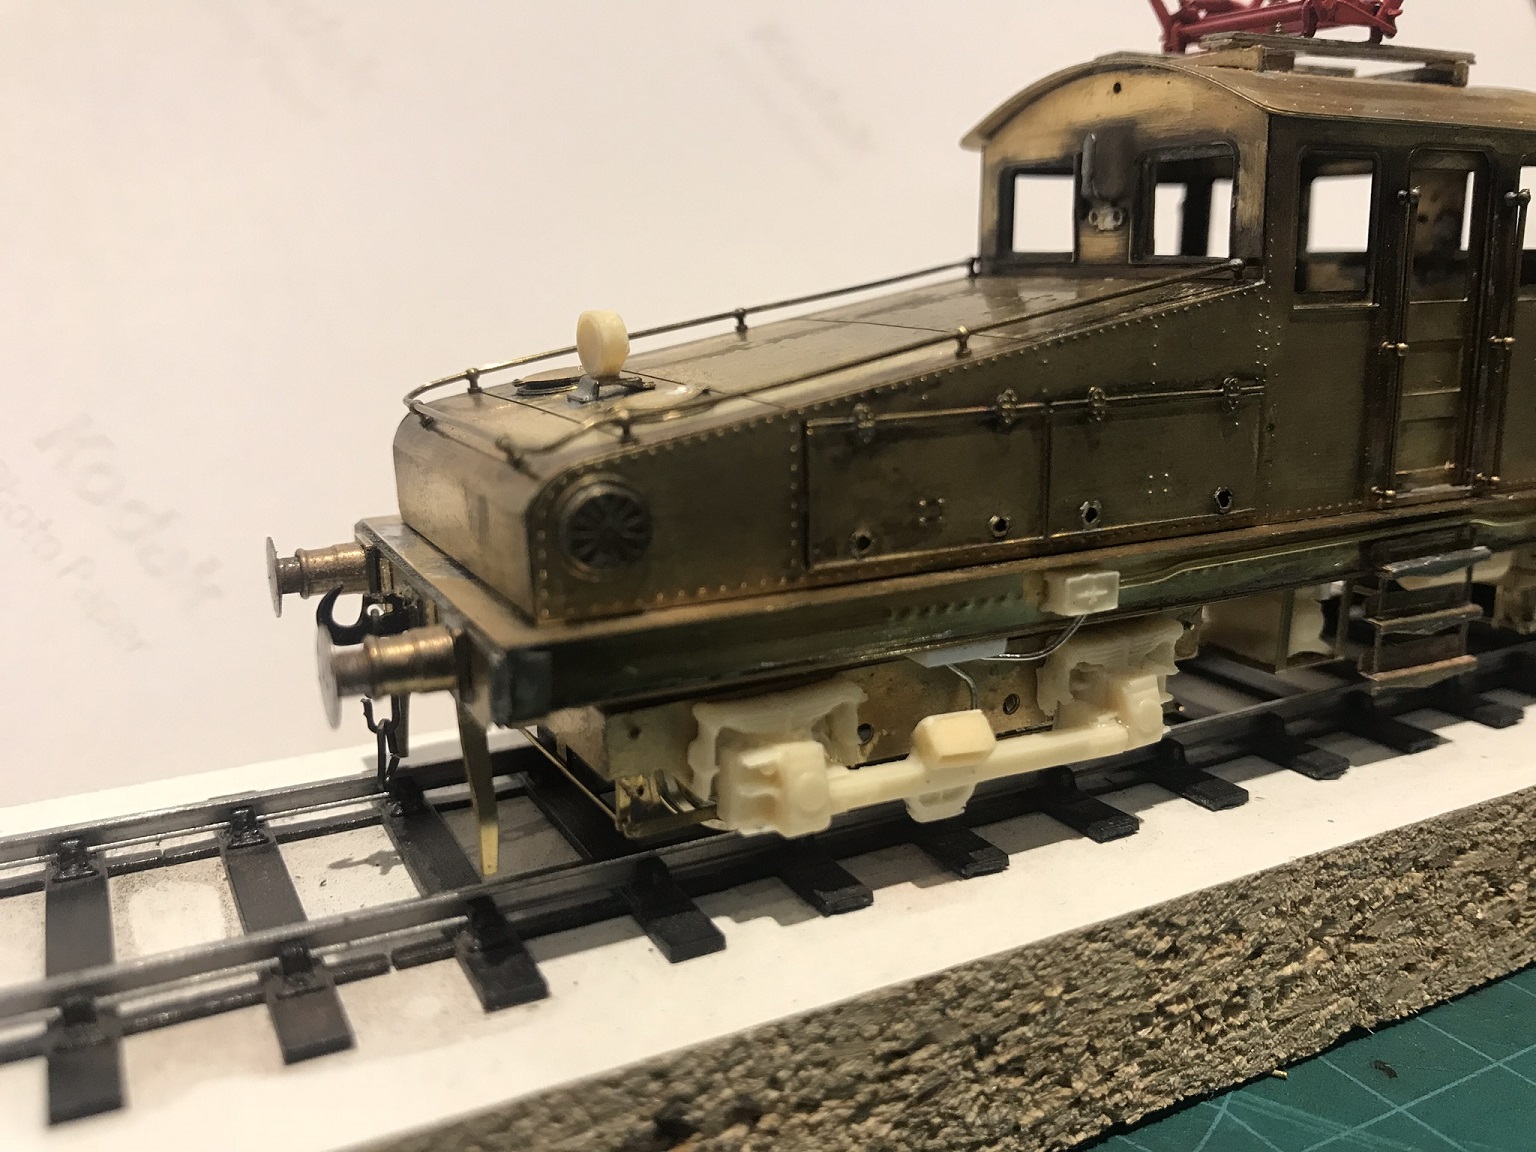
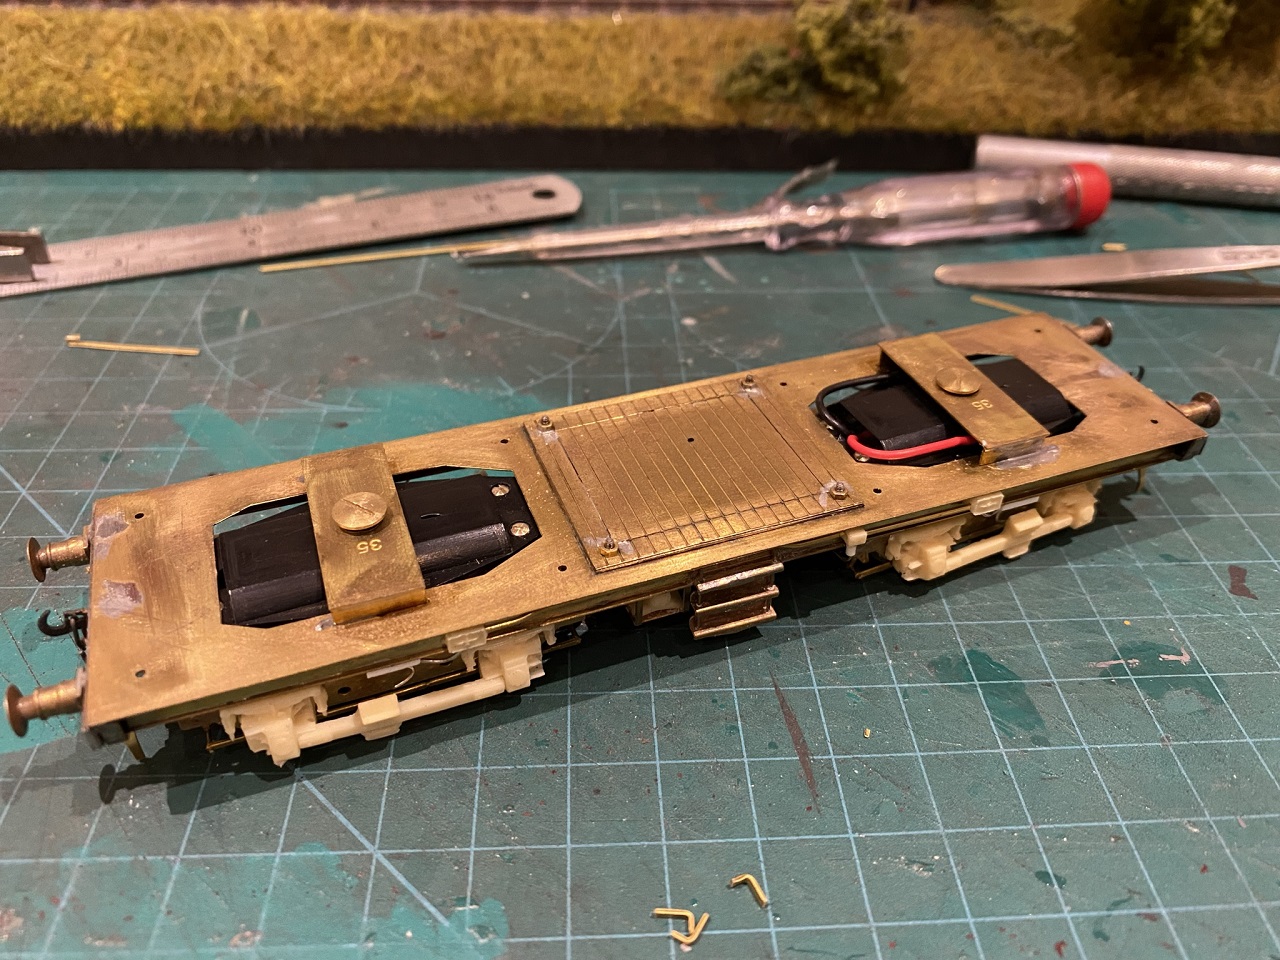
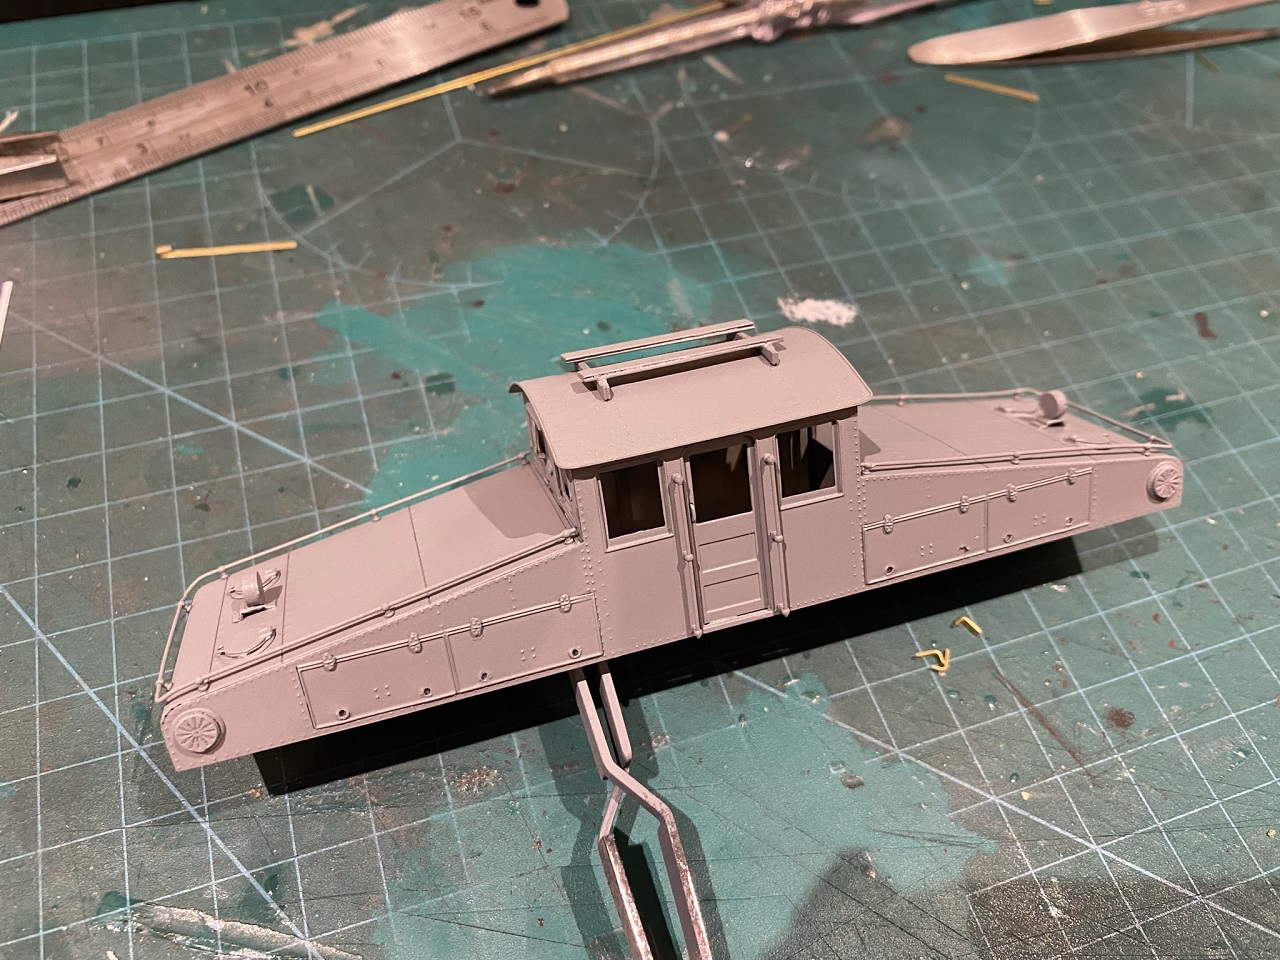
John Donnelly wrote:I’d love to do the green but I fear the lining would defeat me so it’s going to be black. Resin will be cleaned up a little more, there is a bit missing from one of the shoe beams that needs to be sorted out before the primer goes on the chassis.
Daddyman wrote: The BR version of NER green is not that hard, as all the lines are straight, so can be done with transfers.
davebradwell wrote:Looks like you're doomed, John.


Triode wrote:On the subject if lining, could it be possible to make templates in the shape of each pattern from card, temporarily fix them to the model and draw round them with a pen or something dipped in paint?
Users browsing this forum: ClaudeBot and 0 guests